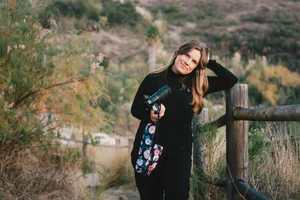
Master Outdoor Light: A Guide to Outdoor Portraits
Let’s be honest: nature doesn't come with a dimmer switch or a handy knob to dial down the sunny drama.
As an outdoor family photographer, you are entirely at the mercy of whatever atmosphere the sky decides to roll out on session day. One minute you’re bathing in dreamy, golden magic; the next, a cloud rolls over, or you’re forced to shoot at 2:00 PM in a park with zero shade and a family of five squinting like they’re trying to read fine print in a dark room.
Here is the secret: light isn't fundamentally "good" or "bad"—it's just physics. Once you learn how your camera sensor reads dynamic range, how to tweak your exposure on the fly, and how to manipulate light using positioning and or modifiers (like a reflector!), you can walk into any outdoor session feeling like a absolute genius.
If you are just starting out on your photography journey, make sure you check out our guide on The First 5 Things To Do As A Beginner Photog before heading into your first session. But if you’re ready to master the sun, let’s break down the five types of outdoor light you’ll encounter and how to make every single one work for you.
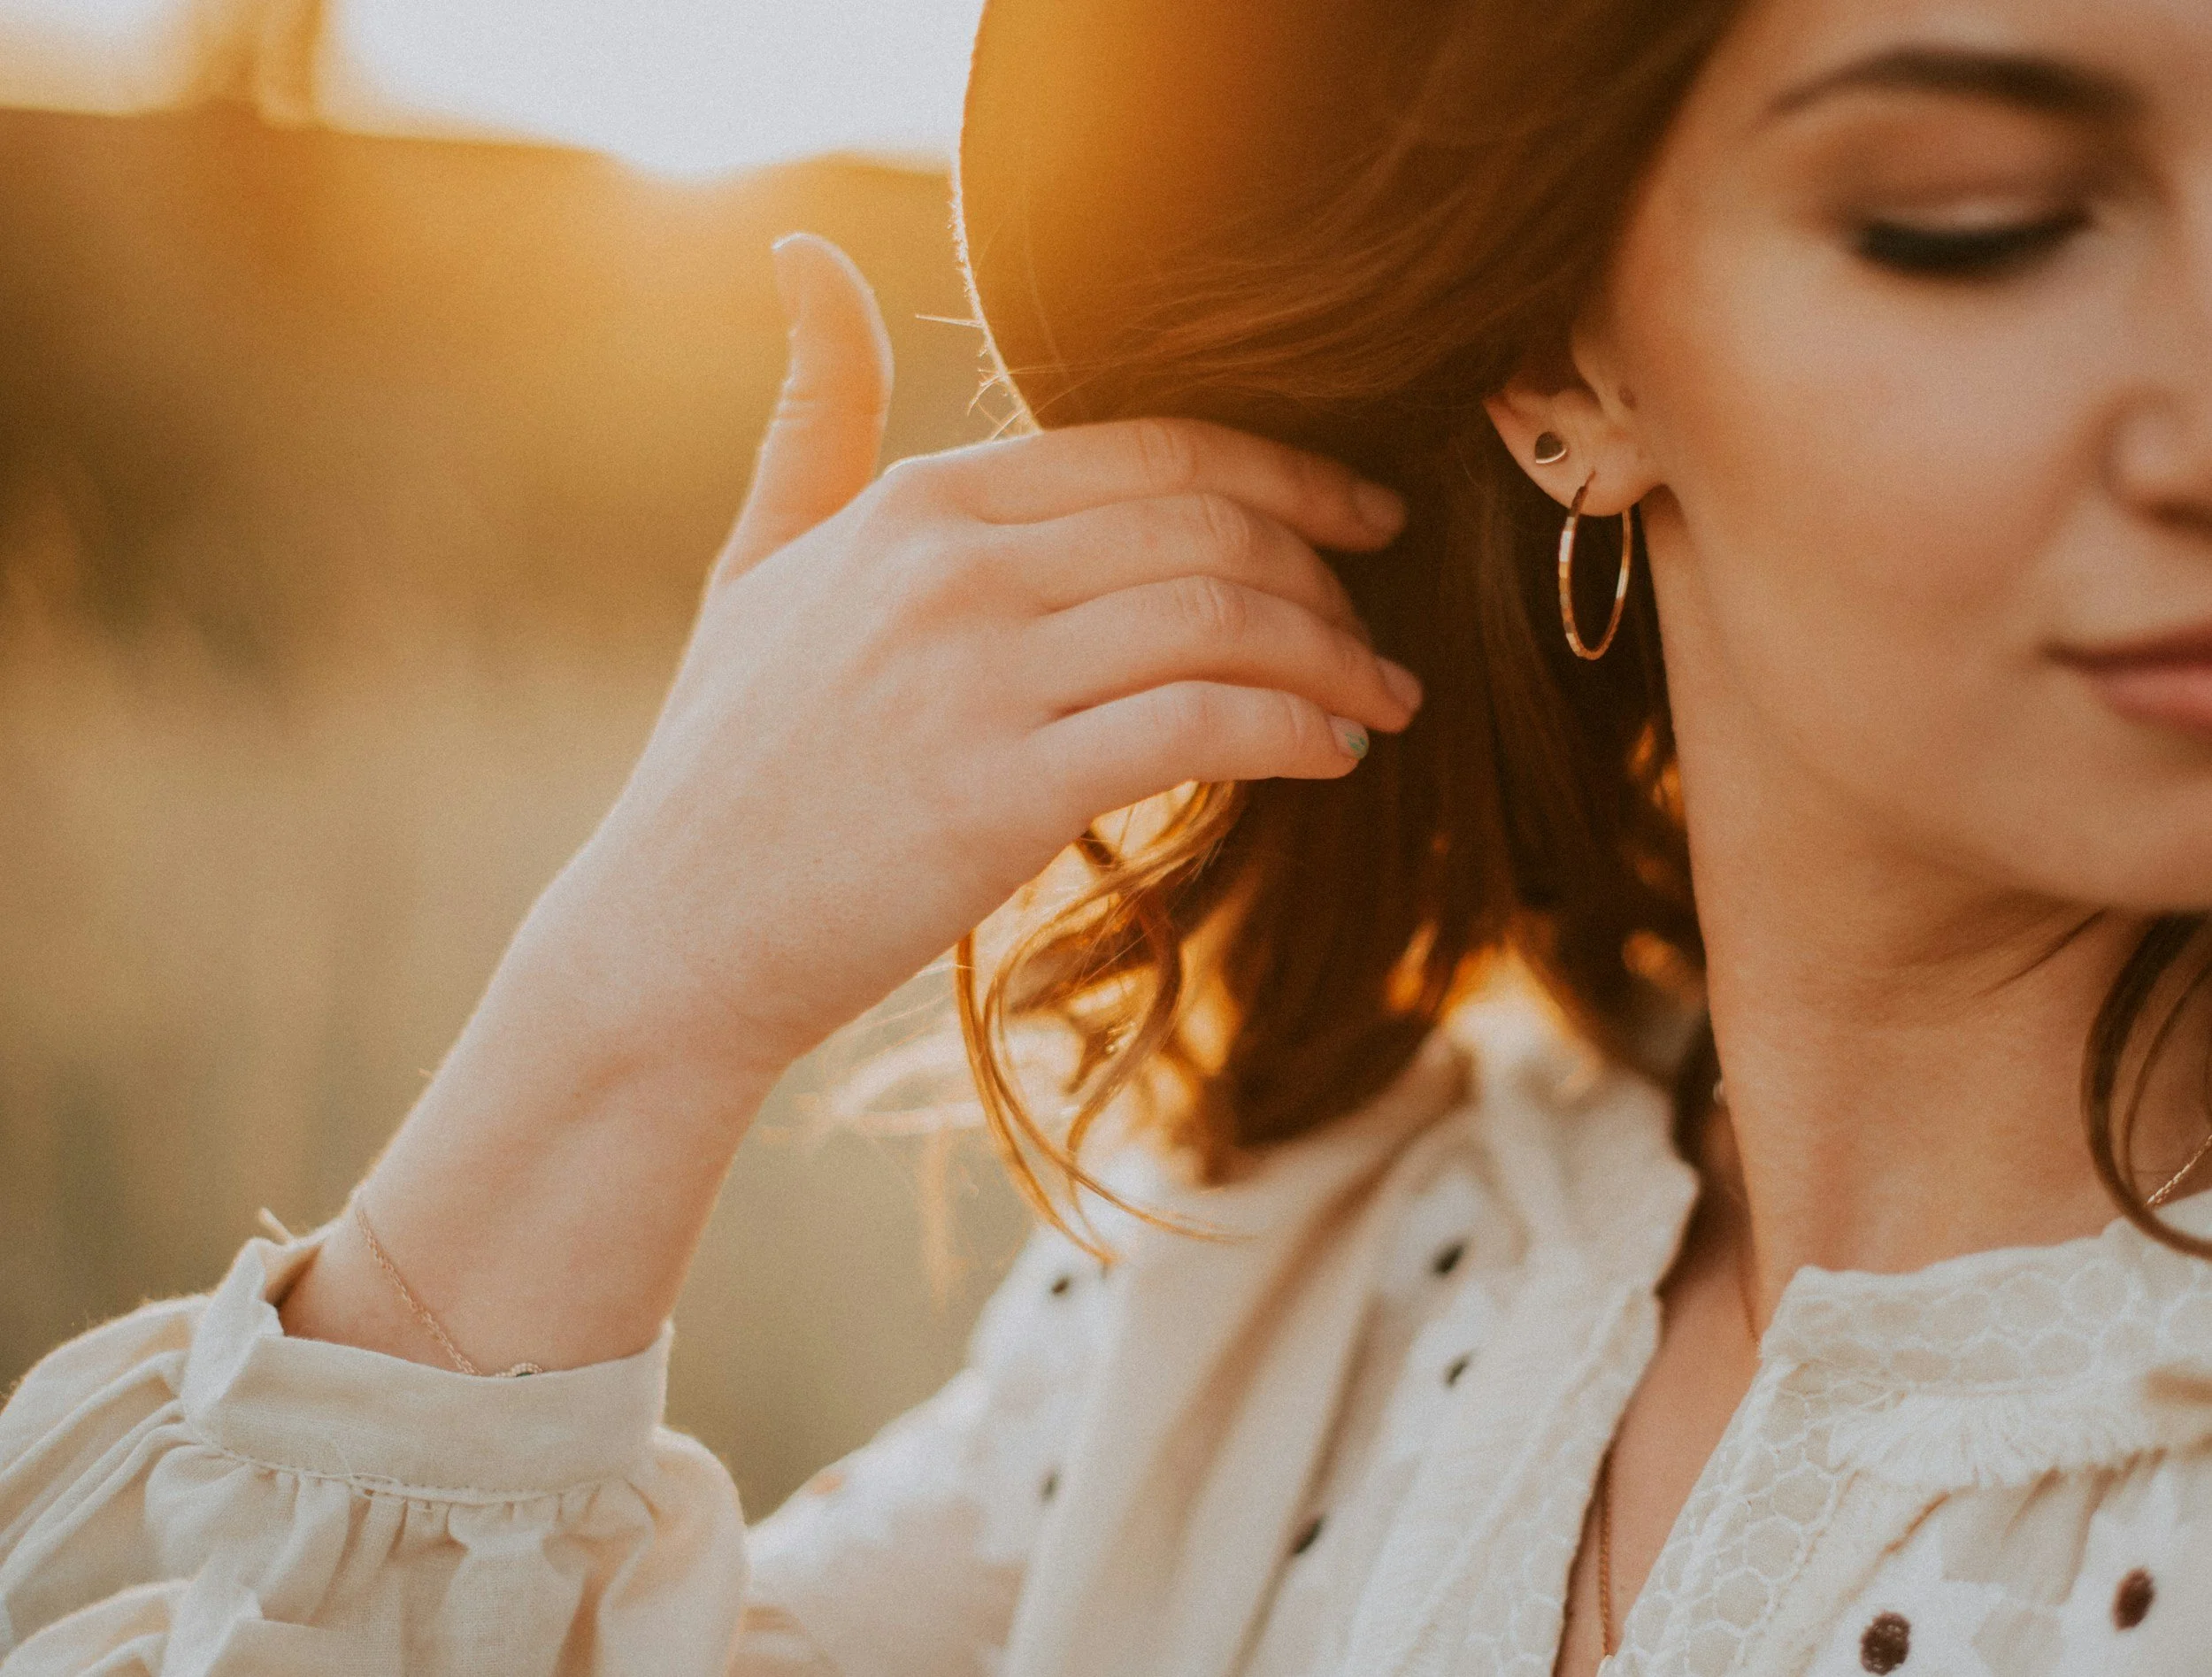
1. Golden Hour: The Crowd-Pleasing Magic Light
Ah, Golden Hour. It’s the saint of natural light photography. It happens during the first hour after sunrise and the last hour before sunset. This light is warm, low on the horizon, and forgiving enough to make almost anyone look like a ethereal model.
The Strategy
While Golden Hour is easy to love, backlighting your subjects against a low sun can wreak havoc on your camera's autofocus and light meter.
Master the Flare Boundary: Position the sun directly behind your subjects to create a luminous rim light (aka that gorgeous hair-light effect). But if the sun hits your lens directly, your contrast will wash out and your autofocus will start hunting. The fix? Place the sun just outside the edge of your frame, or clip it partially behind a tree trunk or someone’s shoulder.
Spot Meter for Luminous Skin: Evaluative or matrix metering will see all that bright ambient background light and instantly panic, leaving your family’s faces dark and muddy. Switch your camera to Spot Metering, place your focus point right on a cheekbone, and expose for the midtones. Don’t know what the heck I’m talking about when I say metering? Check out my trainings in The Camera Series - you’ll get all you need to know, and then some!
Compress for Maximum Bokeh: Grab a telephoto lens (like an 85mm or 135mm). Compression pulls that golden background closer to your subjects, turning distant sun-dappled trees into big, luscious circles of bokeh.
Get more info in this blog post: Backlight Photography Step-by-Step Guide so your subjects pop against golden backdrops. And, pairing golden light with a wide aperture is key—see our tips on How to Get Dreamy, Blurry Backgrounds to isolate your subject from busy park settings.
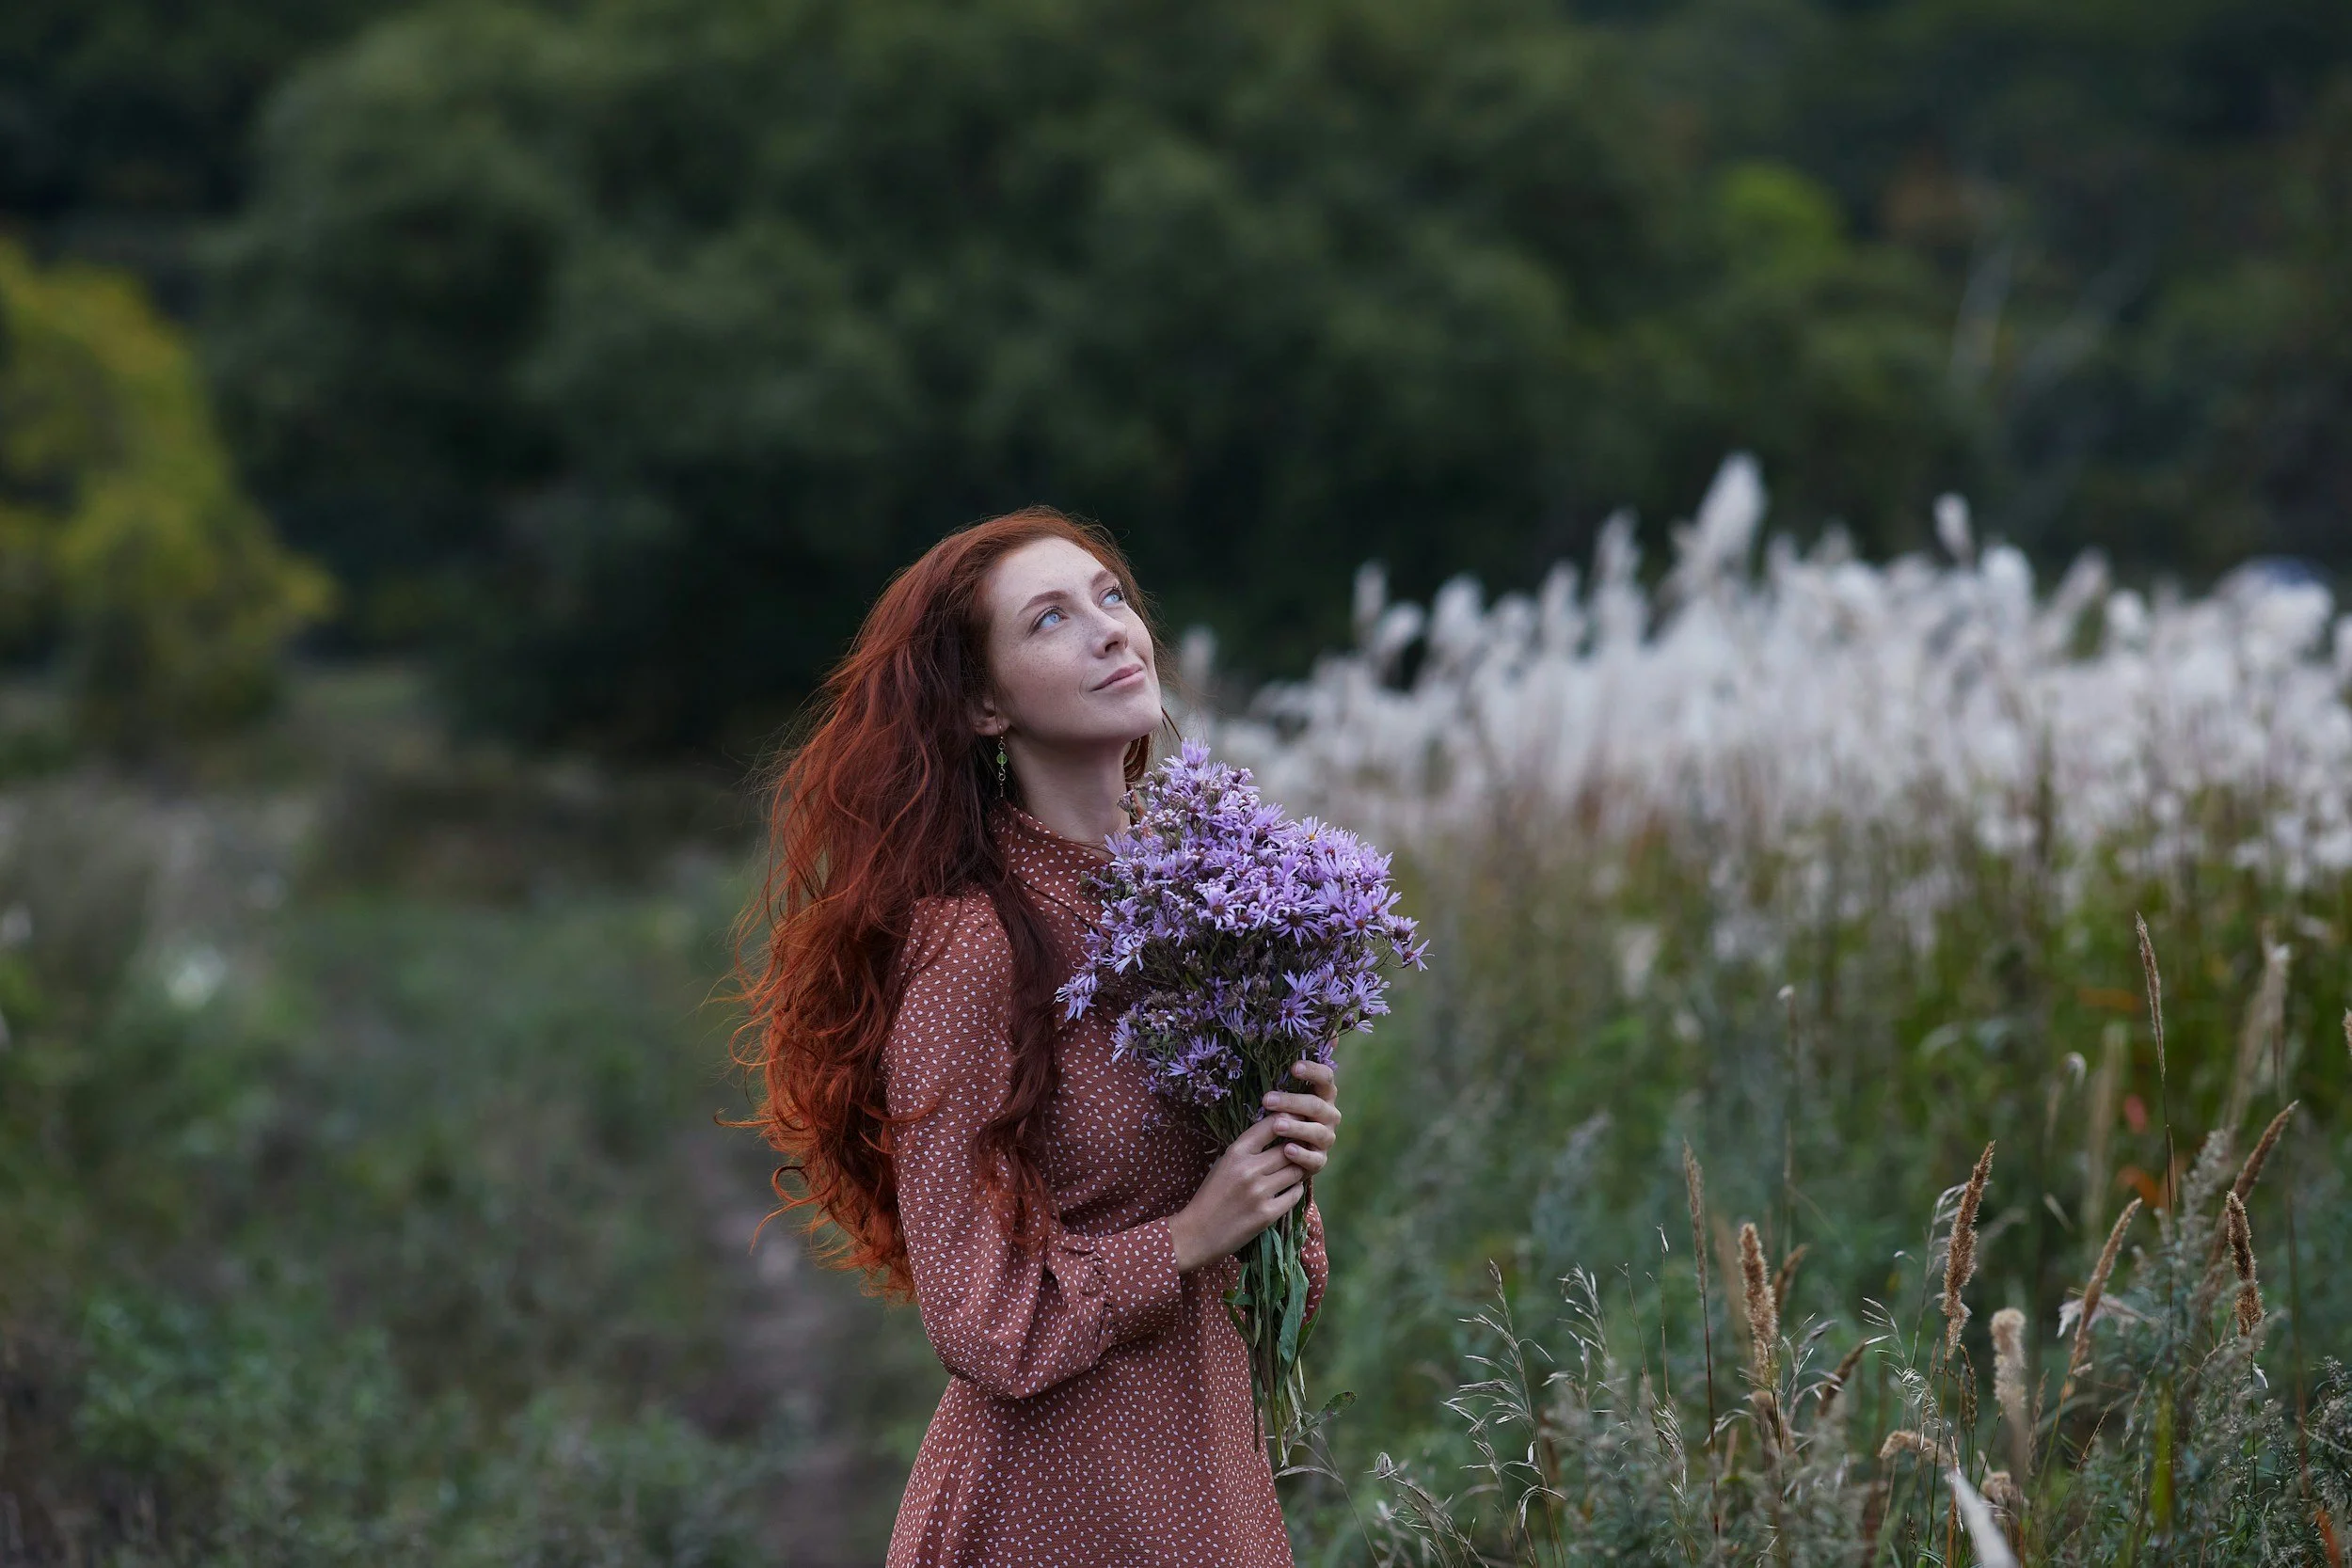
2. Open Shade: The Beginner’s Best Friend
If Golden Hour is the crowd-pleaser, Open Shade is the reliable best friend who always brings snacks. Open shade happens anywhere a physical structure—like a tall building, a dense row of trees, or a covered porch—blocks direct sunlight while leaving the sky wide open above or in front of your subjects.
The Strategy
It’s easy to think open shade is a "set it and forget it" environment, but stepping too deep into the shadows will leave your images flat and dull.
Work the Catchlight Boundary: Light drops off fast the deeper you step into shade. Instead of walking ten paces into the woods, place your subject right at the boundary edge—the exact line where full sun goes into shadow. Have them face outward toward the open sky. That giant patch of bright sky acts like a massive softbox, popping vibrant "catchlights" right into their eyes.
Control the Cool Color Casts: Open shade sits under a clear blue sky, which casts an ultra-cool color temperature (often around 6500K–7500K). If you rely on Auto White Balance, your skin tones can turn a bit zombie-esque. Manually dial your Kelvin white balance in-camera up to 6000K–6800K to instantly warm up those tones.
Watch Out for "Green Skin": Stand a family on bright green grass under a tree canopy, and suddenly the ground is bouncing lime green light onto their chins. Use a black handheld flag or a dark reflector to block that unwanted bounce—a technique known as subtractive lighting.
For a deeper dive into finding shade in unexpected locations, check out Magic Light You Can Find Anywhere: Open Shade. Because shade can cause cool color casts, mastering white balance is essential—try this 4 Step Method to Perfect White Balance to keep skin tones warm and realistic.

3. Direct Midday Sun: Taming High-Contrast & Dynamic Range
Shooting family portraits at noon is generally considered a sport reserved for chaos enthusiasts. The sun is straight overhead, casting harsh "raccoon shadows" under eyes and chins, and the dynamic range between bright highlights and deep shadows is wider than your camera sensor can handle comfortably.
The Strategy
When you can’t reschedule, you don't panic—you adapt.
Expose to the Right (ETTR): Looking at your camera’s LCD screen in full, blinding sunlight is a trap—it always lies to you. Instead, pull up your Live Histogram and practice Exposing to the Right (ETTR). Push your exposure as bright as possible without letting the curve spike and clip off the far-right edge. This saves shadow detail in RAW without blowing out the highlights.
Use Ground Reflectors to Your Advantage: Look for natural reflectors built into your environment. Standing your family on light-colored concrete, dry sand, or light dirt will naturally bounce light upward, filling in those nasty eyebrow shadows without requiring you to lug out extra gear.
Add a Touch of Fill: If the shadows are still too deep, pop a reflector down low or use off-camera flash with High-Speed Sync (HSS). Dial the flash power down (around -1.0 EV below ambient) so it acts strictly as fill light, keeping things looking clean and natural.
Want a weekend workshop to completely master your flash in any light setting? Check out The Speedlight Training in my Light Series!
📸 Stop Guessing Your Settings in Changing Outdoor Light!
Outdoor light shifts fast. A cloud rolls past, the sun drops behind a mountain, or you move a family from an open field into the trees. Relying on Auto Mode in these moments is a recipe for blurry kids, missed focus, and blown-out skies.

Download my free Manual Mode Settings Cheat Sheet!
Get clear, instant settings starting points for shutter speed, aperture, and ISO so you can shoot with total creative confidence in any lighting scenario.
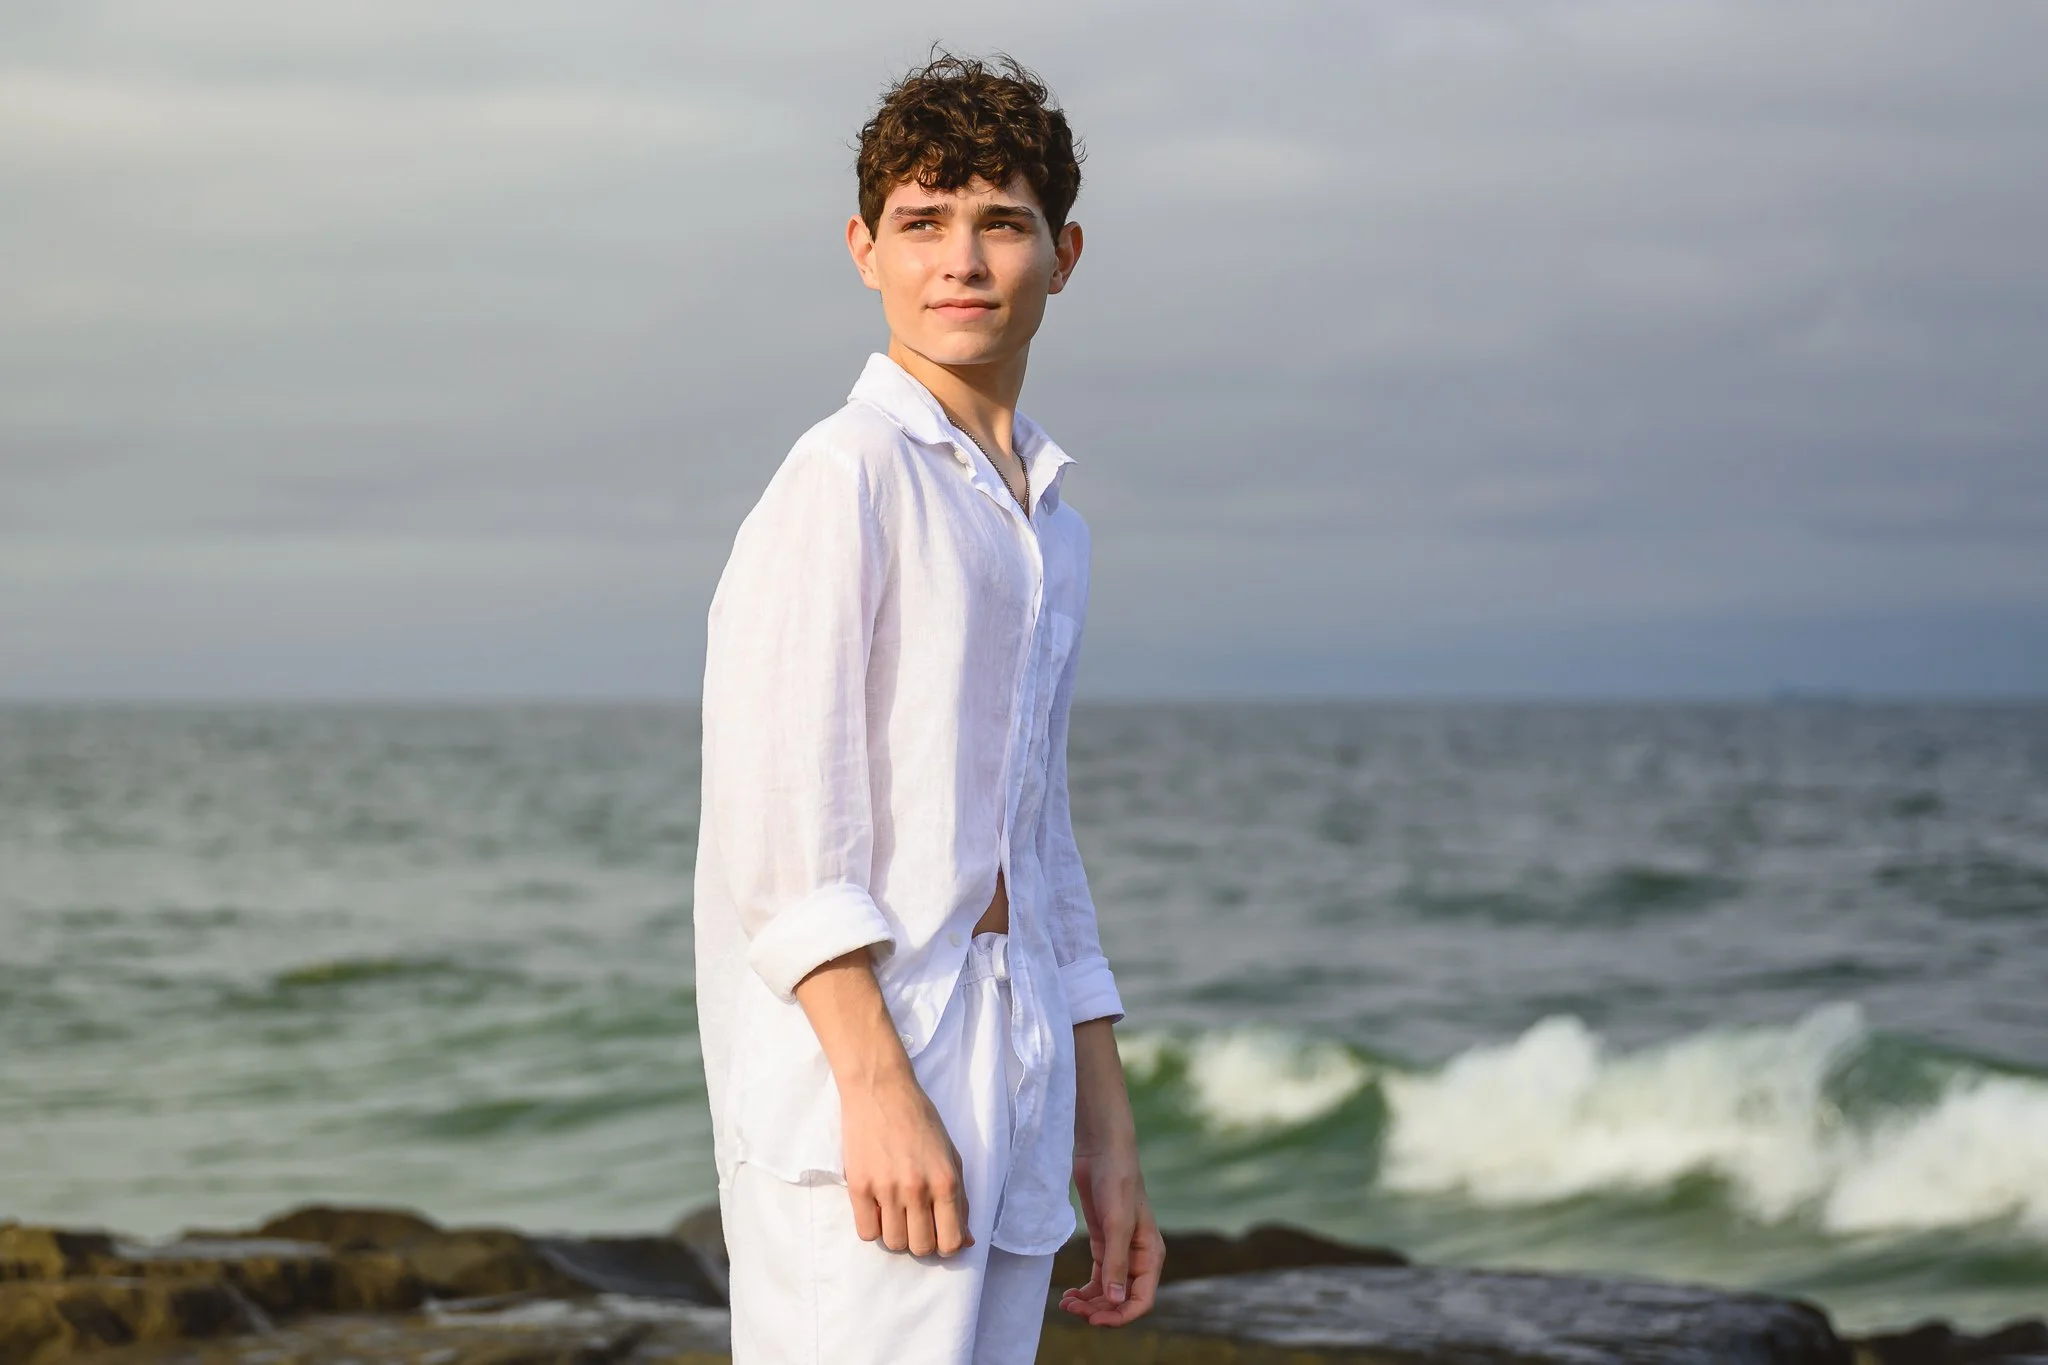
4. Overcast Skies: Treating Clouds as a Giant Softbox
Beginners often think cloudy days are a bummer, but professional portrait photographers quietly celebrate them. A thick cloud layer acts like a giant blanket of diffusion, scattering direct sunlight and eliminating harsh lines.
The Strategy
The downside? Cloud cover can make portraits look a little flat or lifeless if you aren't careful with directionality and background separation.
Find the "Hidden" Sun: Even on gray days, the sun is still up there somewhere. Look at the sky, identify the brightest quadrant of clouds, and angle your subjects toward that light source. This simple tweak brings dimension back to their faces and pulls light into their eyes.
Create Separation with Distance: Because overcast light reduces contrast, you lose that natural visual "pop." To fix this, pull your subjects 10 to 15 feet away from background trees or walls, drop your aperture down wide (f/1.8– f/2.8), and let optical depth of field do the heavy lifting.
Use Negative Fill: Want to add sculpting and drama back to a flat gray day? Position your subject near a dark element—like a dark wooden barn wall or dense evergreen trees—on one side. The dark surface absorbs light, creating soft, intentional shadows on one side of their faces.
When light gets flat, leverage dark elements in your frame—here are 5 Ways Shadows Add Impact to Images. Discover more ways to use natural elements to your advantage in 5 Natural Light Secrets Every Beginner Should Know.
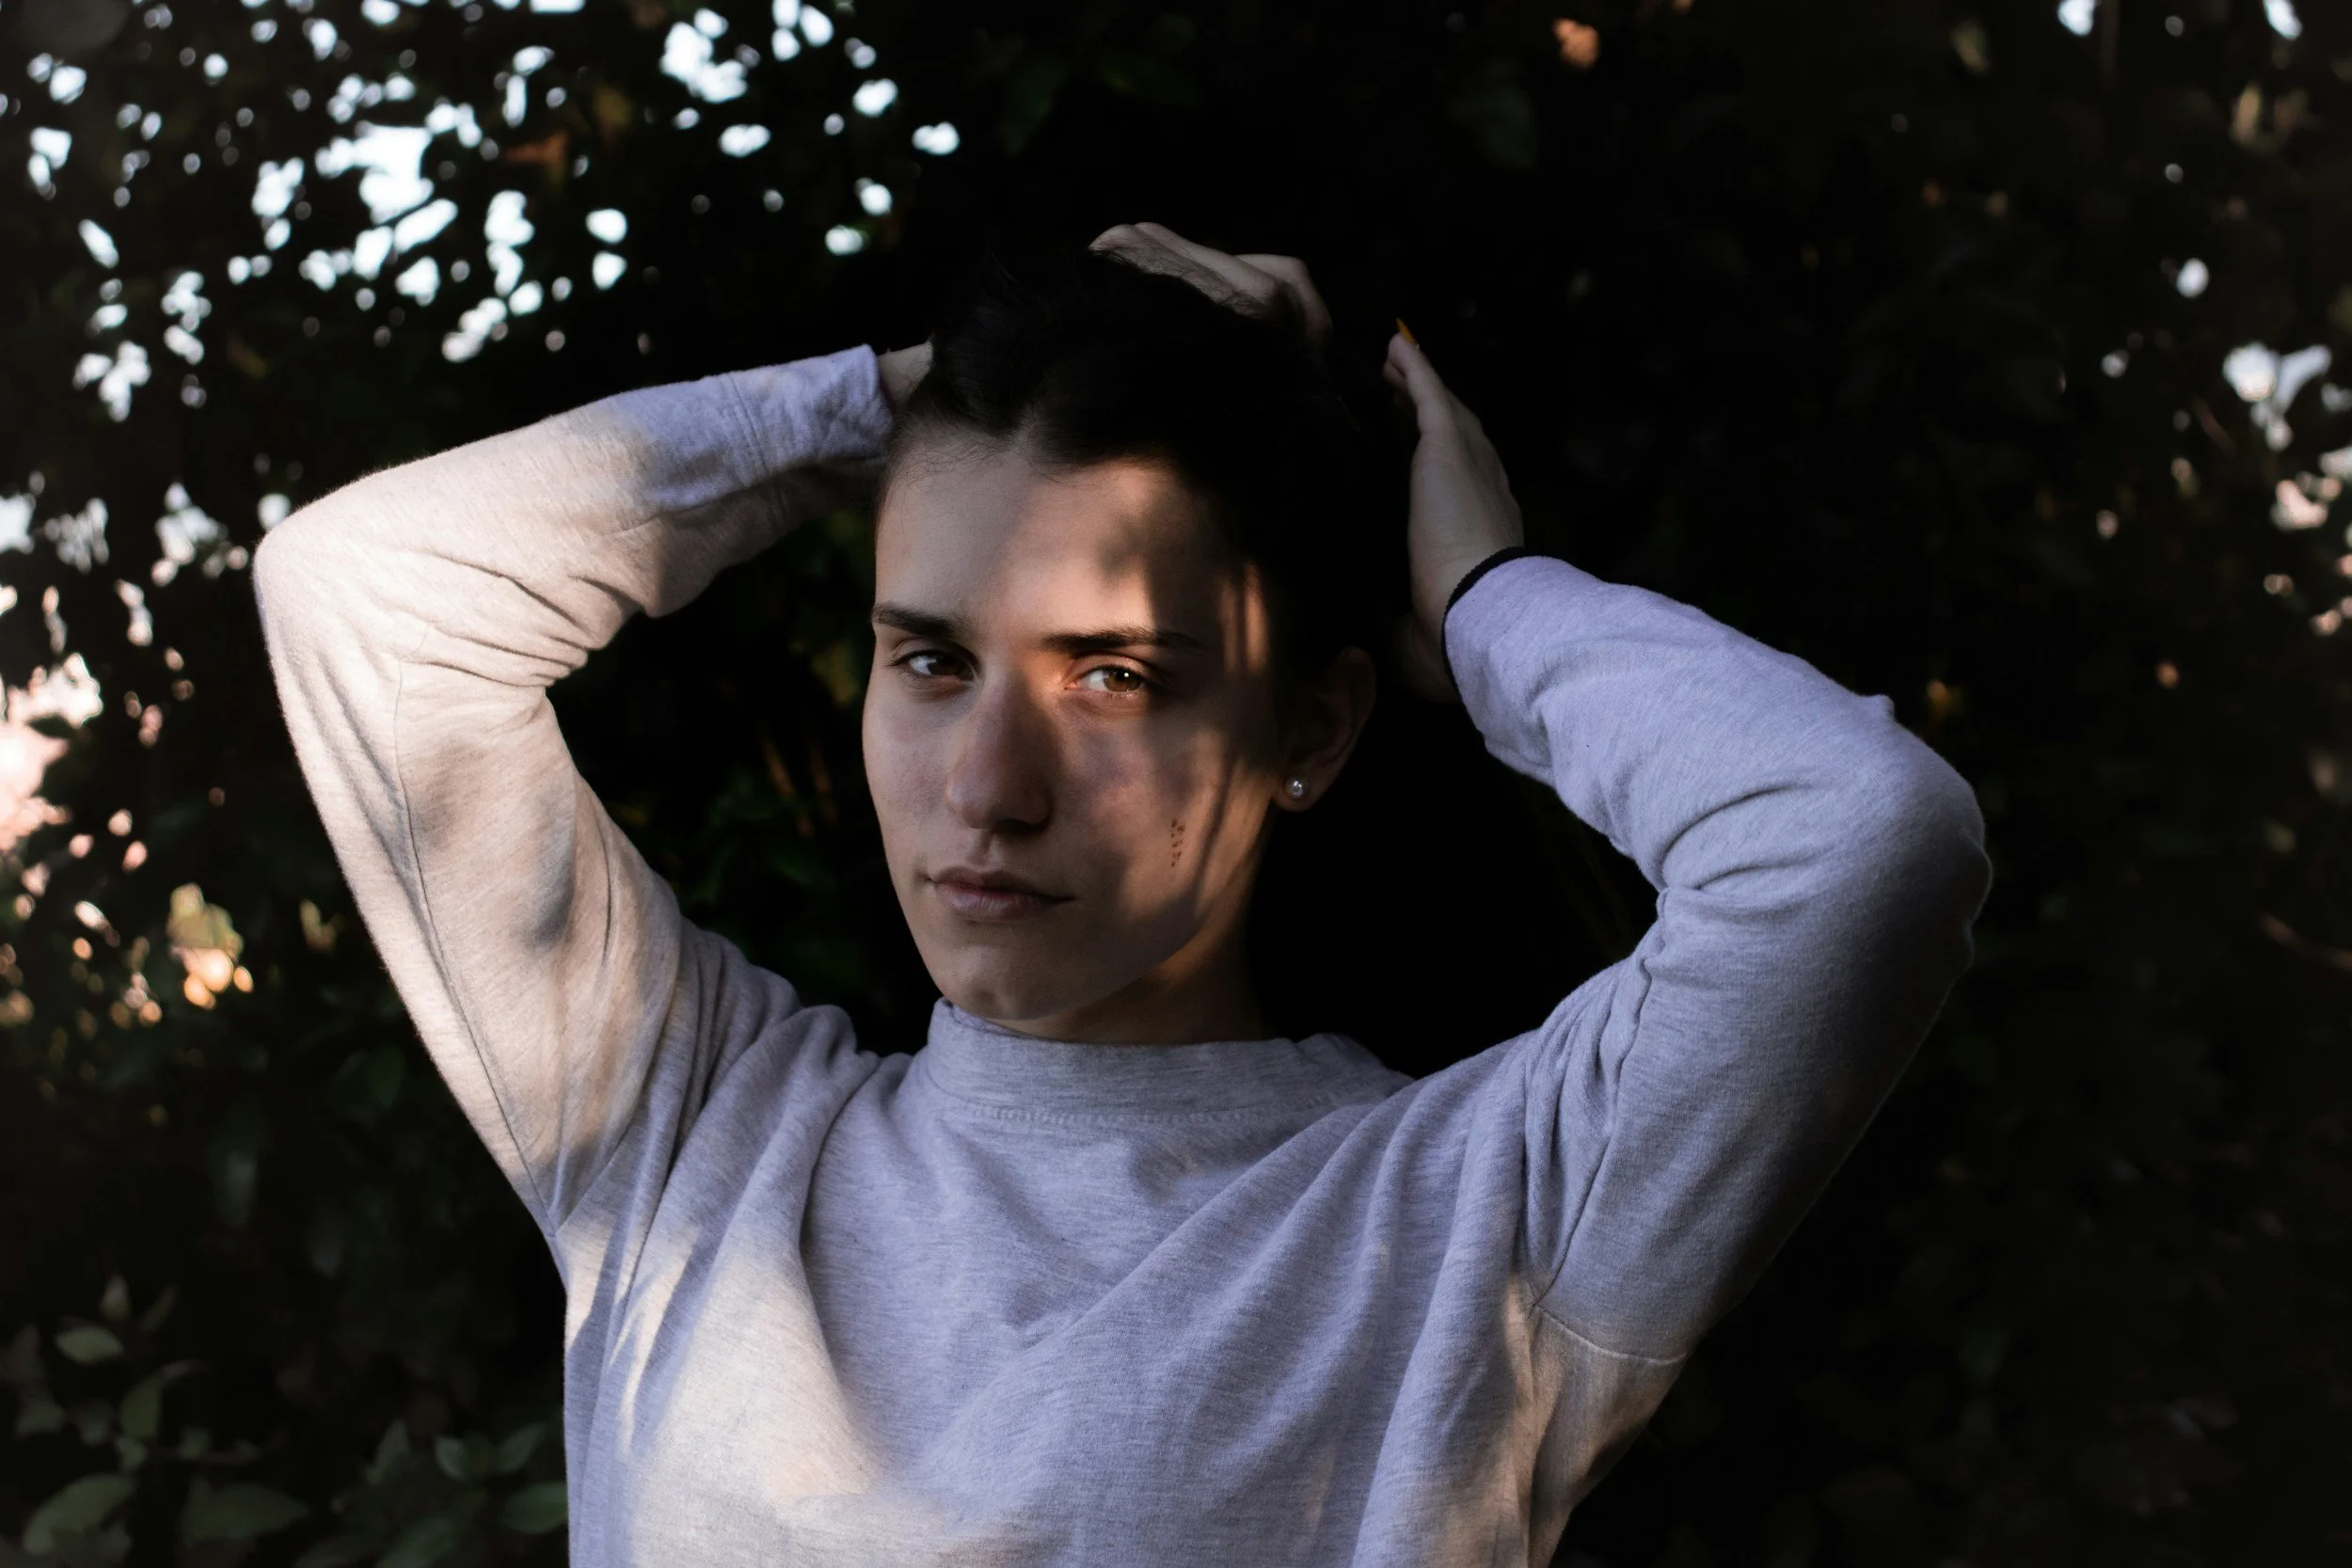
5. Dappled Light: Managing High-Frequency Contrast
Ah, dappled light: the chaotic mosaic of sun spots filtering through tree leaves. It puts bright, blinding spots on Dad’s forehead while leaving Mom’s face in deep shadow. It’s the ultimate test of patience.
The Strategy
If you have no choice but to shoot in dappled light, high-frequency contrast control is the name of the game.
Highlight-Weighted Metering: Your standard metering modes will get confused trying to average out those tiny spots of light and shadow. Switch to Highlight-Weighted Metering (or meter directly for the brightest patch on skin) to ensure those bright spots don't blow out permanently.
Crop Tight: Dappled light in the background creates a chaotic, distracting mess of bright circles. Shift to a tighter focal length (like an 85mm) and frame in close on your subjects to cut out as much of the busy tree canopy as possible.
Rescue It with Local Masking: Shoot strictly in RAW. When you get into Lightroom, utilize Select Subject -> Facial Skin masks or radial gradients. Pull down the Whites and Highlights slightly on those persistent hot spots to smooth out the skin seamlessly.

Ready to Stop Guessing and Command Your Camera? 📸
Knowing how to read light is a massive superpower—but if you're still panicking every time you switch that manual mode dial or getting home to find that your perfect moment was completely out of focus, it's time to ditch the guessing games for good.
Mastering your settings should feel like learning to drive: once operating the pedals becomes second nature, you can finally stop worrying about the mechanics and actually enjoy the view.
That’s exactly why I created The Camera Series—a professional, self-paced framework designed to strip away the technical guesswork so you can nail sharp focus and perfect exposure every single time.
Inside The Camera Series:
The Exposure Training: Master my signature Manual Mode Framework, the Zone System, and histogram reading so your images never look muddy or blown out again.
The Finding Focus Training: Learn the "Search Party" logic that works across Canon, Nikon, Sony, and Fuji. Master modern AI Subject Detection, Back Button Focus, and group shot setups so you never suffer the heartbreak of a blurry photo again.
The Complete Scenario Playbook & Repair Guides: Step-by-step checklists to set up your gear for kids, action, and outdoor portraits—plus a guide to diagnose why a focus shot failed so you never make the same mistake twice.
When you enroll in The Camera Series, you’re not just getting self-paced video lessons—you’re also gaining access to our exclusive student Facebook community of over 600 photogs who are learning, sharing, and growing together!
Whether you grab an individual training or save by bundling the complete series, you can start today and take control of your creative vision.
Explore The Camera Series & Join 600+ Students Here!
Final Thoughts & Post-Processing Polish
At the end of the day, outdoor family photography isn't about praying for a perfect, cloudless Golden Hour every single session. It’s about building the technical muscle memory to walk up to any location, assess where the light is coming from, and adapt your settings to capture beautiful, genuine connections.And remember: what you capture in-camera is only half the story!
Search the blog for more helpful info! 👇
Needing to dive deeper? Check out…
The Camera Series— for mastering your gear.
The Lightroom Series— for editing.
AI-Powered Hail Mary Masks— for lightning fast, unmatched editing tools.
The Camera Series— for comprehensive, affordable trainings designed for beginner or intermediate photographers.
Nancy’s Recommended Gear— and where she buys it used (reputable with warranties!)