Your Step-by-Step Guide to Beautiful Backlight Photography
Ever wondered how photographers create those dreamy, glowing images with light behind their subjects? That's backlighting, and it's absolutely magical! ✨ While it might seem a little tricky with focus and exposure at first, I'm here to share some simple tips to help you master it and add that dramatic flair to your photos. Let's dive in! 👇

1. Find the Perfect Light! ☀️
The best time for gorgeous backlighting is usually earlier or later in the day when the sun is lower – hello, golden hour! But don't count out midday either; it can create unique, high-contrast effects.
2. Go Manual & Shoot RAW 📸
For ultimate control, shoot in manual mode! This lets you adjust your exposure perfectly. And always choose RAW format – it gives you so much more flexibility to recover details in both bright highlights and deep shadows when you edit later.
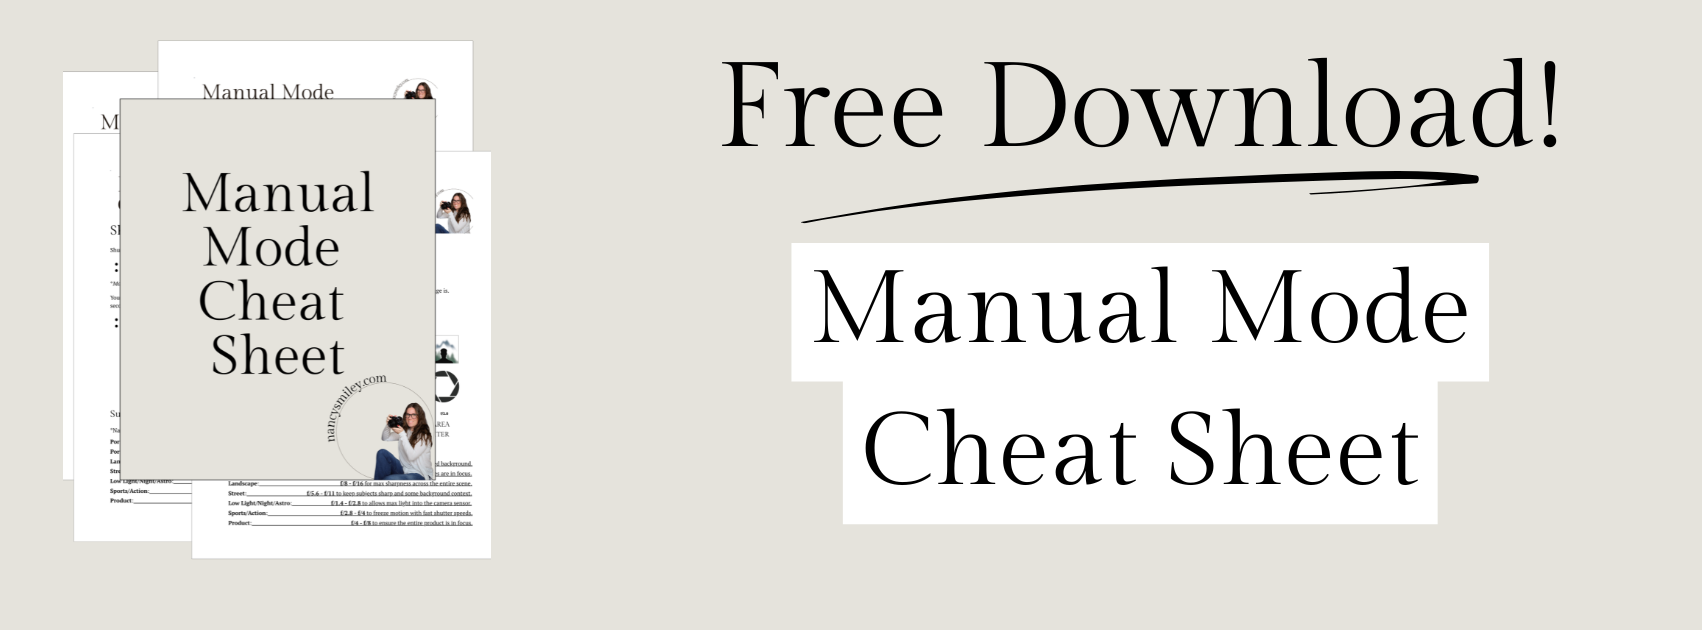
If you haven’t gone into manual mode yet, don’t worry! I have a great manual mode settings cheat sheet that breaks down exactly what ISO, shutter speed, and aperture are, and what settings to use in many different shooting scenarios! Download it now - it’s totally FREE!
3. Position Your Subject Smartly 👤
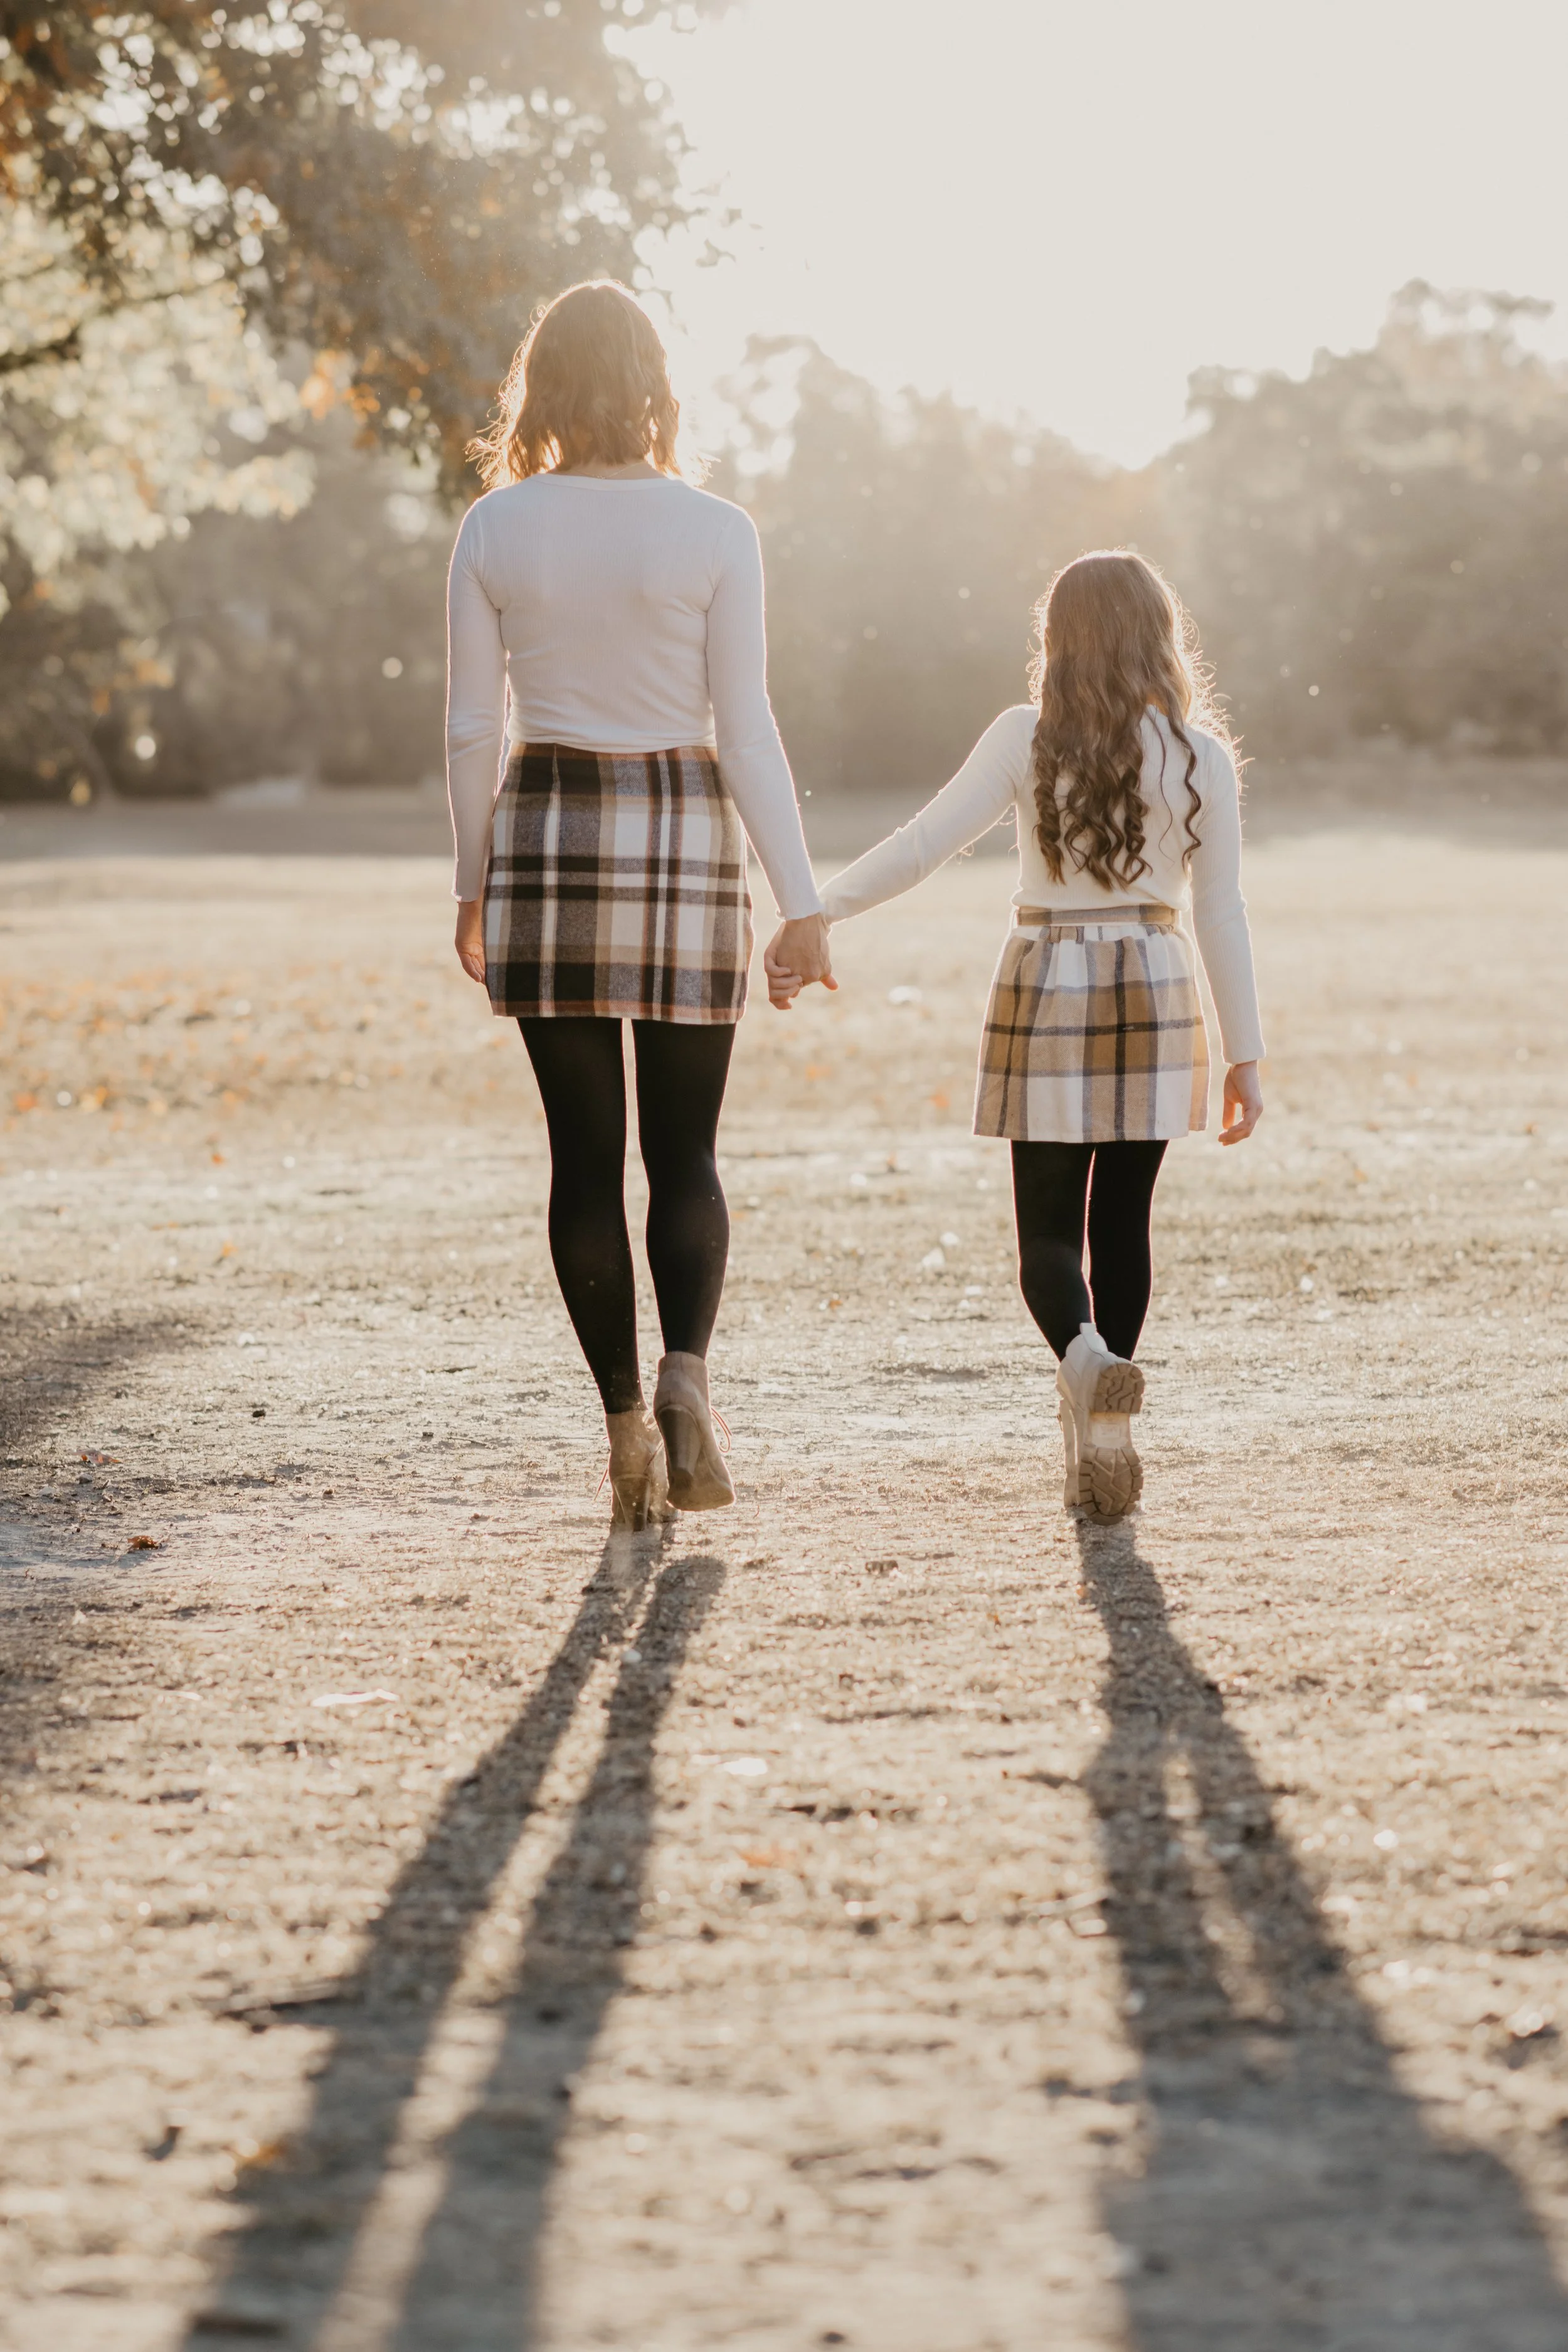
Don't place the sun directly behind your subject's head. Instead, have them move slightly to the side, so the light is coming from a 45-degree angle or just off-center. This helps create that lovely rim light without blowing out your subject's face completely.

4. Filter the Light 🌳
If the sun's too intense, or you want to avoid too much haze or lens flare, use natural filters! Position your subject in front of trees, tall grass, or even a building. These elements can break up the direct light, making it softer and more manageable.
5. Embrace Open Sky Behind You ☁️
To get some beautiful, soft light falling on your subject's face and balancing the scene, make sure there's open sky behind you (the photographer). This ambient light acts like a giant, natural fill light!
6. Use a Reflector (Your Best Friend!) 💡
A reflector is a game-changer for backlighting! Position it in front of your subject to bounce light back onto their face. This brightens up any shadows created by the backlight, giving you a perfectly exposed subject with that stunning glow.
Here is a great blog post about reflectors. It explains exactly what reflectors are and when and how to best use them!

7. Spot Metering is Your Go-To 🎯
Change your camera's metering mode to Spot Metering. Then, meter directly off your subject's face. This tells your camera to expose specifically for them, ensuring they're well-lit even with the bright background.
8. "Chimp" & Adjust! 🐒
Don't be afraid to take a shot, look at your camera screen ("chimping"), and adjust! Backlighting can be tricky, so reviewing your images and making small tweaks to your settings (exposure compensation, shutter speed, aperture) as you go is key to getting it just right.
9. Help Your Camera Focus 🧐
Intense backlight can sometimes confuse your camera's autofocus. If you're struggling, use a lens hood to block stray light, or even cup your hand around the front of your lens. This can often give your camera the little boost it needs to lock focus on your subject.
10. Backlight is Everywhere! 🏞️
You don't need a picturesque field to use backlighting! Look for it in your backyard, a city street, or even indoors near a bright window. The principles apply universally, so get creative with your surroundings!
Needing to dive deeper? Check out…
The Lightroom Series for editing.
AI-Powered Hail Mary Masks for lightning fast, unmatched editing tools.
The Camera Series for comprehensive and affordable trainings suitable for beginner or intermediate photographers.
Nancy’s Recommended Gear and where she buys it used (reputable with warranties!)