5 Reasons Your Photos Are Blurry (And How to Fix Them Fast!)
There is a specific kind of heart-wrenching pain every photographer knows.
You’re out shooting, you glance at the quick preview on the back of your camera, and it looks amazing. You celebrate a little bit. But then you get home, load the image onto a big monitor, zoom in, and... wham.
The subject’s eyes are soft. The hair is blurry. The background wall behind them? Crisp as a potato chip. 💔
If you’ve ever wanted to throw your camera out the window after taking a fuzzy shot, take a deep breath. Blurry photos happen to everyone—even seasoned pros. The trick is knowing why it happened so you can fix it on the fly.
Here are the 5 most common culprits behind blurry photos and the quick tweaks that will get your images razor-sharp.

1. Your Shutter Speed Was Too Slow (Camera Shake)
If the entire image looks a little squiggly or micro-blurry—not just your subject, but the ground, trees, and background too—you're likely dealing with camera shake.
When you hand-hold your camera, your body naturally makes tiny micro-movements. If your shutter speed is too slow, your camera’s "eye" stays open long enough to register those tiny hand trembles as motion blur.
🛠️ The Fix: Follow the Reciprocal Rule
As a rule of thumb, never set your shutter speed lower than 1 over your lens focal length (double is even better!!).
Shooting on a 50mm lens? Keep your shutter speed at 1/50 or faster (1/100s is safer).
Shooting on an 80mm lens? Keep it at 1/80 or faster (1/160 if you’re a double like me!).
💡 Pro Tip for Family Photographers: If you’re photographing humans (who breathe, blink, and sway), I recommend keeping your shutter speed at 1/250s or faster even if you’re using a wide lens!

2. Your Subject Moved Faster Than Your Shutter
Sometimes your hands are steady as a rock, the background is tack-sharp, but your subject looks like a ghost zooming through the frame. That’s motion blur.
A shutter speed of 1/125s might be totally fine for a calm adult sitting on a bench. But a toddler running after a bubble? A dog chasing a ball? 1/125s isn't fast enough to freeze that action!
Slow Shutter (1/60) —> creates motion blur (smears in photo)
Fast Shutter (1/1000) —> freezes action (running kids)
🛠️ The Fix: Crank Up the Speed
When movement enters the picture, bump your shutter speed way up:
Walking or laughing subjects: 1/500s
Running kids, sports, or pets: 1/1000s or faster
Don't be afraid to raise your ISO indoors to make up for that super-fast shutter speed—a little digital grain is always easier to fix in editing than a blurry face!
🔗 Shooting indoors? Check out my breakdown of Camera Settings for Indoor Images to keep your shutter speed fast without making your photos dark!

3. Your Aperture Was Waaaaay Too Wide
We all love that buttery, dreamy background blur (also known as bokeh). But when you shoot "wide open" at massive apertures like f/1.4 or f/1.8, your depth of field—the slice of your image that is actually in focus—becomes razor-thin.At f/1.4, if you focus on someone’s pupil, their eyelashes might be sharp, but their nose tip and ears could already be slipping out of focus! And if you're photographing two people side-by-side, one of them will almost certainly end up soft.
🛠️ The Fix: Give Yourself Some Breathing Room
Stop down your aperture to widen your focal plane:
Single Portraits: Try f/2.2 or f/2.8 instead of f/1.4. You’ll still get a gorgeous soft background, but you won't miss the subject's face if they lean forward an inch.
Pairs & Couples: Stop down to f/2.8 – f/4.0.Families & Groups: Keep it at f/4.0 – f/5.6 to keep everyone crisp from front to back.
🔗 Related Read: Want to see exact f-stop examples? Read Aperture & Depth of Field: A Beginner Guide or check out my guide on How to Get Dreamy Blurry Backgrounds!
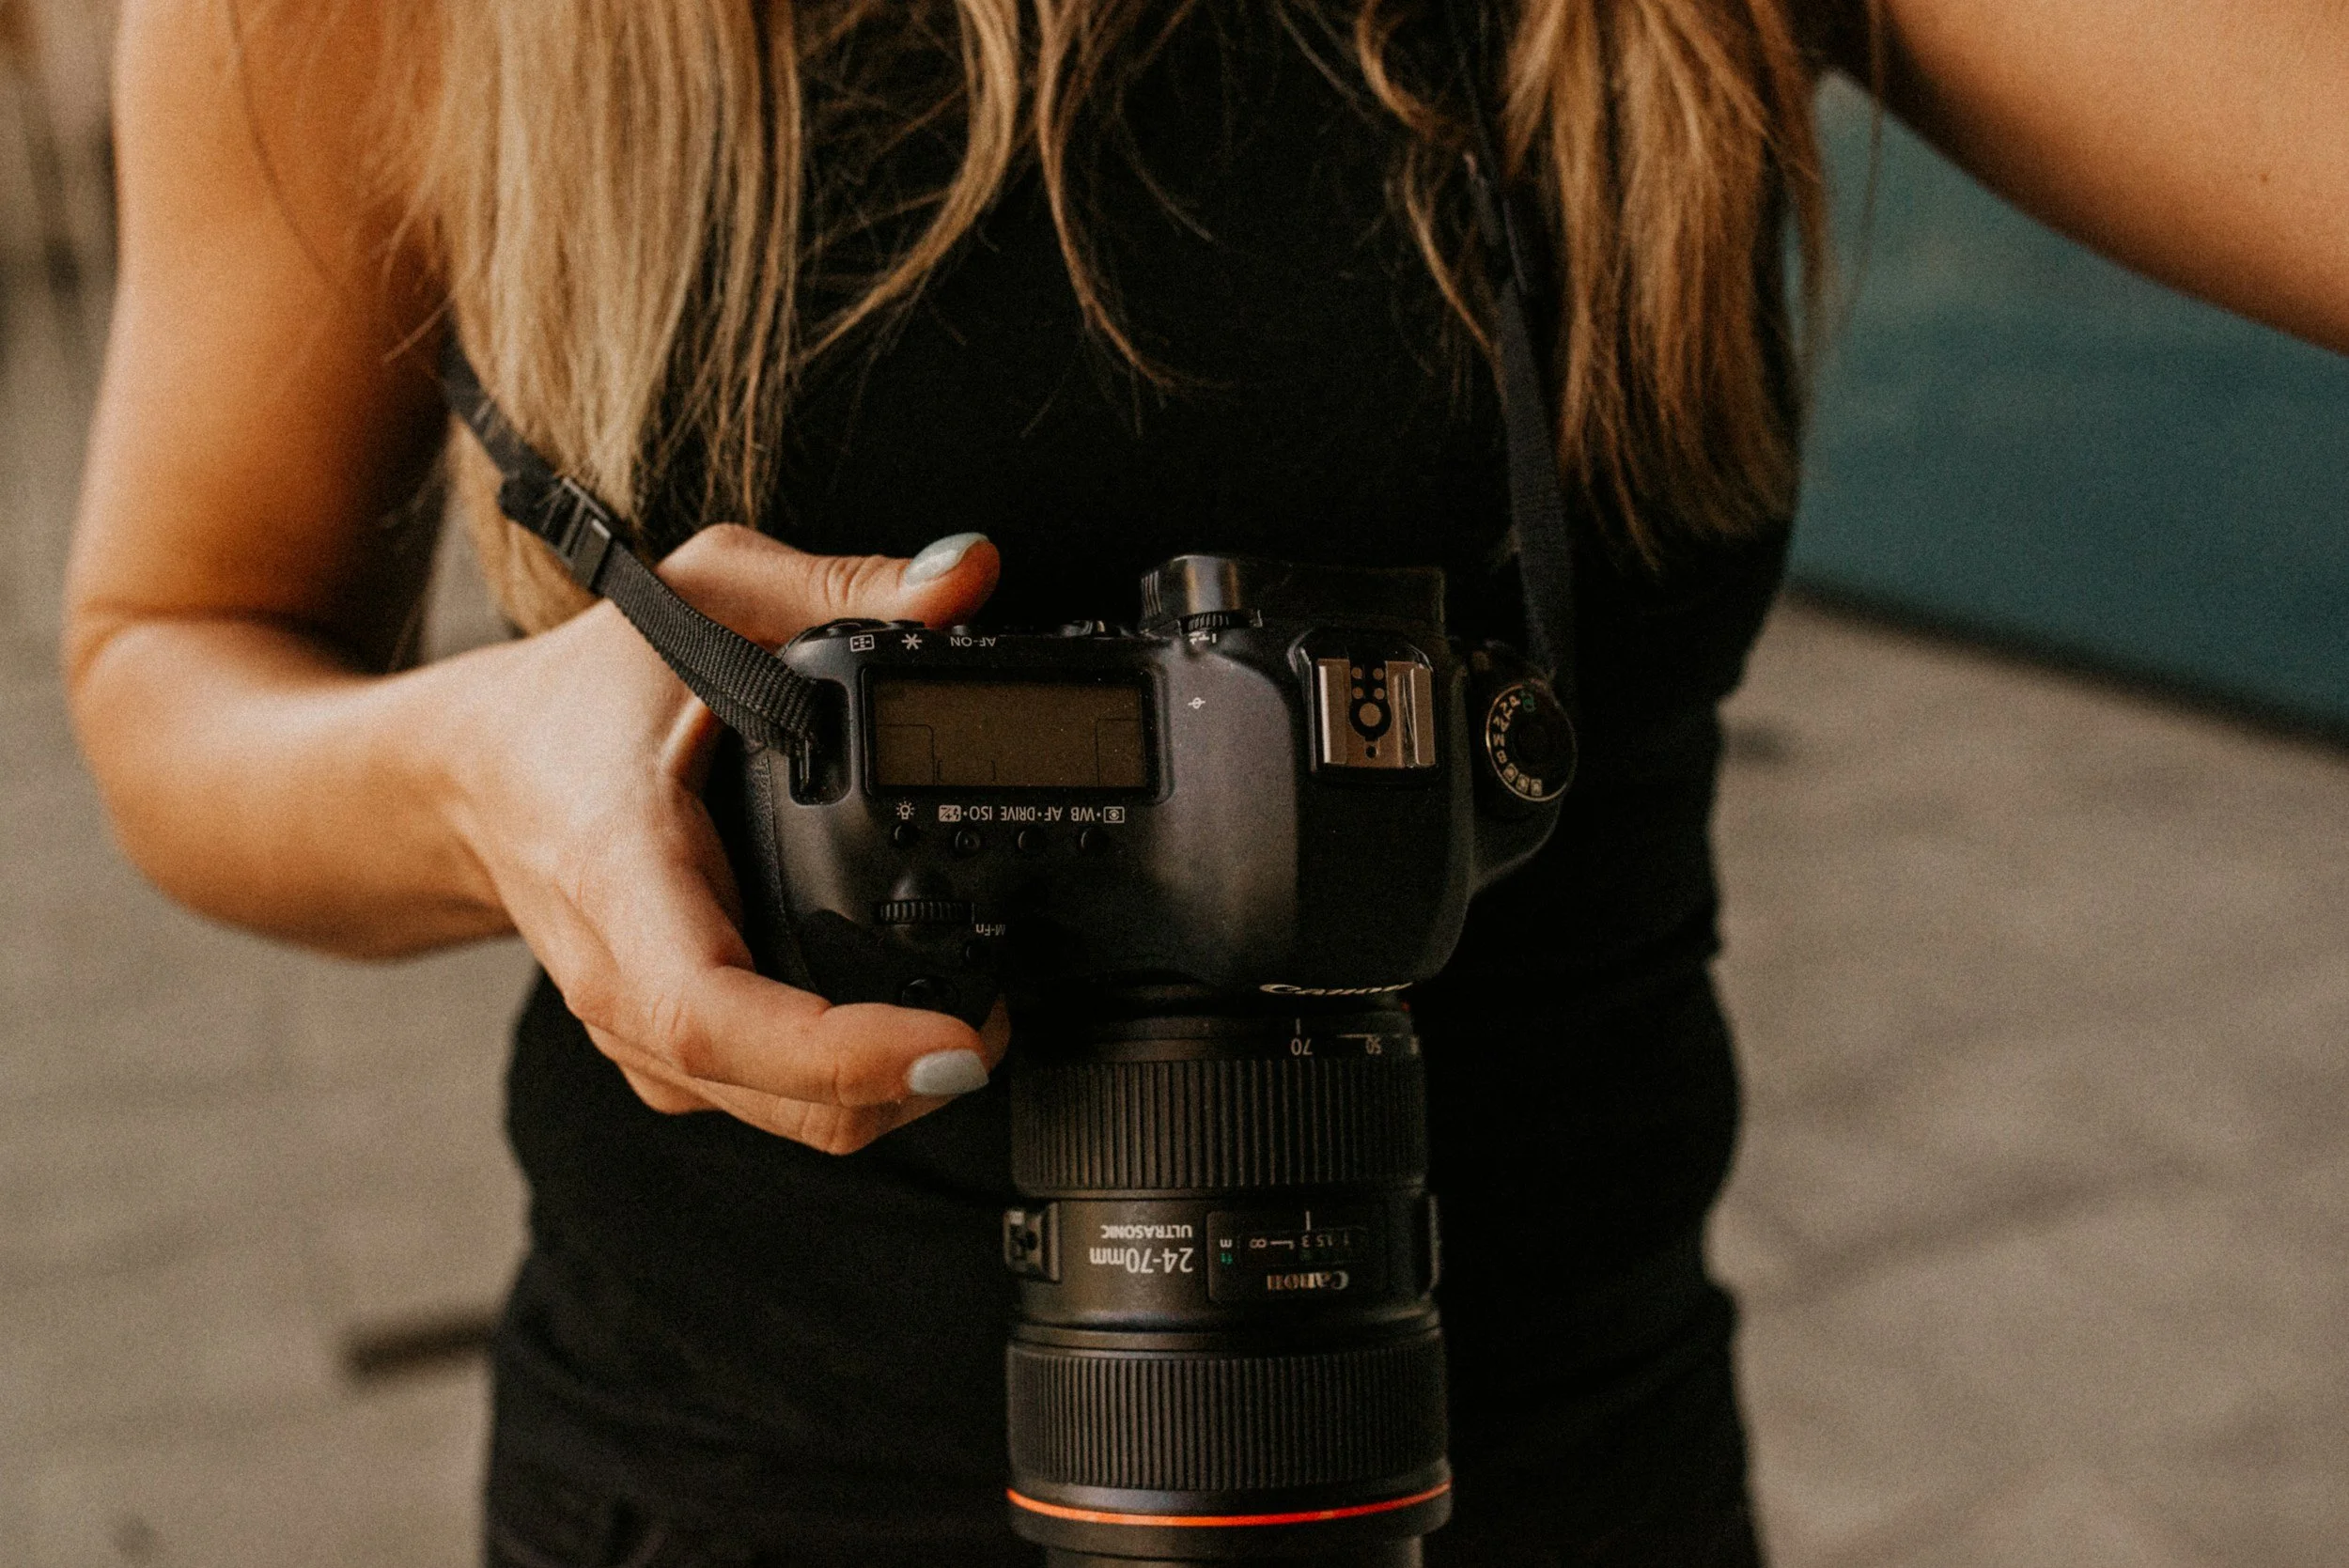
4. You Used the Wrong Focus Mode for the Job
Your camera is smart, but it can’t read your mind. If your camera settings are telling it to look for a stationary object while your subject is actively walking toward you, it’s going to focus on the spot where they were half a second ago.
🛠️ The Fix: Switch Your Autofocus Mode
Make sure your autofocus drive matches what’s happening in front of your lens:
AF-S (Single Servo) / One-Shot: Best for subjects that are completely still (posed adults, landscape scenes, sleeping babies). You half-press the shutter button, it locks focus once, and holds it.
AF-C (Continuous Servo) / AI Servo: Essential for subjects in motion. Your camera actively tracks and readjusts focus as long as you hold the shutter button halfway down.
Eye AF: If you've upgraded to modern mirrorless tracking, make sure Eye AF is enabled! It locks onto the nearest pupil like a magnet.
🔗 Gear Check: Wondering how focus tracking compares across bodies? Check out my guide on Mirrorless vs. DSLR: Choosing Your Camera!

5. You Focused and Then Re-Composed
A classic beginner technique is "focus-and-recompose": half-pressing the shutter button to lock focus on an eye in the center of the frame, and then tilting the camera to re-frame the photo.
While this worked fine back in the film days with deep apertures, doing this at f/1.8 actually swings the focal plane on a curve. By the time you shift your camera angle, that razor-thin focal line has moved behind your subject's face!
🛠️ The Fix: Move Your Focus Point or Use Eye AF
Instead of moving your whole camera after locking focus, keep your camera stationary and move your single focus point directly over your subject’s eye using your camera's joystick or directional pad. Better yet, step through my Step-by-Step Guide to Camera Settings in Manual Mode to master focal points on the fly!
Quick Troubleshooting Checklist for Your Next Shoot
Next time a test shot looks soft on your screen, run down this 10-second checklist:
Is the whole photo blurry? → Raise your shutter speed (camera shake).
Is just the moving subject blurry? → Double your shutter speed (motion blur).
Is only an ear or nose in focus? → Close down your f-stop by 1–2 clicks.
Did the camera focus on the background tree instead? → Switch to Continuous AF or Single Point AF.
🔗 Still noticing issues even with perfect settings? Sometimes the issue isn't your technique—it's calibration! Read Do You Need to Calibrate Your Lens? and run a quick test with Test Your Lens for Focus Issues to see if your gear needs fine-tuning.

Ready to Never Worry About Blurry Photos Again?
Fixing blurry photos isn't about buying a $4,000 camera body—it’s about building true muscle memory behind the dials so you can adjust your focus and exposure without breaking a sweat during a live session.
If you're ready to stop guessing and start taking tack-sharp, perfectly exposed images on every shoot, come check out The Camera Series!
Inside The Camera Series:
The Exposure Training: Master my signature Manual Mode Framework, the Zone System, and histogram reading so your images never look muddy or blown out again.
The Finding Focus Training: Learn the "Search Party" logic that works across Canon, Nikon, Sony, and Fuji. Master modern AI Subject Detection, Back Button Focus, and group shot setups so you never suffer the heartbreak of a blurry photo again.
The Complete Scenario Playbook & Repair Guides: Step-by-step checklists to set up your gear for kids, action, and outdoor portraits—plus a guide to diagnose why a focus shot failed so you never make the same mistake twice.
When you enroll in The Camera Series, you’re not just getting self-paced video lessons—you’re also gaining access to our exclusive student Facebook community of over 600 photogs who are learning, sharing, and growing together!
Whether you grab an individual training or save by bundling the complete series, you can start today and take control of your creative vision.
Search the blog for more helpful info! 👇
Needing to dive deeper? Check out…
The Camera Series— for mastering your gear.
The Lightroom Series— for editing.
AI-Powered Hail Mary Masks— for lightning fast, unmatched editing tools.
The Camera Series— for comprehensive, affordable trainings designed for beginner or intermediate photographers.
Nancy’s Recommended Gear— and where she buys it used (reputable with warranties!)