Choose Perfect Camera Settings in Manual Mode (Step-by-Step Guide)
Many photographers struggle with choosing the right settings when ditching auto. But fear not! Today, we're breaking down how to confidently select your aperture, shutter speed, and ISO, with real-world examples to guide you. Let's dive in and take control of your creativity! 🚀

How to Conquer Manual Mode: A Simple Framework
Manual mode is all about balancing aperture, shutter speed, and ISO to achieve the perfect exposure. But where do you start? The key is to identify the most important element for your desired shot and set that first. Most often, this will be your aperture or shutter speed.
1. When Aperture Reigns Supreme: Controlling Depth of Field
Aperture dictates depth of field—how much of your scene is in focus. (Need a refresher? Check out our aperture guide by clicking right here!) 👇
Situations when you want a lot of background blur - like to get a stunning portrait - or when you want everything nicely focused - to nail a landscape image - will mean your aperture is most important.
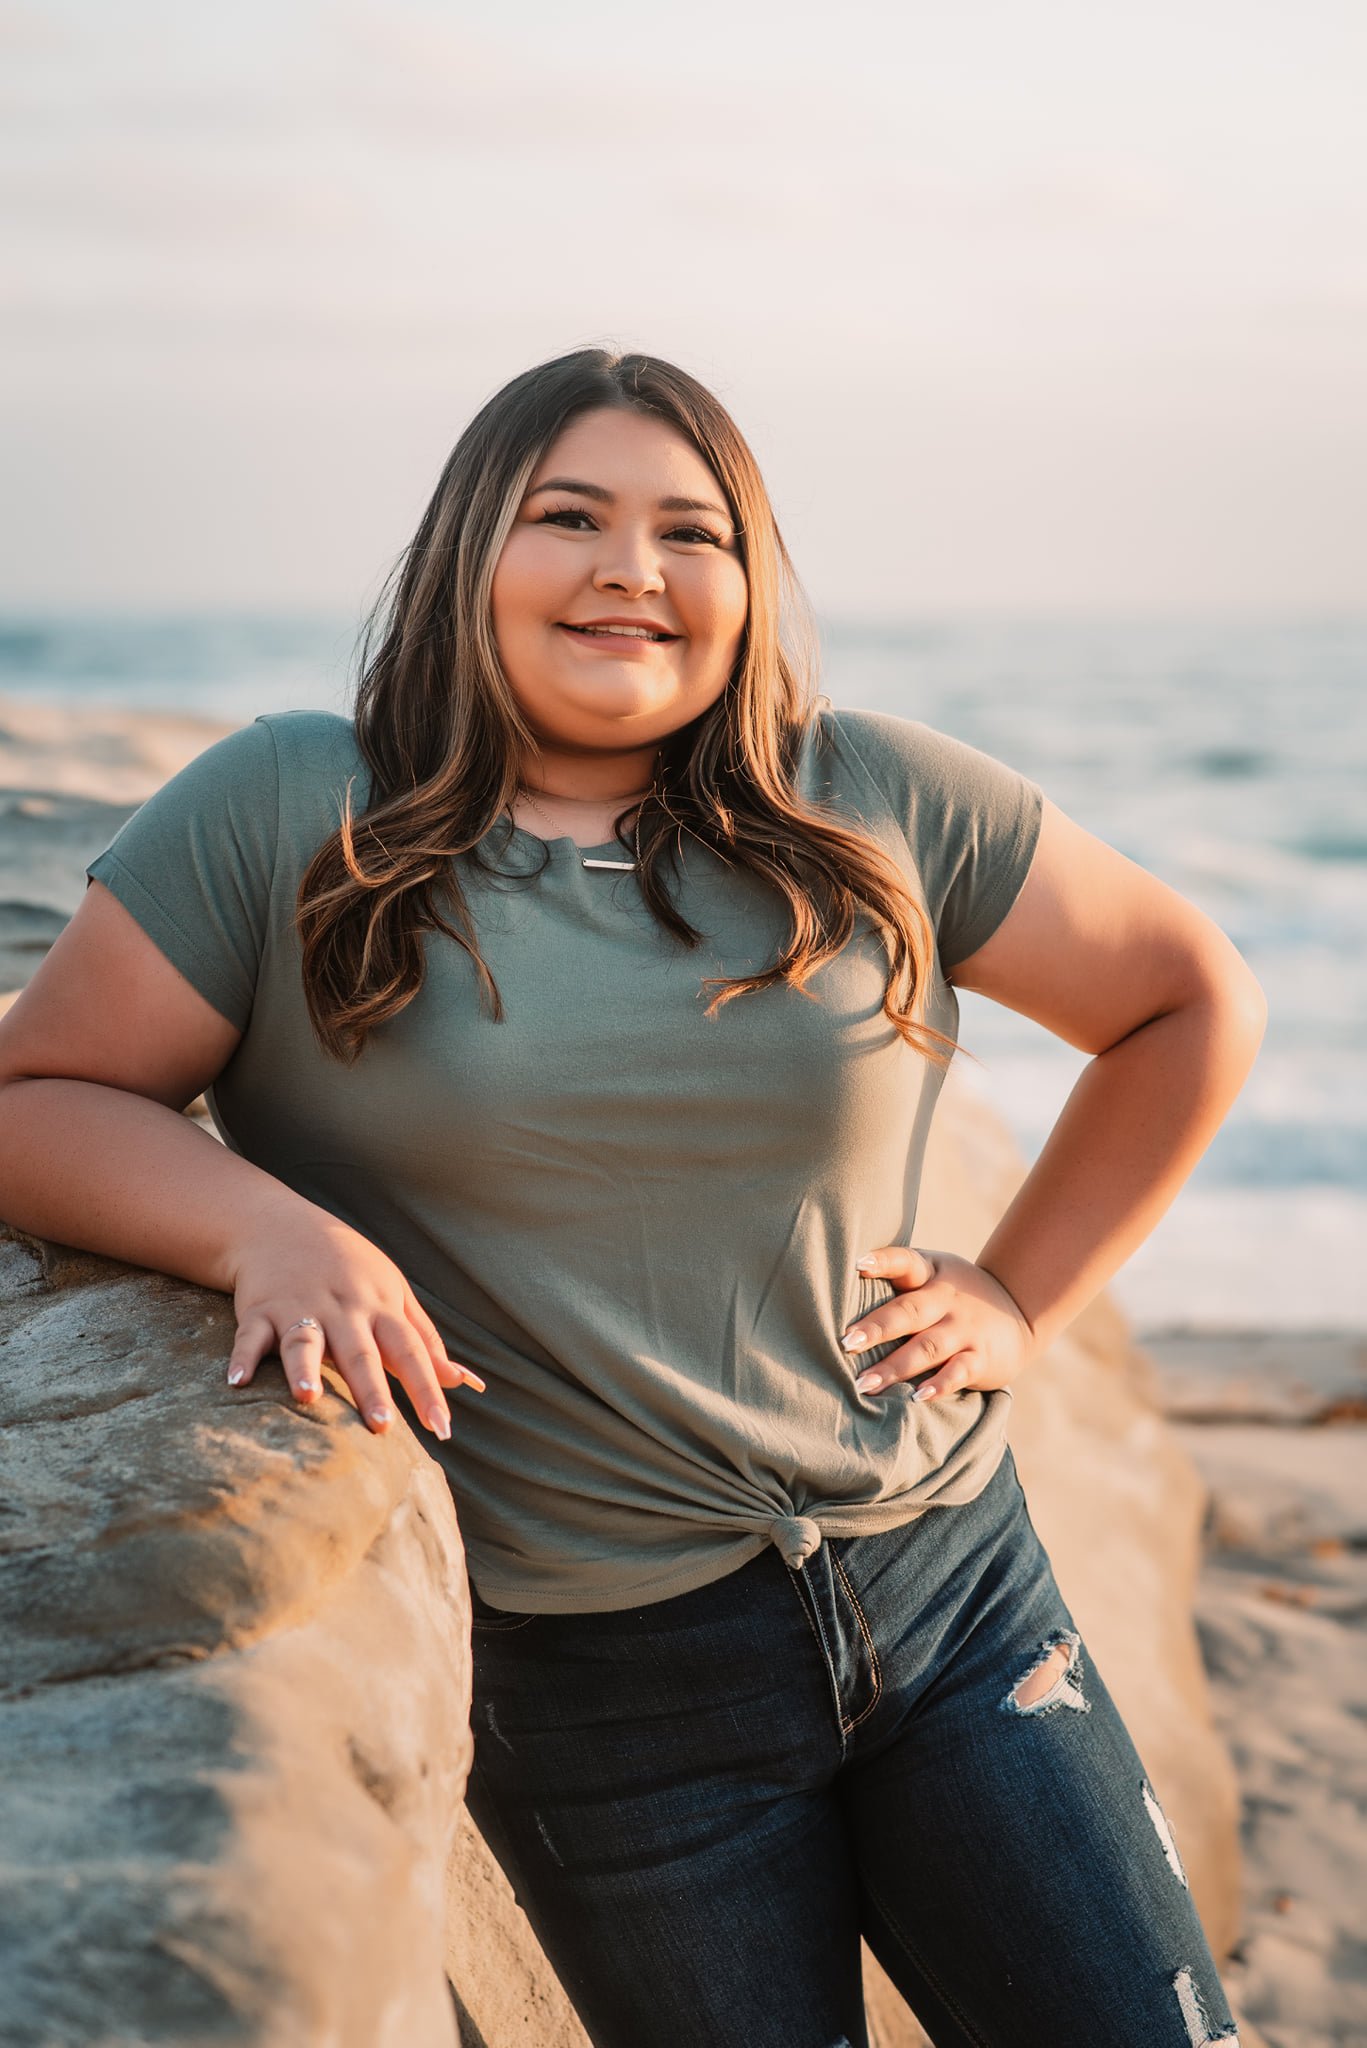
Portraits & Bokeh: Aim for f/1.4 to f/5.6 for that dreamy background blur.
Landscapes: Go for f/11 to f/22 to keep everything sharp.
Group Shots: f/5.6 to f/8 usually does the trick.
Macro Photography: Start around f/14 due to the shallow depth of field.
Let me stop here to tell you that if you want all of this blog post’s information in a handy guide, download my free manual mode settings cheat sheet below:
Example Photos: Aperture in Action
Photo 1: f/2.2, 1/250, ISO 200
Photo 2: f/2.0, 1/8000, ISO 100
Photo 3: f/11, 1/640, ISO 100


2. Shutter Speed: Freezing Motion or Creating Blur
Shutter speed controls motion. If you have a fast moving subject and you need to freeze them completely, you’ll put a lot of emphasis on deciding your shutter speed. On the other hand, if you want to intentionally show the motion by creating blur (like for a waterfall or car lights), shutter speed will be the most important setting.
Freezing Action: Use fast shutter speeds (1/500s or faster).
Motion Blur: Use slow shutter speeds (1/30s or slower, depending on the speed of the subject).
Example Photos: Shutter Speed Mastery
Photo 1: f/2.2, 1/800, ISO 200 (Freezing subject movement)
Photo 2: f/22, 1/125, ISO 1600 (Slight motion blur)


3. ISO: Your Last Resort in Low Light
ISO adjusts your camera's sensitivity to light. Use it when aperture and shutter speed alone won't cut it.
Extreme Low Light: High ISO (e.g., ISO 8000) may be necessary, but expect noise.


Pro Tip: Always aim for the lowest ISO possible to minimize noise.
No "Perfect" Settings: It's All About Balance
Remember, there's no magic formula! It's about balancing your settings to achieve your desired outcome. I’m hoping this post has helped to show you that you’ll need to assess the situation and decide, as a photographer, which settings to choose, and which order!
Step-by-Step Workflow:
Identify the most important setting (aperture or shutter speed).
Set that first.
Adjust the second most important setting.
Use ISO to fine-tune your exposure.
Beyond Settings: Understanding Exposure
Understanding settings is just the beginning. Understanding where to expose is crucial for truly stunning images. If you want to really master your photos and get the results you’ve always dreamed of, check out my trainings in The Camera Series.
Conclusion
Don't be afraid to experiment! Practice makes perfect, and soon you'll be confidently capturing incredible photos in manual mode. Happy shooting! 📸✨