The Simple 4-Step Method to Perfect White Balance in Lightroom
Have you ever taken a photo only to find a weird blue, green, or orange color cast when you look at it later? That frustrating shift in color is caused by incorrect White Balance (WB).

White balance is the foundation of a great photograph. It corrects those color casts, ensuring the colors in your image look accurate, natural, and true to life. It’s the very first thing every professional photographer fixes in post-processing.
While I always recommend trying to get your white balance right in-camera, the reality is that sometimes you miss it. Luckily, if you shoot in RAW, correcting it in editing is incredibly simple and can be done in four easy steps.
Before You Start: Get Your Editing Roadmap
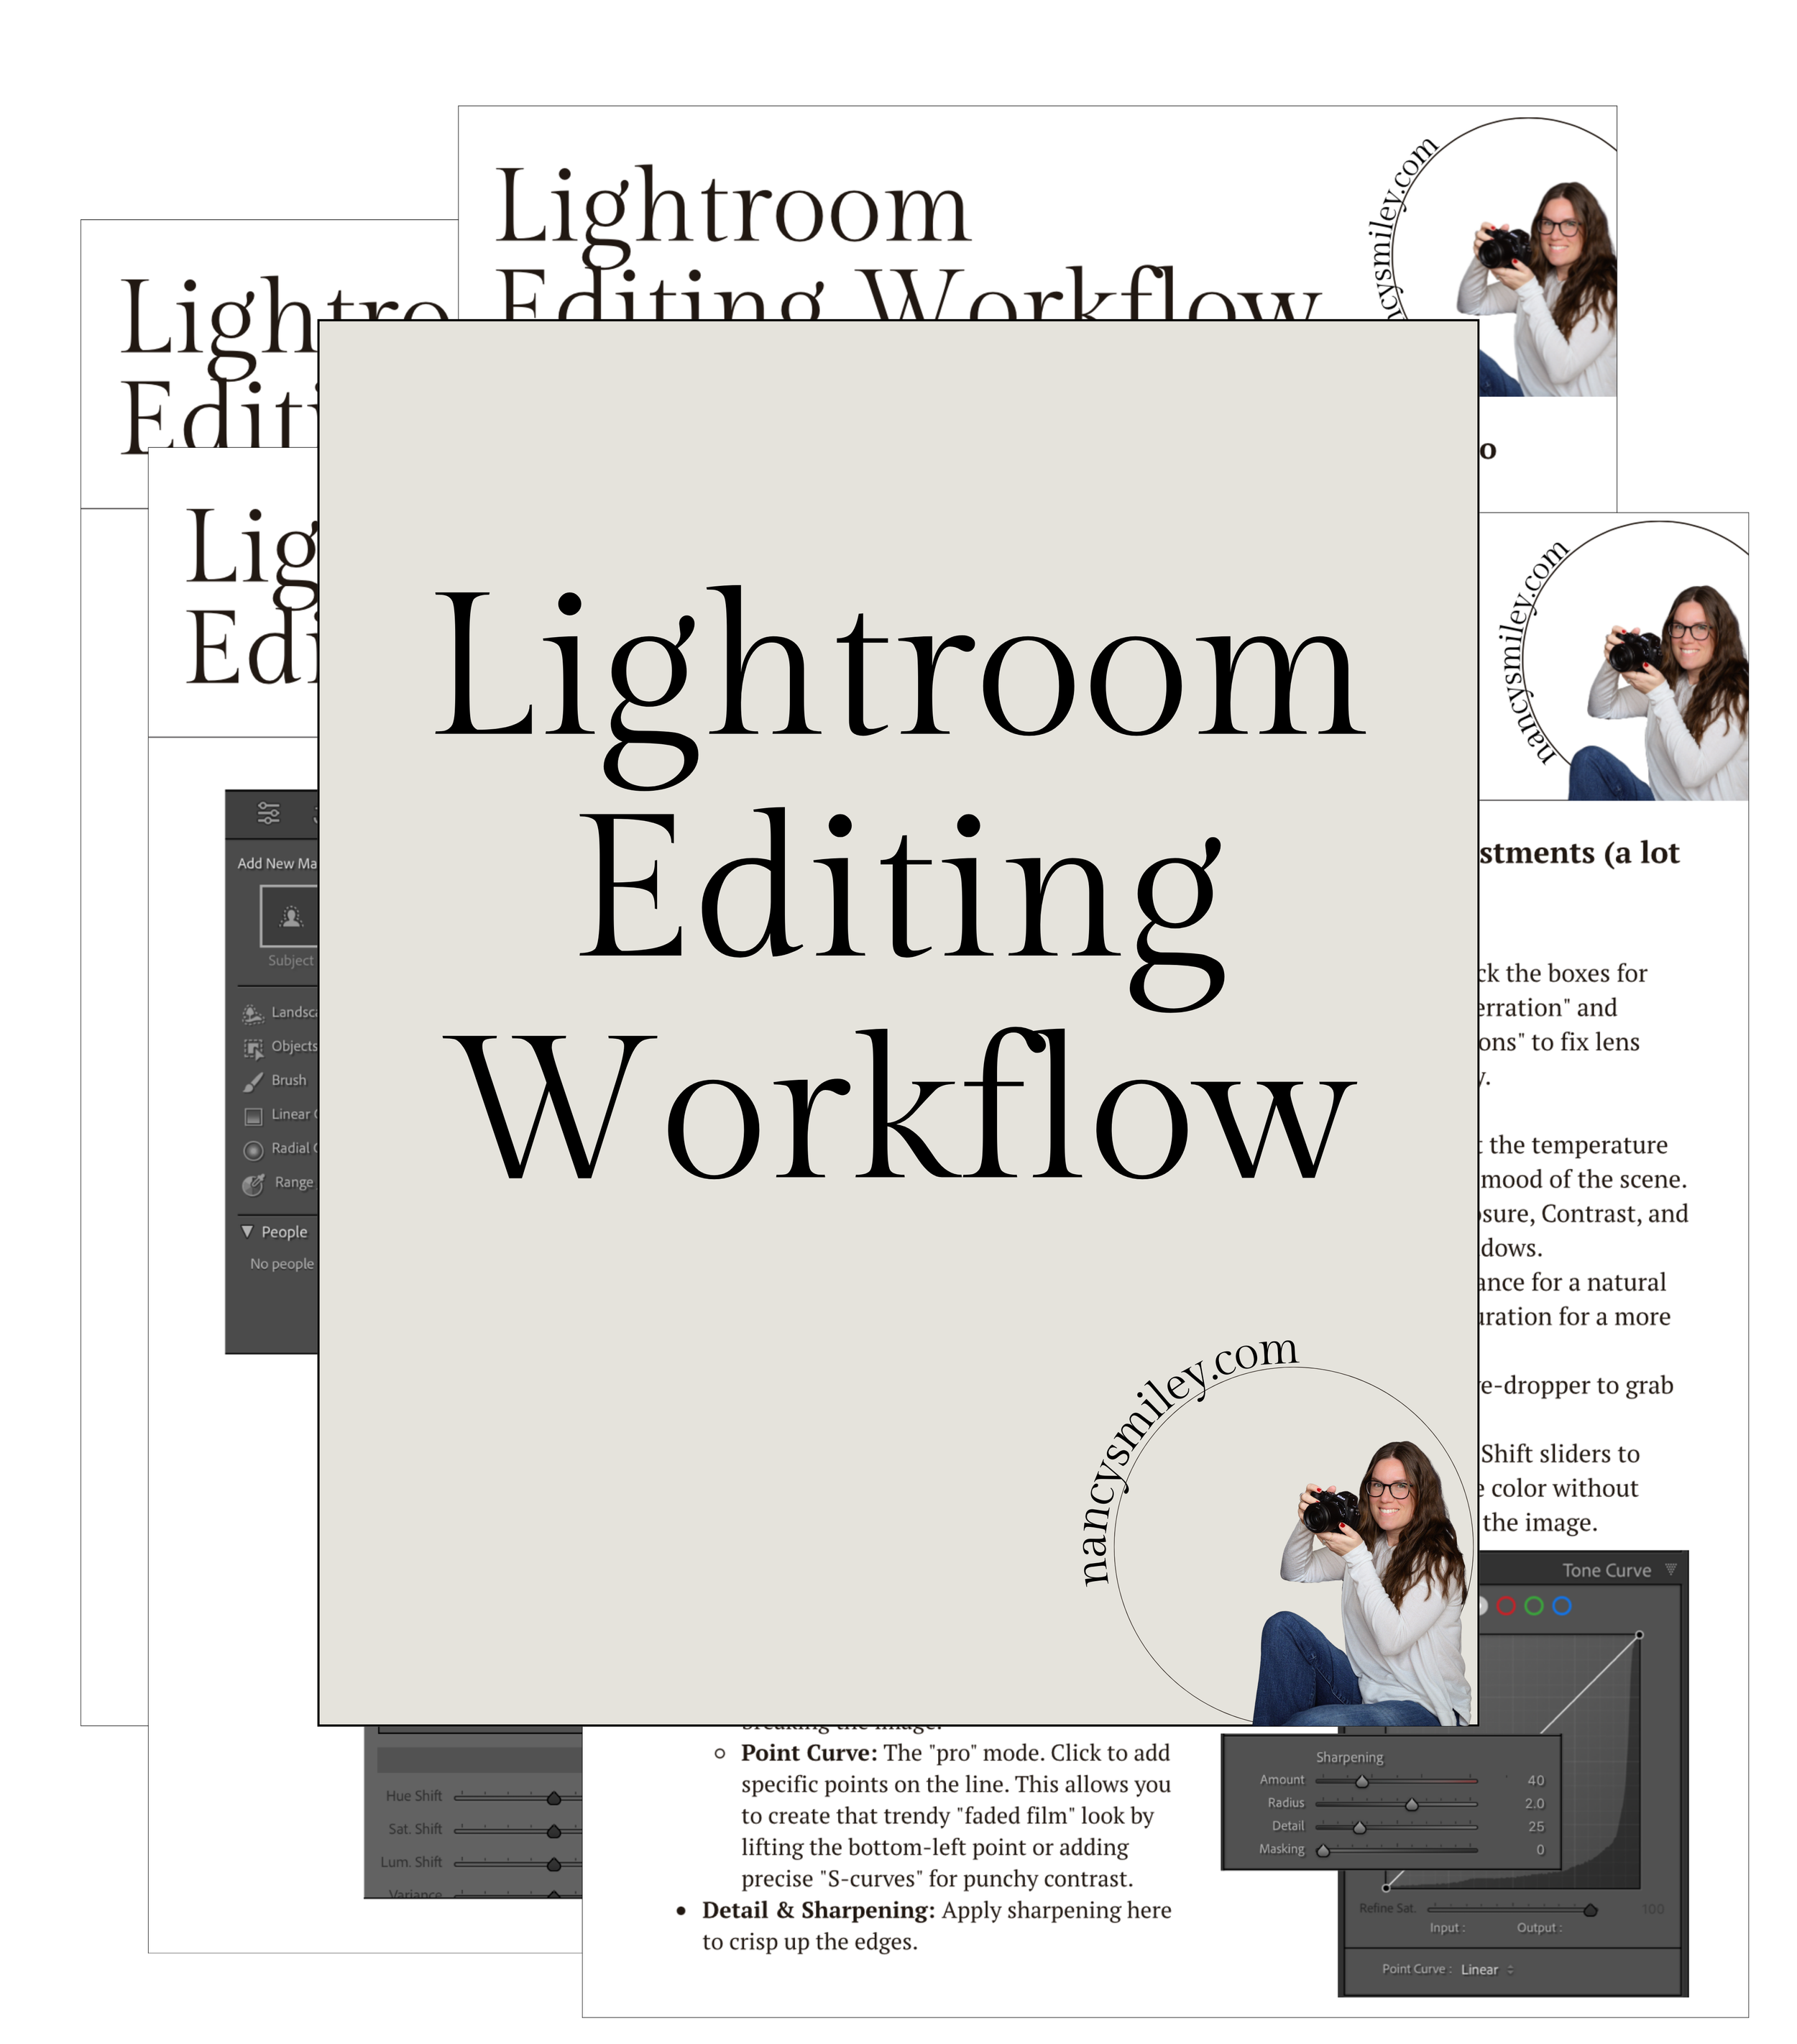
Before you dive into the steps below, fixing your white balance is only the first part of a professional workflow! If you’re not sure what steps to take after correcting WB, make sure you download my free Lightroom Editing Workflow. This comprehensive list walks you through every single step you should take to edit your images quickly and consistently.
Step 1: Grab Your White Balance Tool
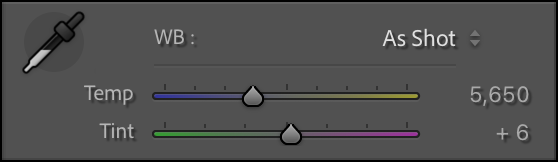
When you open your image in the Develop module of Lightroom Classic (or Adobe Camera Raw), look for the White Balance Eyedropper Tool. It usually looks like a small dropper icon located just above the temperature and tint sliders in the Basic panel.
Click this tool to activate it. You're ready to find your neutral!

Step 2: Find Your Neutral Area
Your camera needs a point of reference to know what true white or true gray looks like. A "neutral" is any area in your photo that should be pure white, pure black, or middle gray.
In a perfect scenario, you might use:
A gray sidewalk or concrete.
A clean white t-shirt or piece of paper.
A shadow on a pure white wall.
Pro-Tip for Checking: Hover the eyedropper over your chosen neutral. If the white balance is off, the RGB (Red, Green, Blue) numbers that pop up in your toolbar won't be equal. When the WB is correct, those numbers will be almost exactly the same!
Step 3: Click on Your Chosen Neutral
This is the magic part! Simply click the eyedropper tool once on your neutral area.
Lightroom instantly analyzes the pixel color you clicked and automatically adjusts the overall Temperature (blue to yellow) and Tint (green to magenta) to neutralize that spot. Your photo should immediately snap into a much more accurate color representation.
If your neutral is large, click around a few times—you might find a slightly different click gives you a more pleasing color.
Step 4: Fine-Tune with the Sliders
Once you've done the initial click, you may need to make small, subjective adjustments to match the scene as you remember it, or simply to fit your own creative style.
Temperature Slider: Move it right (toward yellow) if the image still looks too cool or blue. Move it left (toward blue) if it looks too warm or orange.
Tint Slider: Move it right (toward magenta) if the image has a slight green cast. Move it left (toward green) if it looks too pink.
This fine-tuning process is where you perfect your image. And this is especially critical when dealing with skin tones. Getting white balance right is the first step, but ensuring beautiful, natural-looking skin is the real goal. If you struggle with this, you're not alone!
Ready to Master Your Editing and Get Perfect Skin Tones?
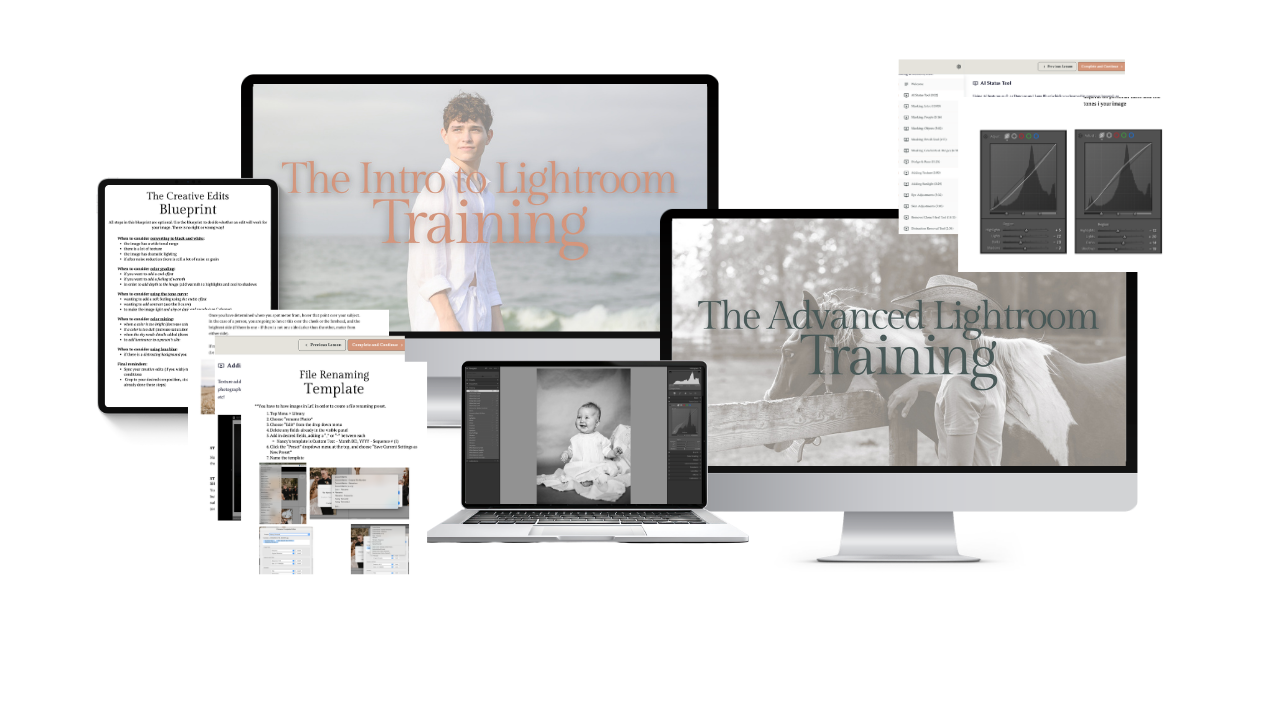
If you want to move beyond basic WB fixes and create truly professional-looking images, you need a repeatable editing system. My comprehensive and affordable trainings inside of The Lightroom Series gives you that system.
Inside, you'll learn my simple 3-step editing process, and there is an entire dedicated lesson on how to use the white balance and HSL sliders specifically to achieve flattering, natural skin tones on any subject.
Click here to enroll and unlock your editing potential today: The Lightroom Series
Help! What if I Don't Have a Neutral?
Don't panic! This is where the power of shooting in RAW saves the day.
Use the Dropdown Menu: Just above the Temperature slider, there is a White Balance dropdown menu (usually defaulted to "As Shot"). Click it and choose the white balance setting that best matches the shooting conditions (e.g., "Cloudy," "Shade," or "Tungsten").
Fine-Tune: After selecting the closest preset, use the Temperature and Tint sliders (Step 4) to make your final adjustments.
Remember: If you shoot JPEG, you lose a lot of this flexibility, so always make the switch to RAW if you want the best possible results in editing.
Now you have the simple framework to correct your white balance every time! Go give it a try!
Needing to dive deeper? Check out…
The Lightroom Series for editing.
AI-Powered Hail Mary Masks for lightning fast, unmatched editing tools.
The Camera Series for comprehensive and affordable trainings suitable for beginner or intermediate photographers.
Nancy’s Recommended Gear and where she buys it used (reputable with warranties!)