"Magic" Light You Can Find Anytime: A Guide to Open Shade
Have you ever looked at a stunning portrait and wondered how the photographer got that soft, glowing skin without a single harsh shadow in sight?
The secret isn't expensive lighting gear or a 5:00 AM alarm for the "golden hour." The secret is Open Shade.
If you’ve been struggling with "raccoon eyes" (those dark circles under the eyes caused by high-noon sun) or squinting subjects, this post is for you. Today, we’re breaking down exactly what open shade is, where to find it, and—most importantly—how to use it to level up your photography today.
What Exactly is Open Shade?
Think of open shade as the "Goldilocks" of lighting. It’s not direct, harsh sunlight, but it’s not a dark, cave-like shadow either.
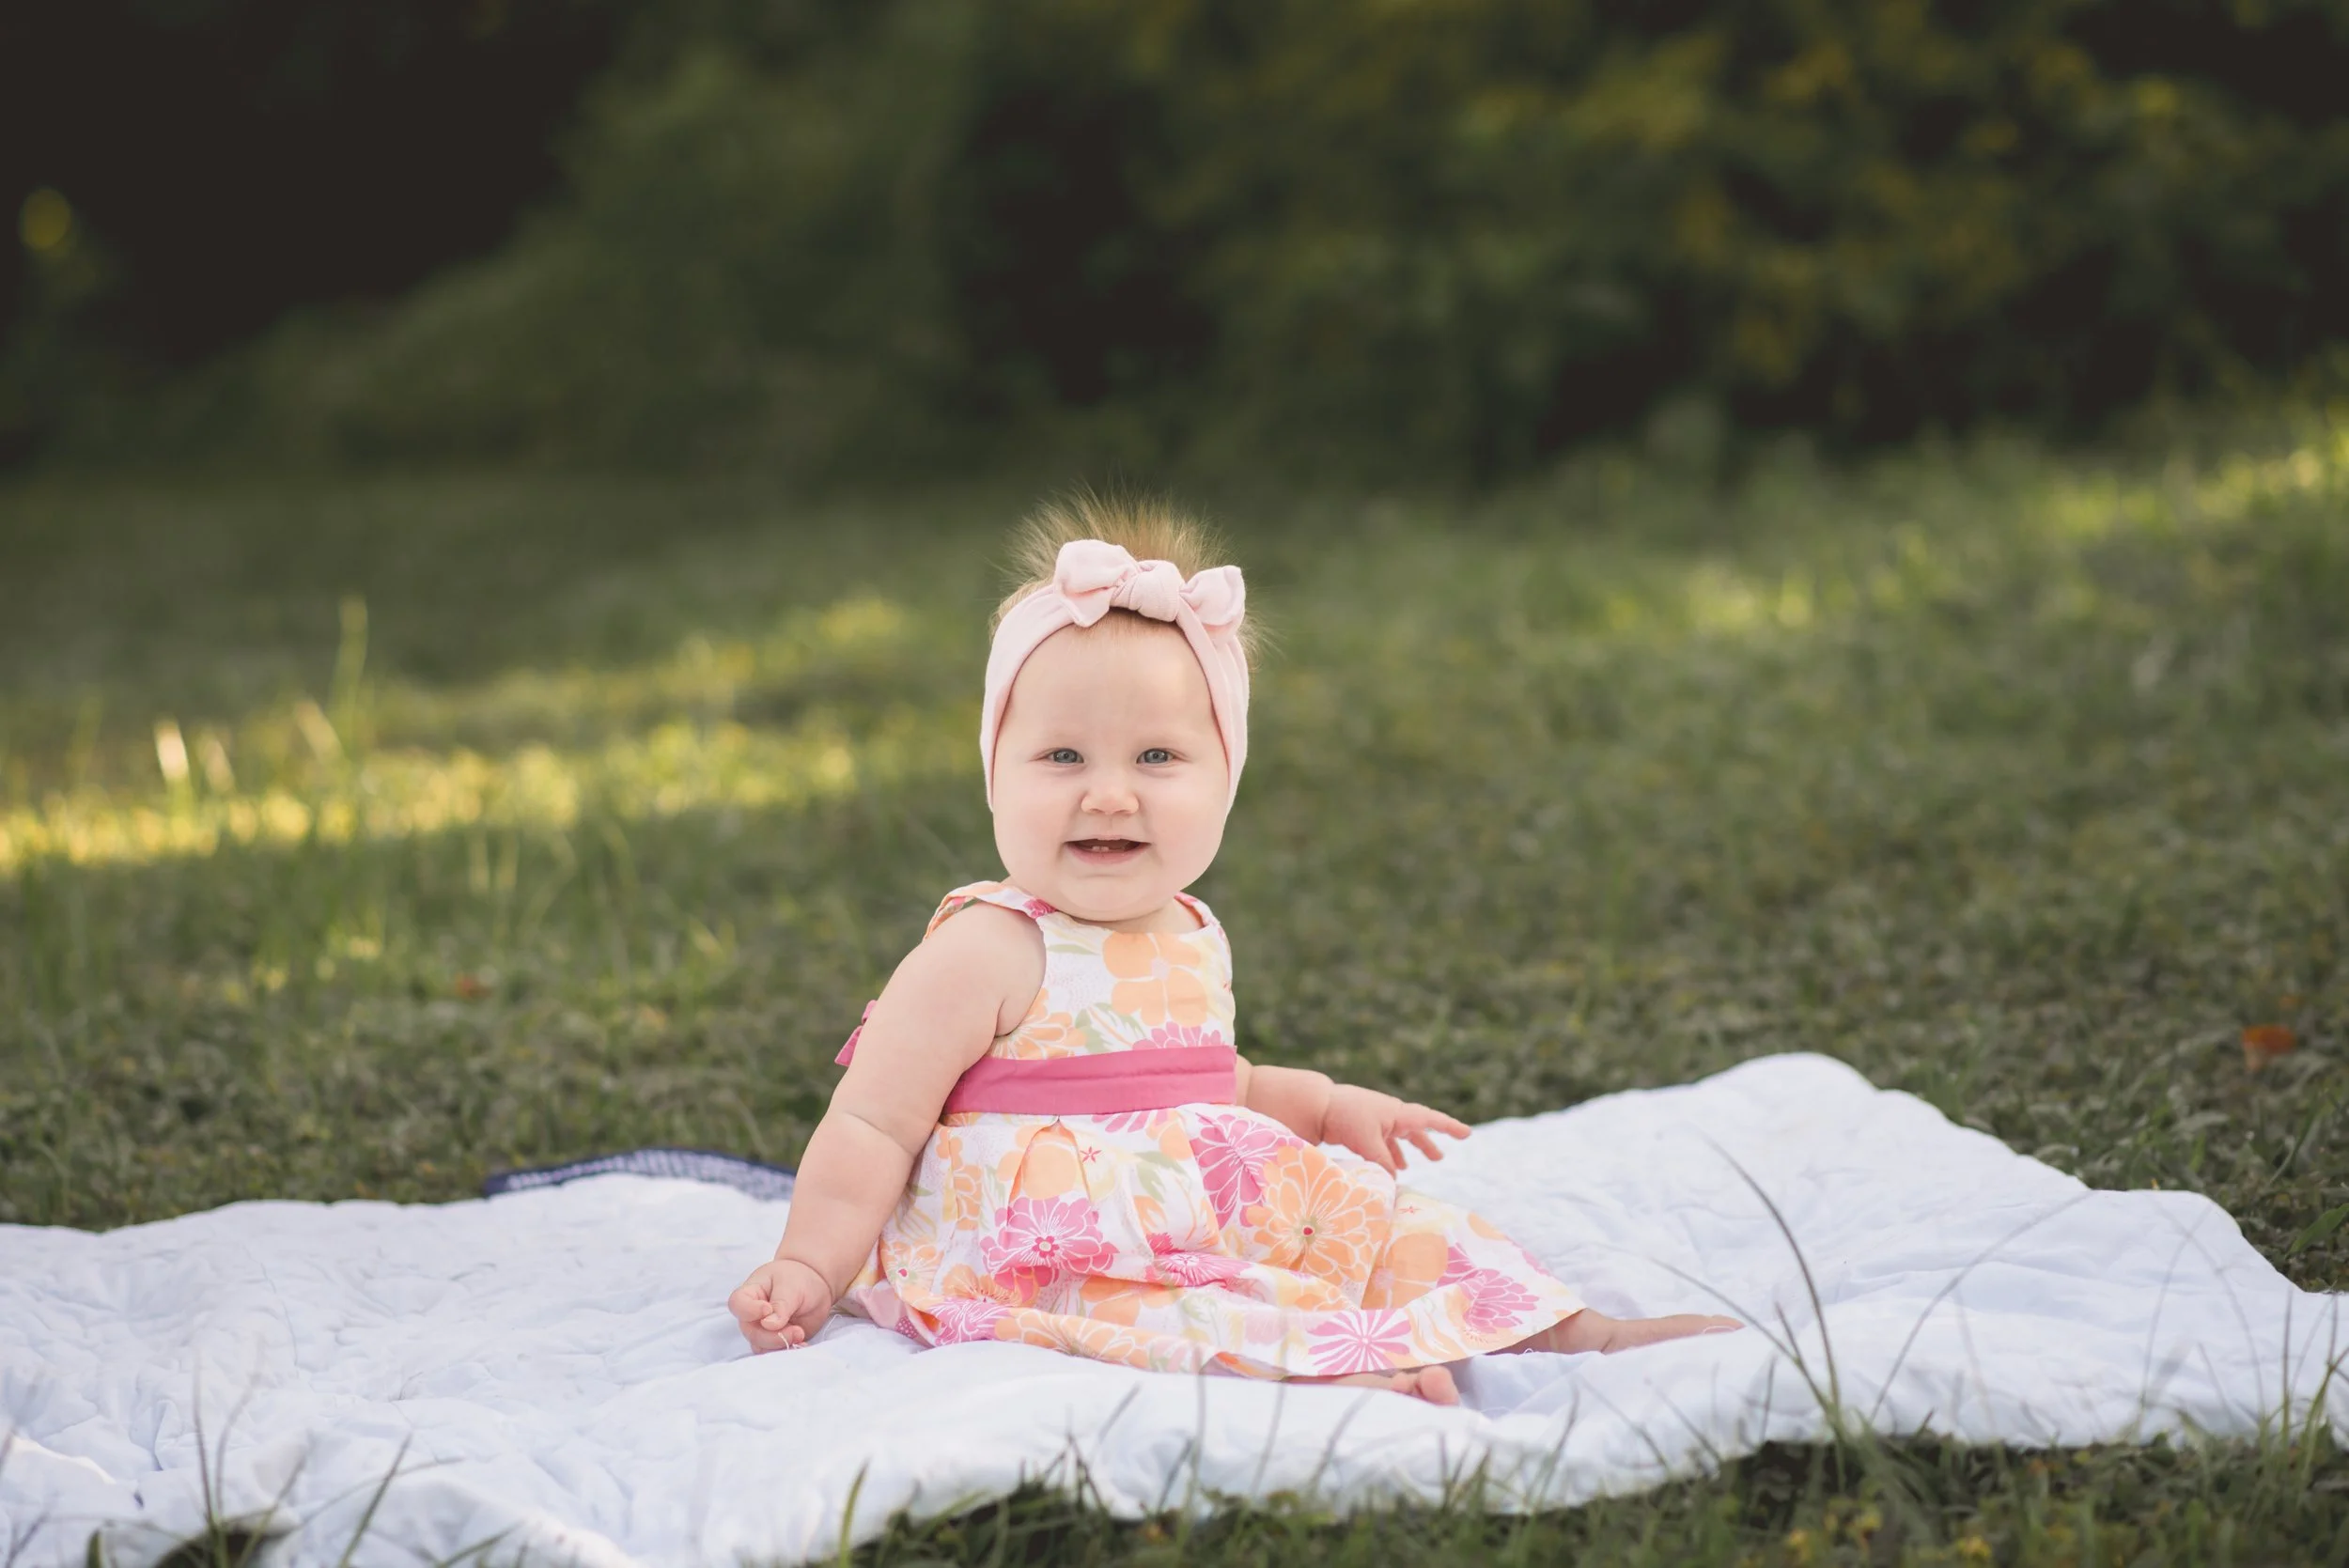
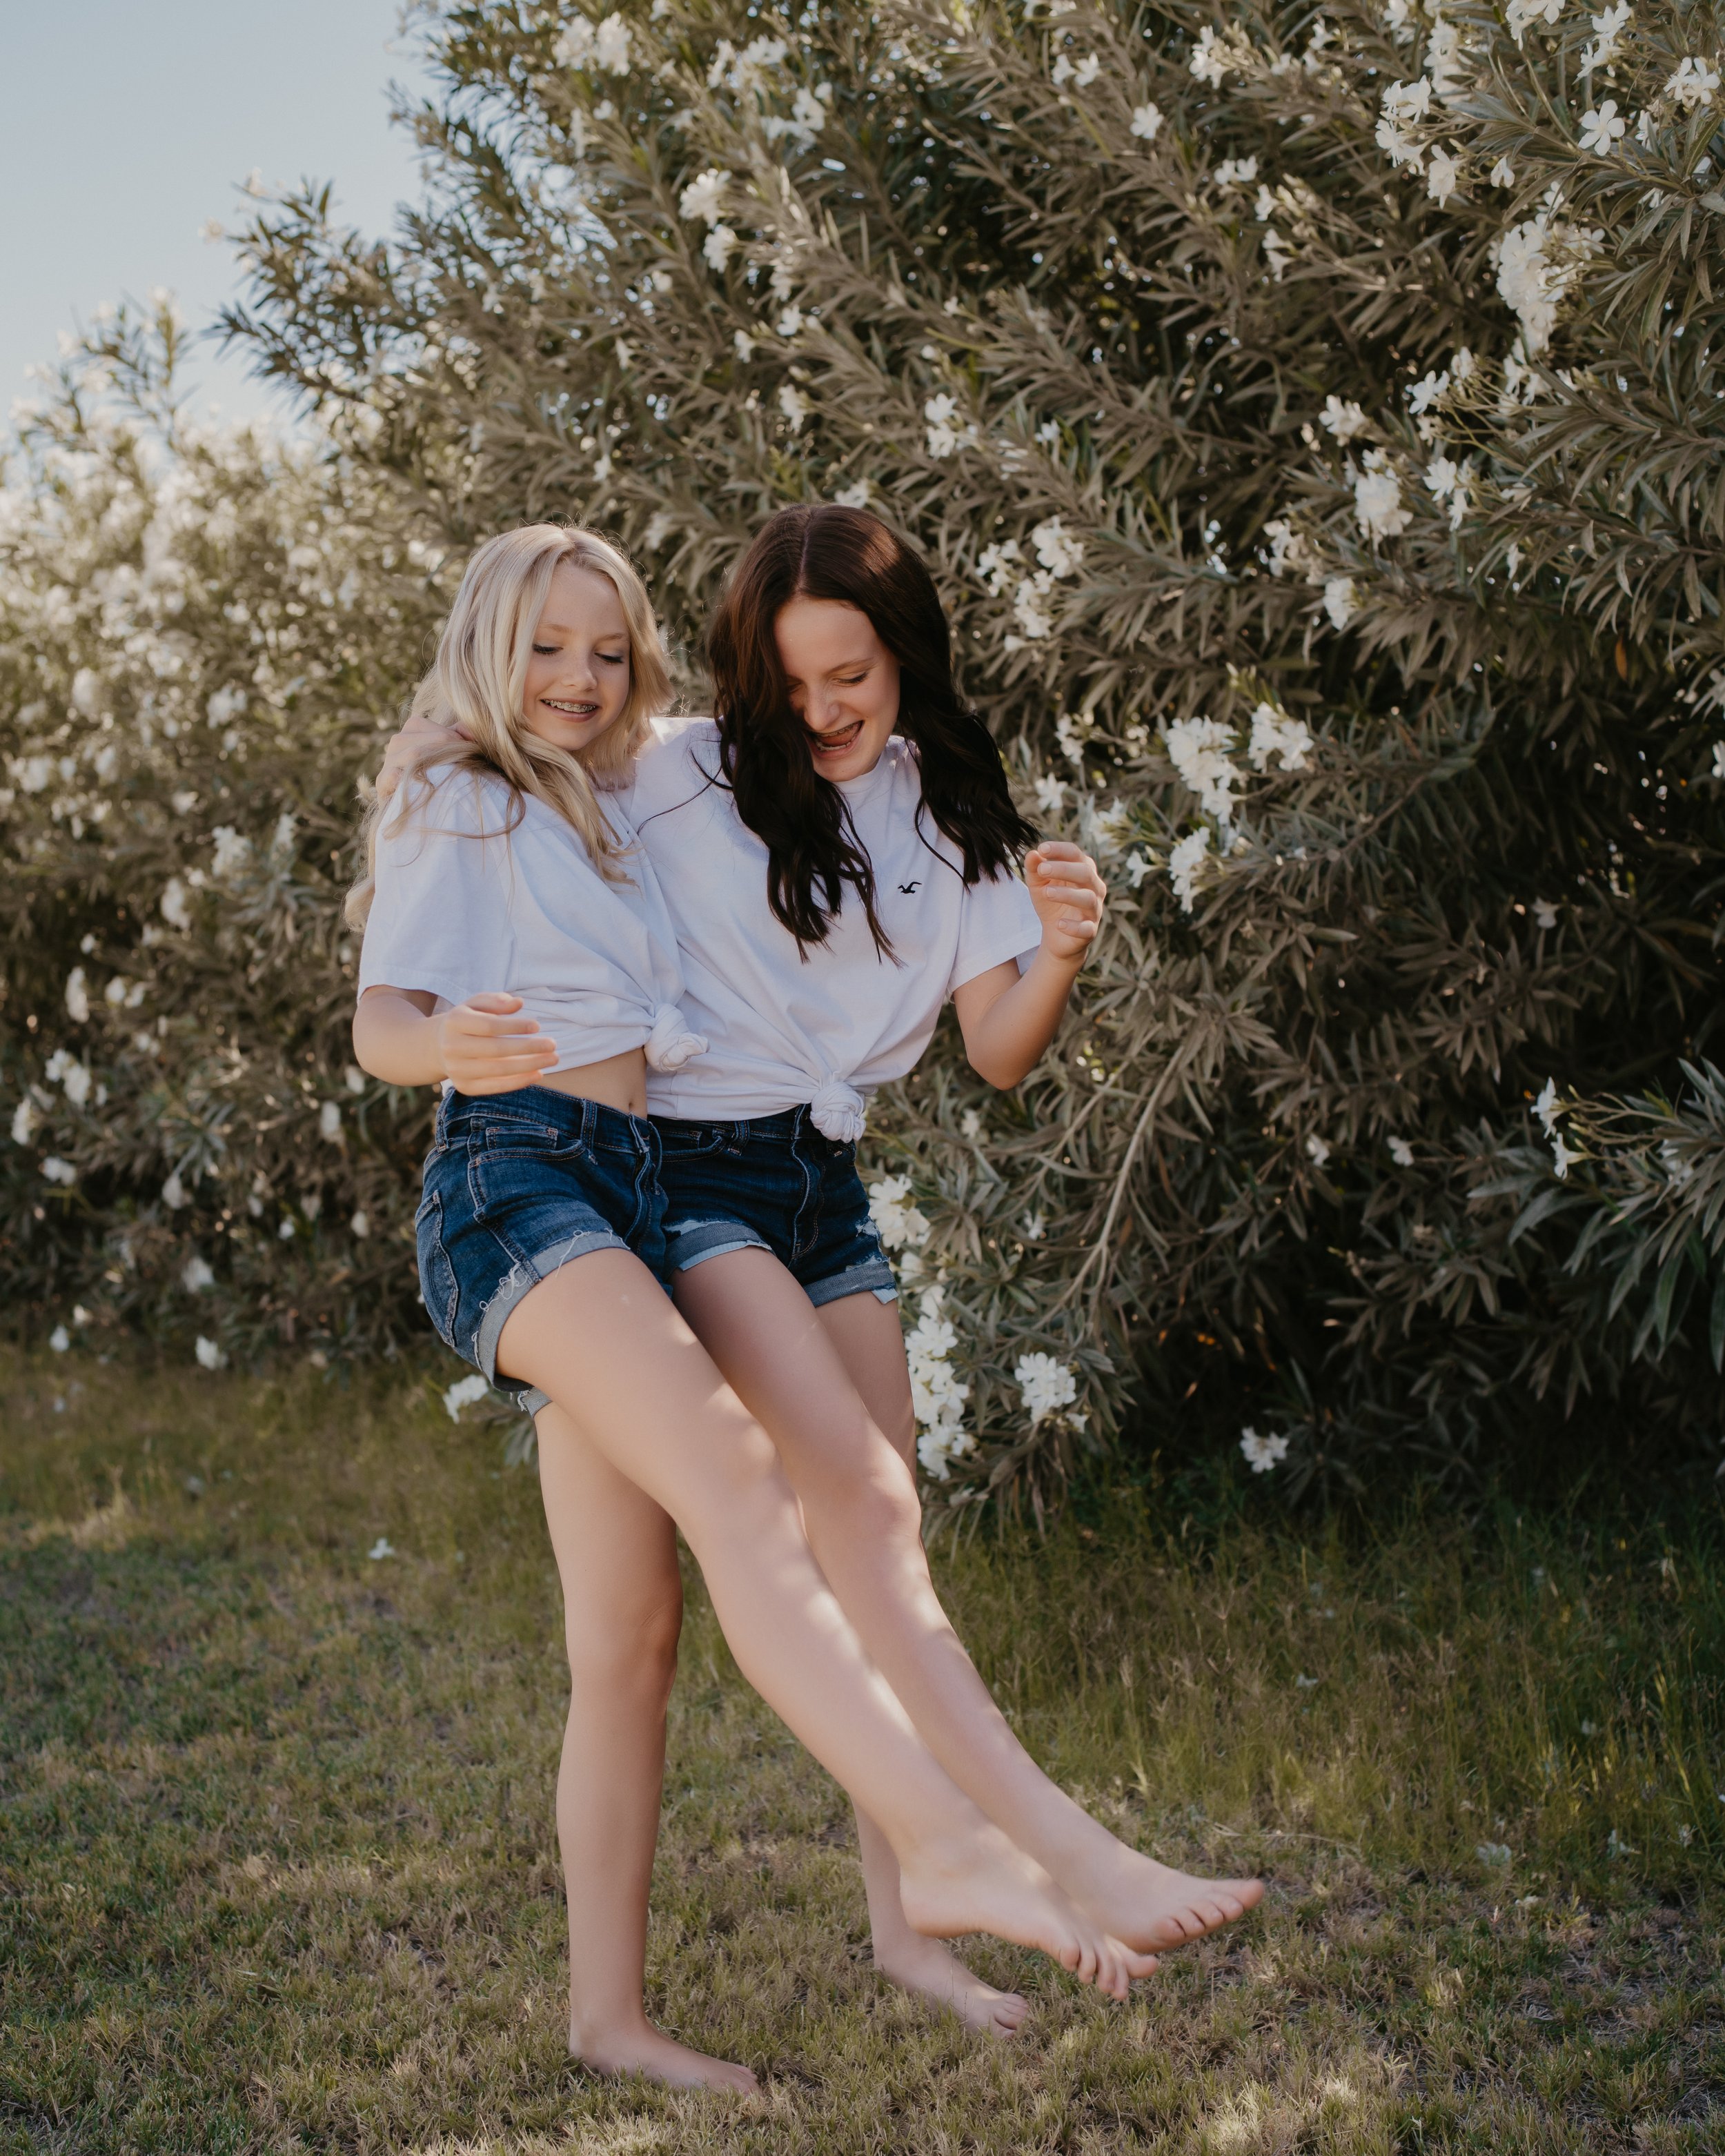
Open shade is an area that is shaded from direct sunlight but remains open to the sky. Because the subject isn't being hit by direct sun rays, the sky itself becomes a giant, natural softbox. This creates that creamy, even light that is universally flattering for everyone and eliminates any under eye raccoon shadows that you see below.

How to Find It (Even at High Noon!)
The best part about open shade? You can find it almost anywhere, even when the sun is directly overhead. When you're out scouting, don’t look at your subject—look at the ground. You are looking for a clear line where the bright light meets a shadow.
Here are my favorite "shade makers":
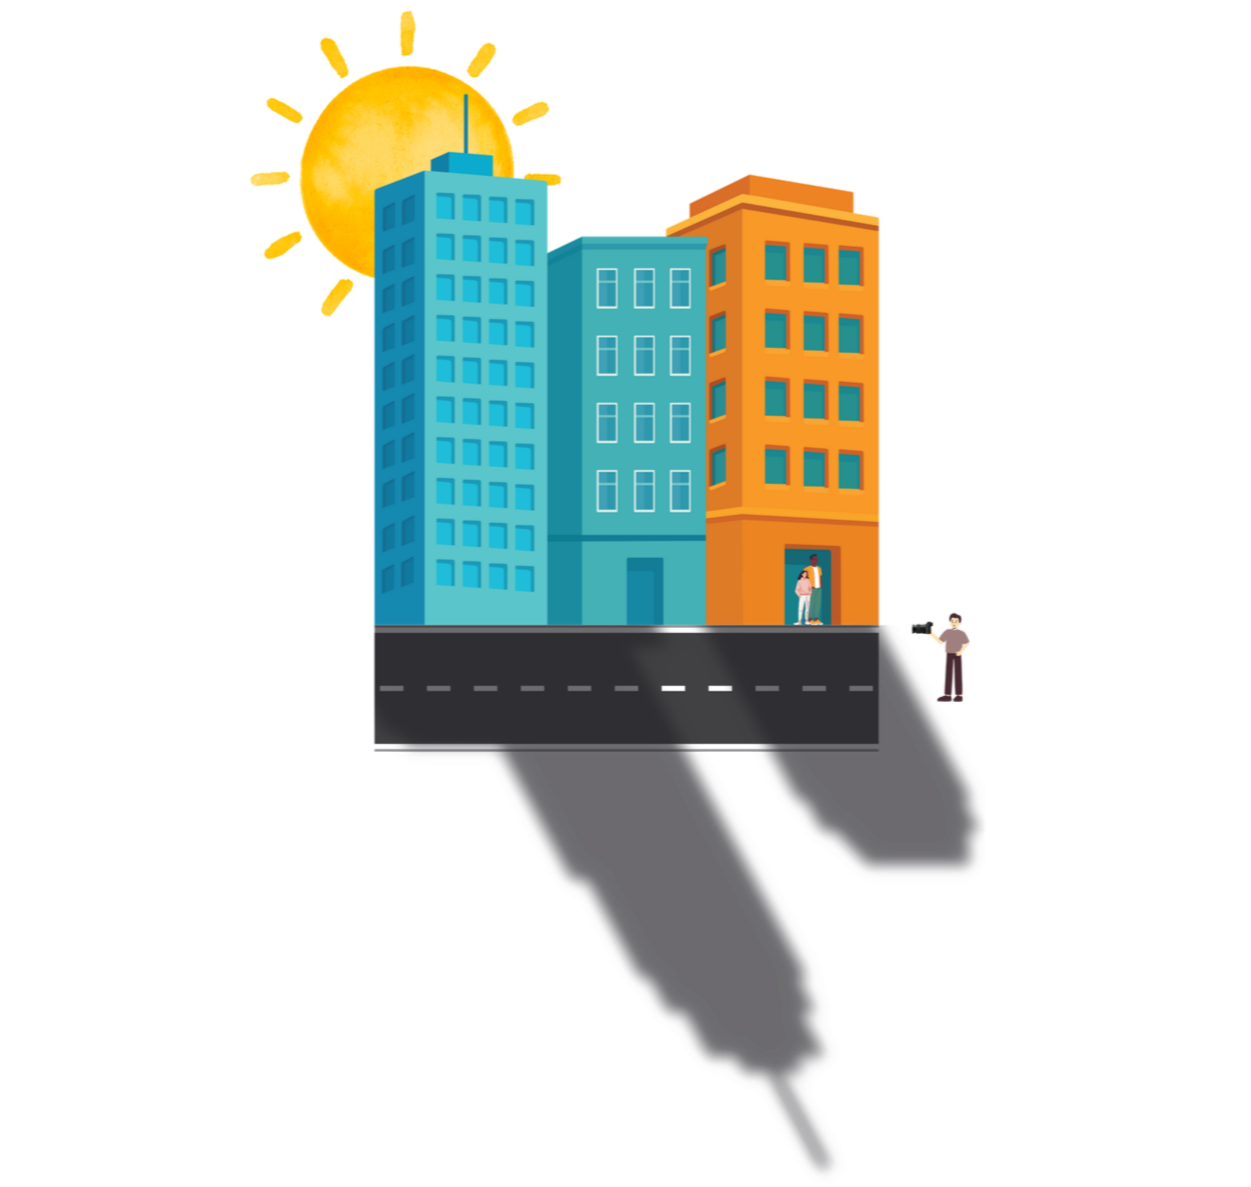
Buildings: The side of a house or a tall wall is a perfect, consistent light source.
Large Trees: Look for the edge of the tree's shadow (just watch out for "dappled light" poking through the leaves!).
Porches or Overhangs: These provide great "covered" shade while still letting light in from the sides.
Garages: Opening a garage door and placing your subject just inside the threshold is a classic "studio" trick.
3 Steps to Nailing the Shot
Finding the shade is only half the battle. Here is how you position your subject to make them glow:
1. The "Edge" Rule
Don't hide your subject deep in the shadows. Place them right at the edge of the shaded area, just a few inches away from where the direct sunlight begins. This ensures they are getting as much ambient "bounce" light from the sky as possible.
2. Face the Light
This is the most common mistake! Once your subject is in the shade, they need to turn and face the open sky. If they face into the dark building or deep into the trees, their face will look muddy. By facing the light, you’ll get those beautiful "catchlights" (the little sparkles in the eyes) that bring a portrait to life.
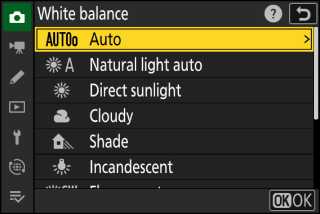
3. Watch Your White Balance
Because shade is naturally "cool" (blue), your camera’s Auto White Balance might make your photos look a bit chilly.
Pro Tip: Switch your White Balance setting to the "Shade" icon (it looks like a little house casting a shadow). This will instantly add warmth back into the skin tones!
Want to Master the Rest of the Puzzle?
Light is the most important element of photography, but it’s just one piece. To get those bright and airy results consistently, you need to know how your camera handles that light in Manual Mode.
If you're tired of "guessing" your settings, grab my Manual Mode Settings Cheat Sheet. It’s the exact guide I use to help my students stop fumbling with dials and start shooting with confidence.

Now, grab your camera and go find some shade!
Needing to dive deeper? Check out…
The Lightroom Series for editing.
AI-Powered Hail Mary Masks for lightning fast, unmatched editing tools.
The Camera Series for comprehensive and affordable trainings suitable for beginner or intermediate photographers.
Nancy’s Recommended Gear and where she buys it used (reputable with warranties!)