What Is ISO? (The Beginner's Guide to Photography's Most Misunderstood Setting)
If you’ve ever felt like ISO is the weirdest, most mysterious part of exposure, you are not alone.
Aperture makes sense—it’s the physical opening inside your lens opening wider or narrowing down. Shutter speed makes sense, too—it’s the actual curtain opening and closing to control how long light hits your sensor. They are physical parts moving around inside your gear!
But ISO? ISO feels like this abstract, floating number on your screen that either makes your photos look great or turns them into a grainy, pixelated mess.
If you’ve ever wondered what ISO actually does, why high numbers make your images noisy, or how to choose the right number without second-guessing yourself, let’s demystify it together in plain, simple English.
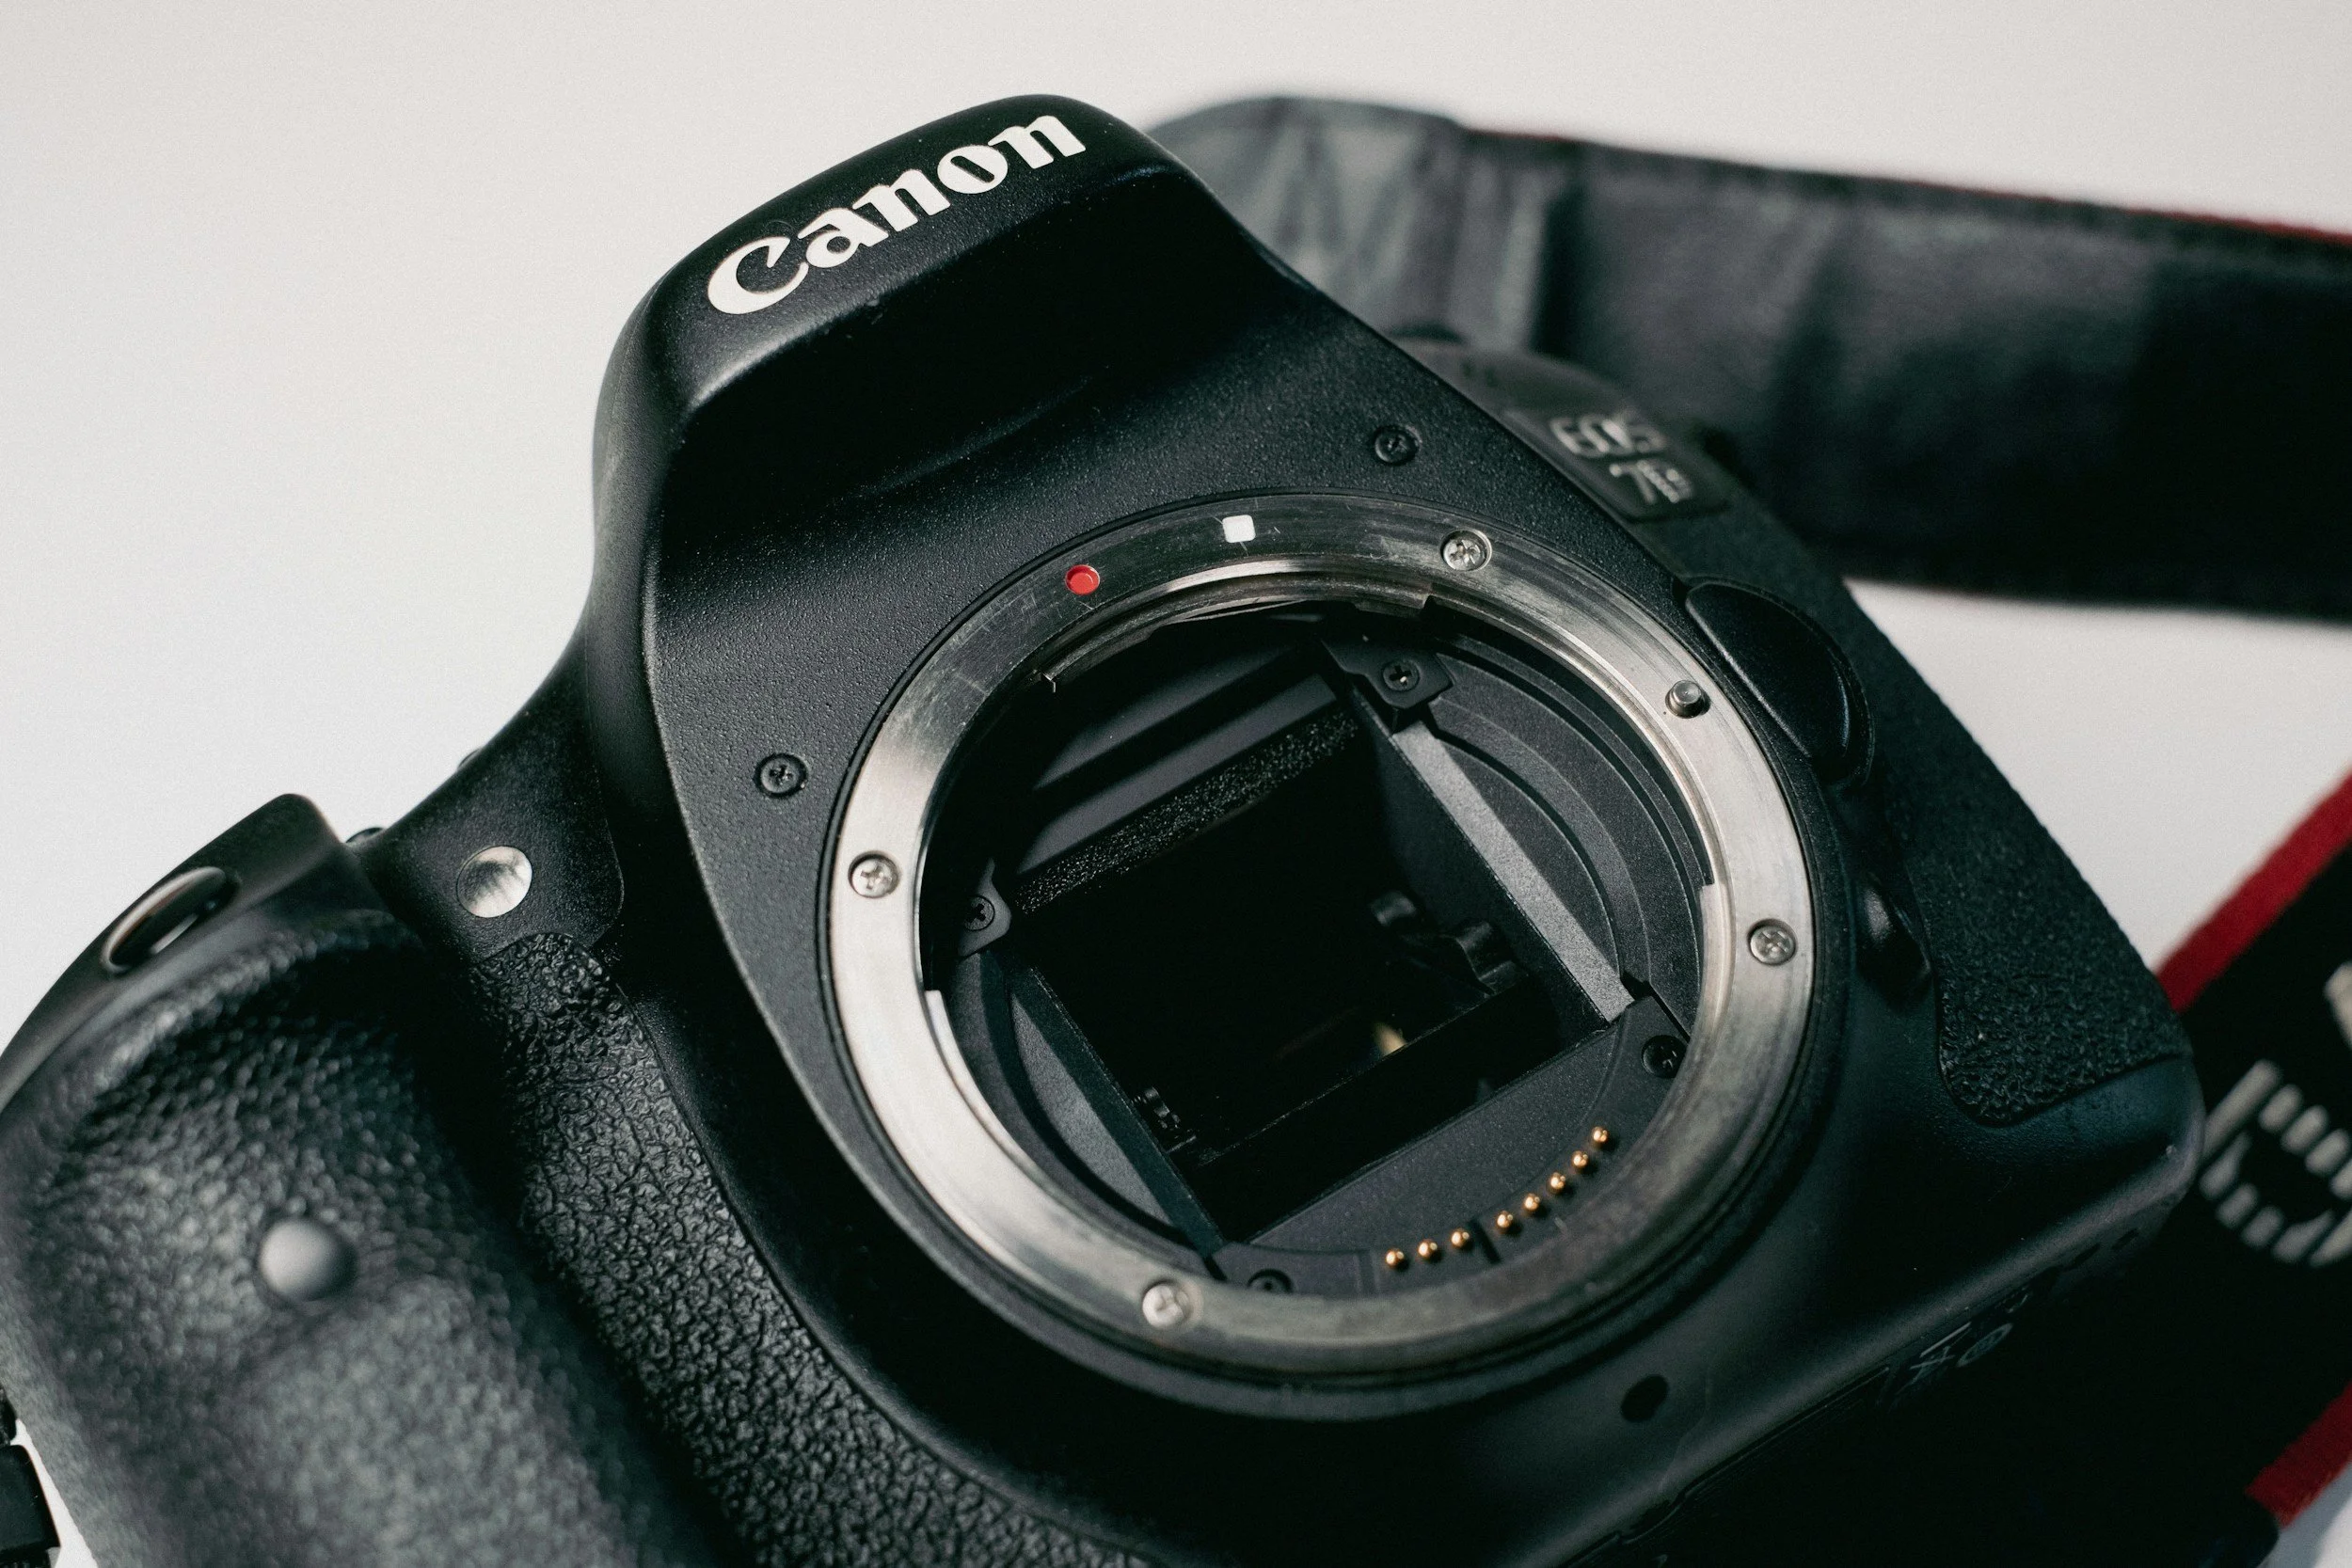
ISO as Your Camera’s Fake Sunglasses
Back in the film days, ISO (or ASA) referred to how sensitive the chemical film roll was to light. Today, in digital photography, ISO is simply a measure of your camera sensor’s amplification of light.
Think of your camera’s sensor like a microphone:
Aperture and Shutter Speed are the actual sounds coming into the microphone (the physical light).
ISO is the volume knob on the amplifier.
If you are in a quiet room (a dark environment) and you turn the volume knob all the way up so you can hear a whisper, you’re also going to hear a lot of static and background hiss.
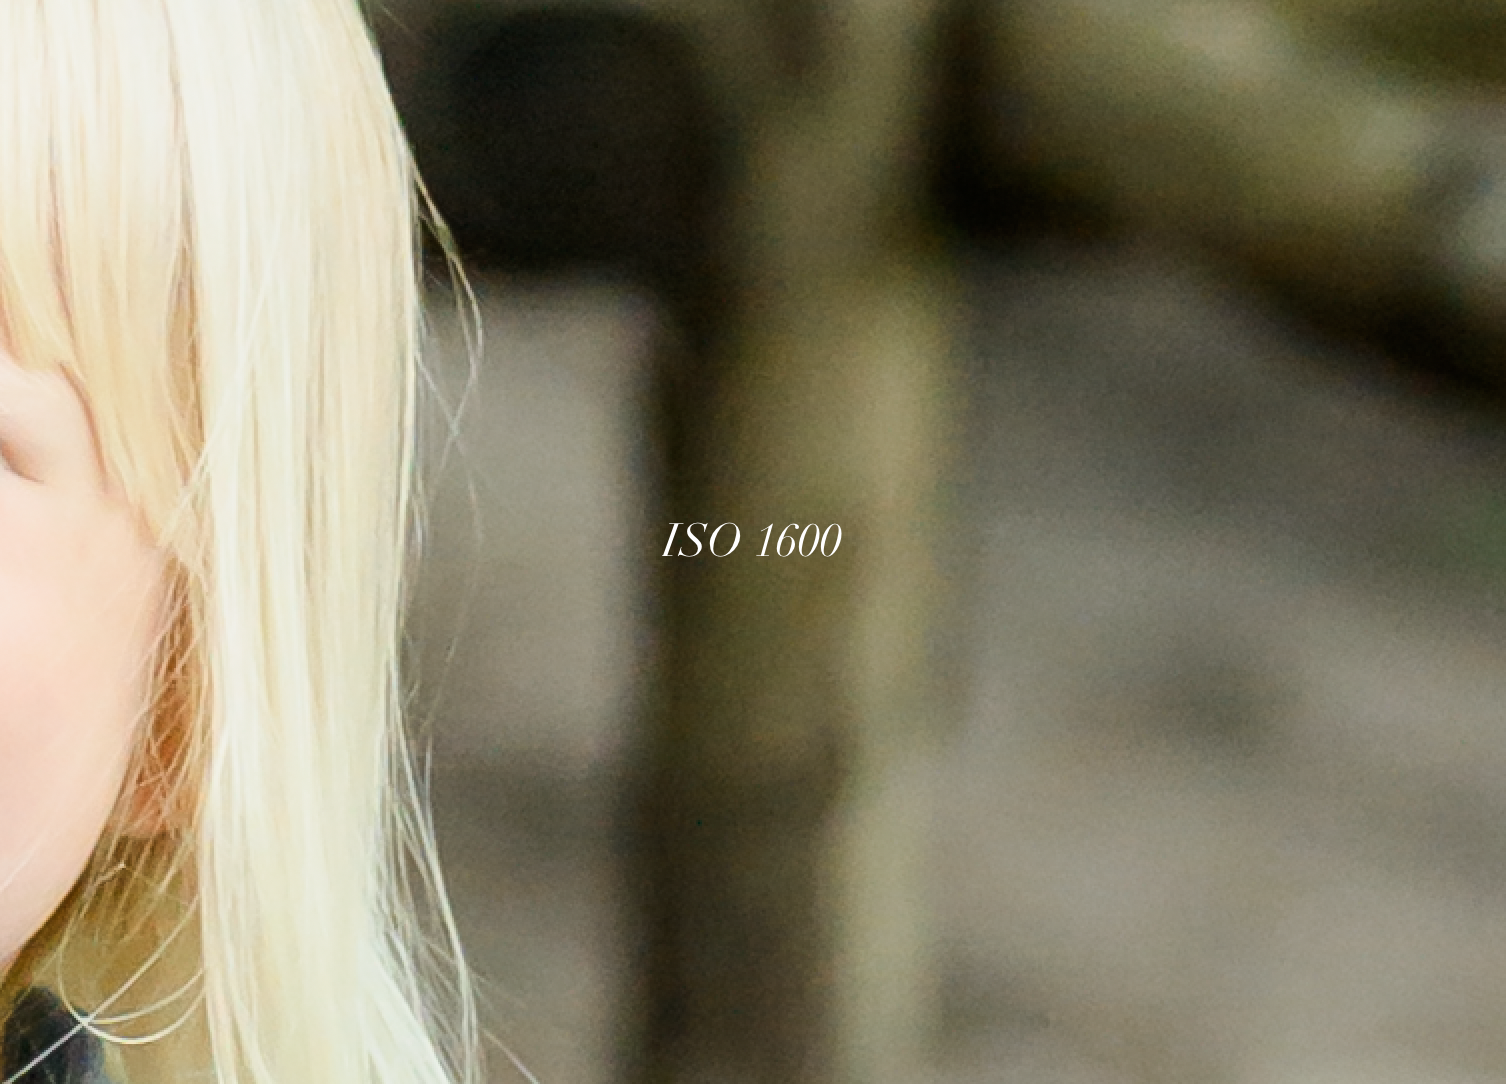
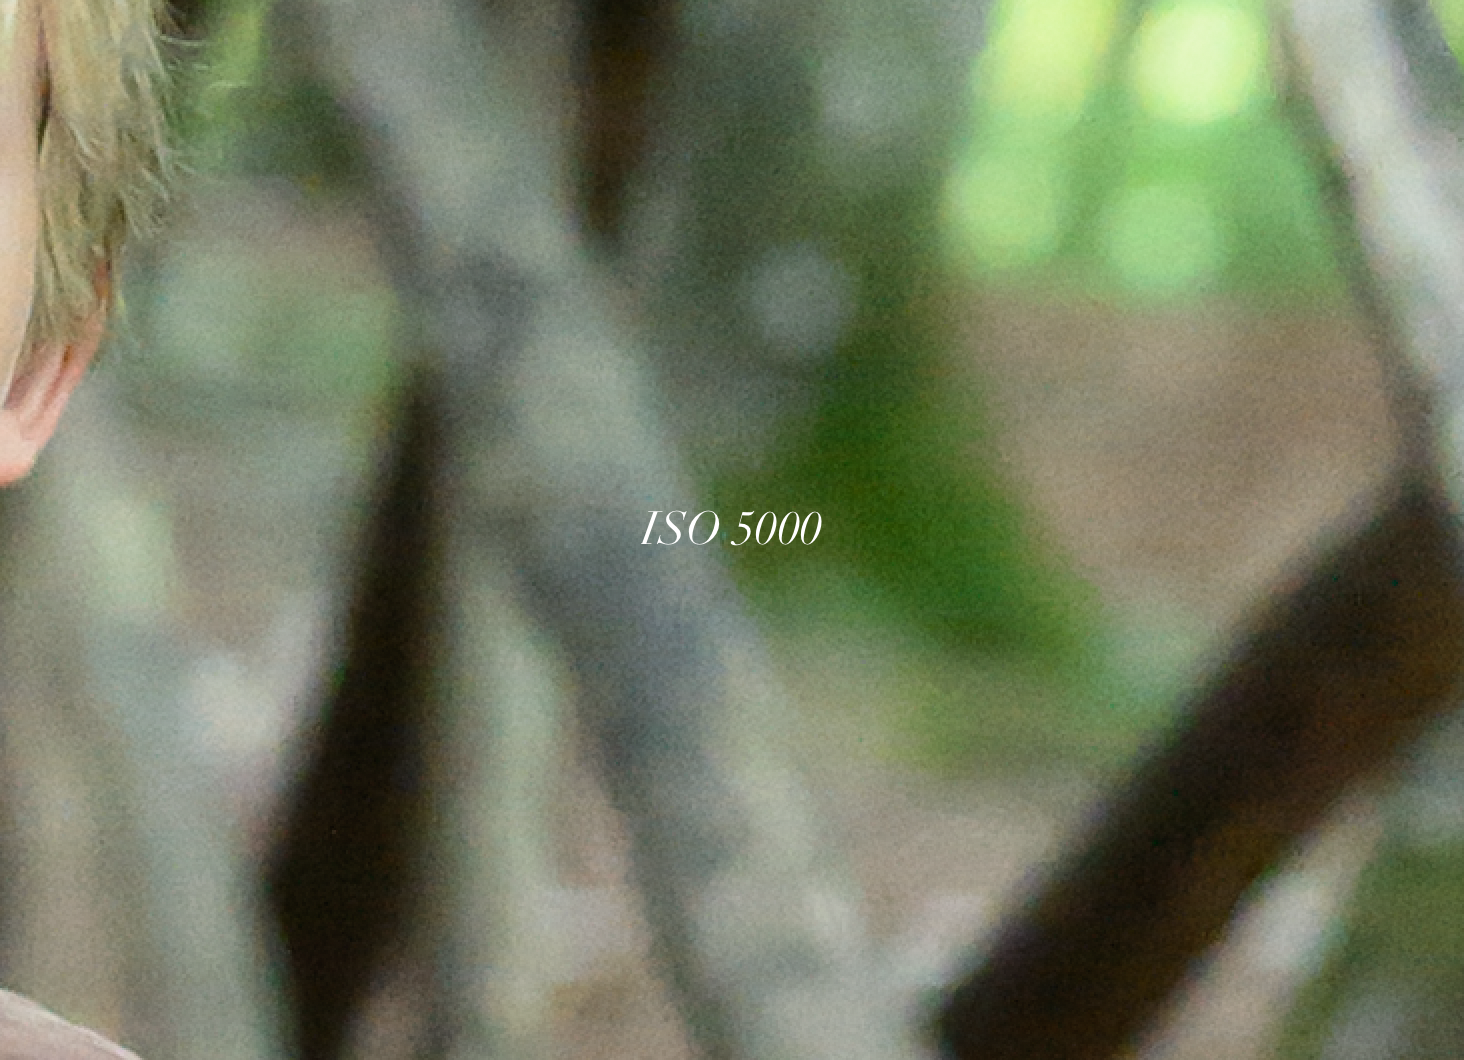
That "static" in photography is called digital noise or grain.
When you raise your ISO number (like going from 100 to 3200), you aren't actually creating more natural light inside your camera. You are taking the existing light you gathered and turning up the digital volume slider to make the image brighter.
Why Does ISO Matter for Exposure?
ISO is the third leg of the exposure triangle. When you don't have enough light coming through your lens, raising your ISO gives you the extra brightness you need so you don't end up with a pitch-black photo.
Here’s the trade-off:
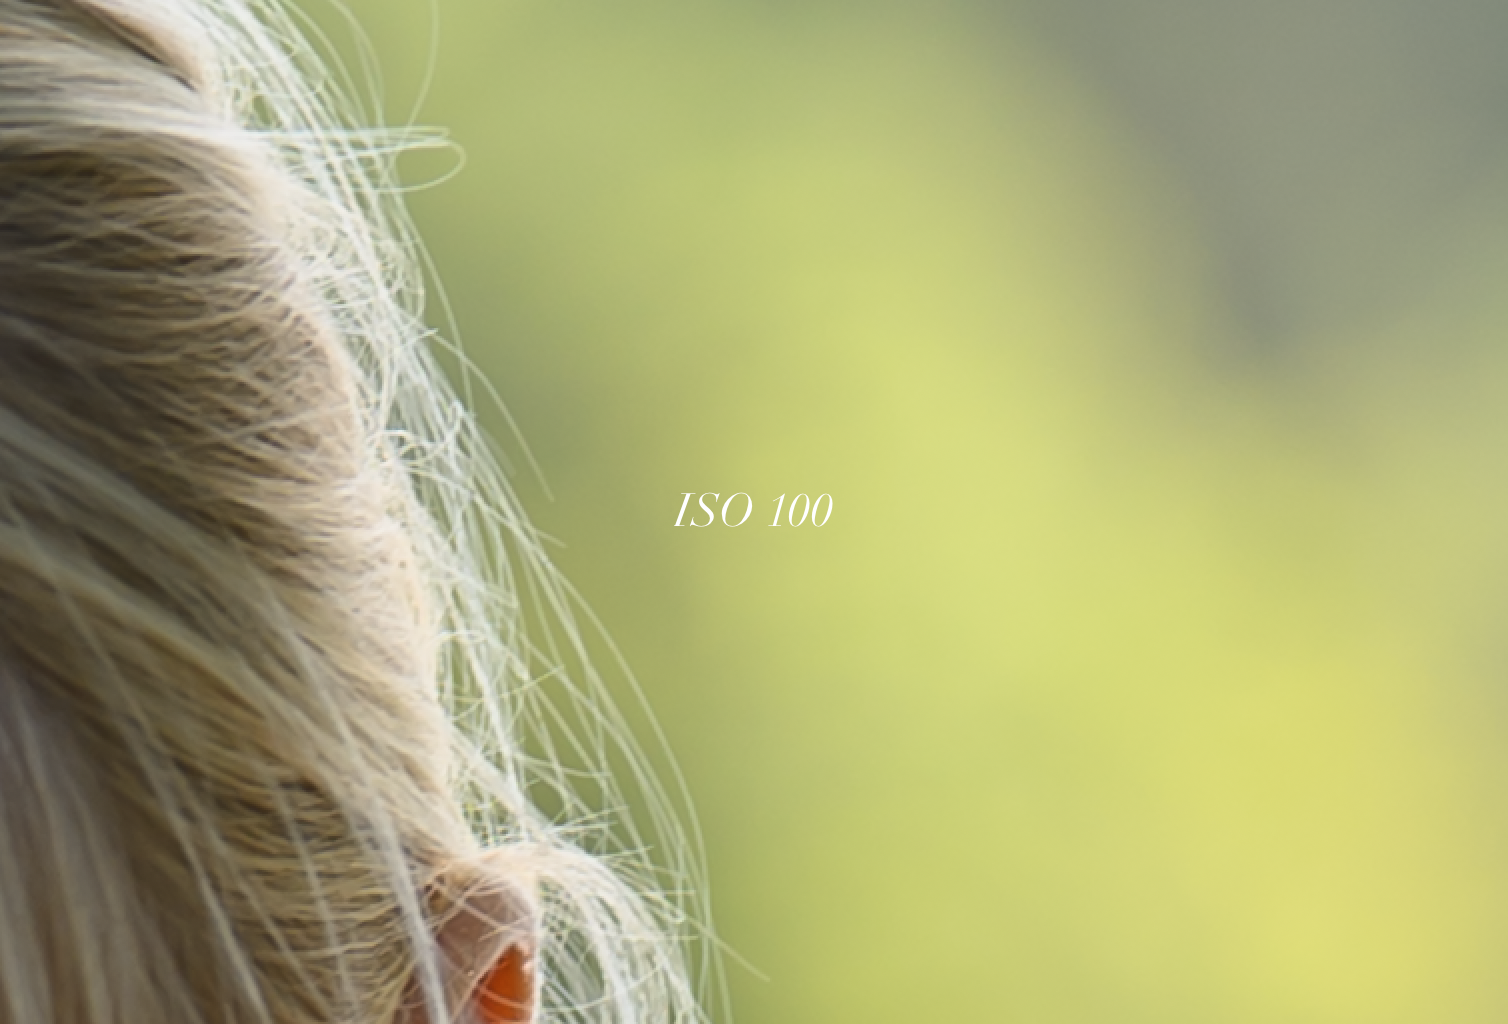
Lower ISO (e.g., 100 or 200): Produces the cleanest, sharpest image quality with maximum detail and zero grain. Perfect for bright sunlight or studio lights!
Higher ISO (e.g., 1600, 3200, or 6400): Makes your sensor artificially brighter, allowing you to shoot in dim indoor rooms, golden hour shade, or evening light. However, it introduces grain (noise) and lowers color contrast.
If you’re still working out how light meters read available light before deciding to bump up your ISO, check out my guide on metering modes 101 to make sure your camera is giving you an accurate baseline exposure reading!
Cheat Sheet: Which ISO Should You Use?
Instead of guessing, use this quick real-world guide to pick your base ISO:
ISO 100 - 200: Direct sunlight, open fields, bright outdoor beach shoots.
ISO 400 - 800: Open shade on a sunny day, overcast skies, or brightly lit indoor rooms with large windows.
ISO 1600 - 3200: Indoor family sessions, cozy indoor nooks away from windows, or right after sunset during blue hour.
ISO 6400+: Dim event venues, night photography, or dark indoor reception halls.
Pro Tip: Never be afraid of a little grain if it saves the moment! A slightly grainy photo that is sharp and well-lit is always better than a blurry photo caused by a shutter speed that was too slow.
If you ever feel stuck choosing between Manual, Aperture Priority, or Auto ISO, dive into my breakdown on demystifying your camera dial to see how different modes handle ISO automatically for you.
How ISO Interacts with Light and Composition
Knowing when to bump your ISO is all about balancing the light already present in your scene.
For instance, if you are shooting outdoors, working with backlighting, or stepping into tree shade, reading your environment first saves you from pushing your ISO higher than necessary. Check out my guide on natural light tips for beginners to see how positioning your subject relative to the sun lets you keep your ISO nice and low.
And remember: clean exposures aren't just about technical settings—they dictate how your final images print, too! If you plan on printing your work for clients or family, pair clean ISO settings with proper composition so you don't lose quality. You can read more about aspect ratio and why prints keep getting cropped to keep your framing clean from start to finish.
Stop Guessing Your Settings and Start Shooting with Confidence
Understanding ISO is just one slice of the puzzle. Once you see how ISO, aperture, and shutter speed work together like a team, turning off Auto mode stops feeling terrifying and starts feeling effortless.
If you’re ready to master your manual settings without the jargon, head over to The Camera Series!
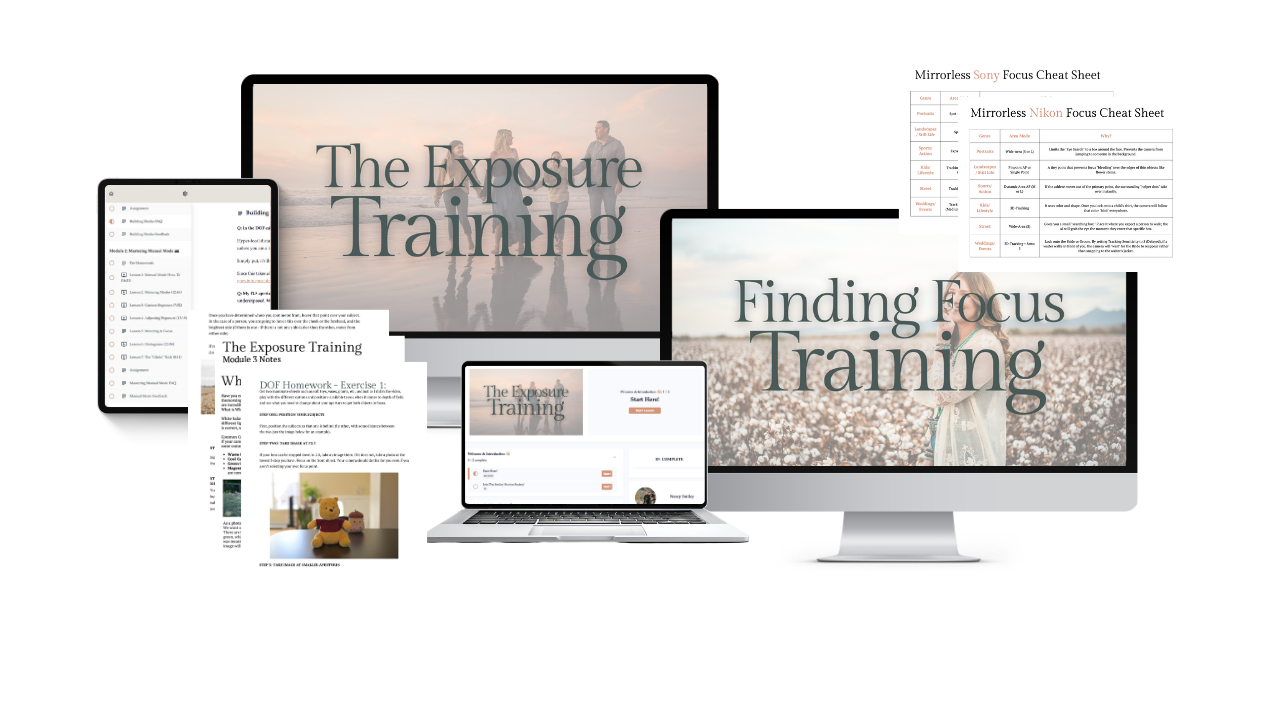
The Camera Series is your complete, step-by-step video training system built specifically to help you take total control of your camera, dial in crisp exposures, and capture tack-sharp portraits in any lighting scenario.
Inside the training, you’ll get:
The Complete Manual Settings System: Bite-sized video lessons breaking down aperture, shutter speed, ISO, and metering in a way that actually clicks.
Focus & Lighting Deep Dives: Practical demonstrations showing you how to lock sharp focus on fast-moving kids and read natural light on location.
Exclusive Student Community: Instant access to our private student group where you can post your work, ask questions, get constructive feedback, and connect with fellow photographers.
Photographers just like you constantly share that The Camera Series was the exact breakthrough they needed to ditch the overwhelm, step out of Auto mode, and shoot with genuine confidence behind the lens!
Whether you want to capture your own family's memories or launch a paid photography business, you don't need years of trial-and-error—just the right foundation. Check out The Camera Series today and take the guesswork out of your camera!
Explore The Camera Series & Join 600+ Students Here!
Search the blog for more helpful info! 👇
Needing to dive deeper? Check out…
The Lightroom Series— to learn what all those sliders actually do.
AI-Powered Hail Mary Masks— for lightning fast, unmatched editing tools.
Nancy’s Recommended Gear— and where she buys it used (reputable with warranties!)