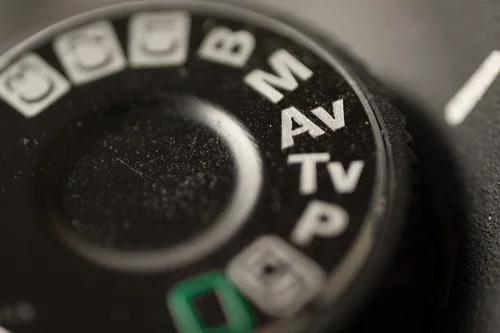
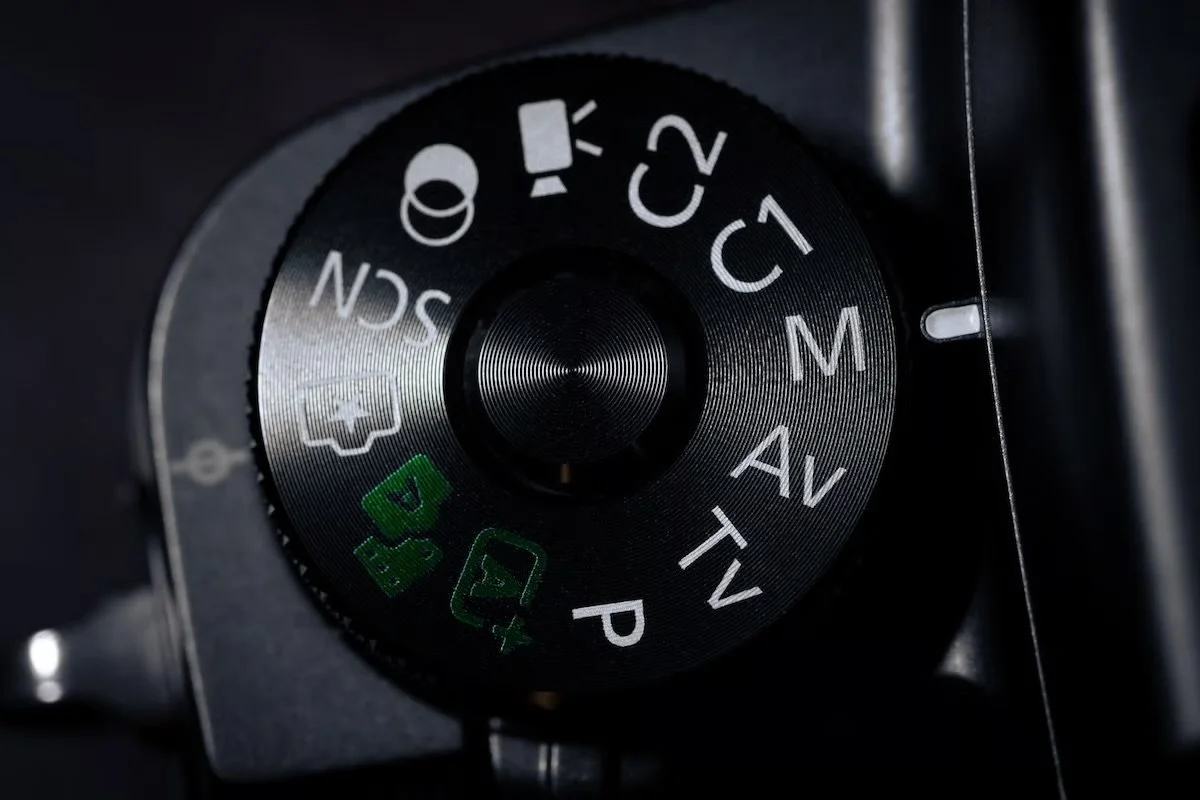
That little dial on top of your camera can feel a bit like alphabet soup when you’re first starting out. It is covered in letters like P, Tv, Av, and M, or S and A. If you’re shooting on a tactile Fujifilm body, you might not even have a main dial—just a series of physical wheels with numbers and an "A" stamped on them.
When you are trying to capture the beautiful, and sometimes fast-moving world of photography—whether that’s your own kids running through the backyard or your very first portrait client—the way you setup your camera matters immensely.
Let's break down exactly what these modes do, translate the language barrier between major camera brands, and rank them from least desirable to the absolute holy grail of creative freedom.
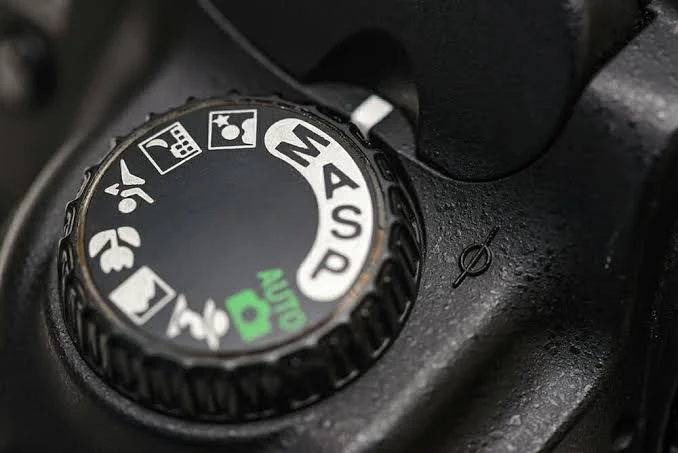
Camera Brand Translations
Before we dive into the strategy, let's clear up the confusing naming conventions. Different camera systems use entirely different letters to mean the exact same thing. Here is your quick rosetta stone:
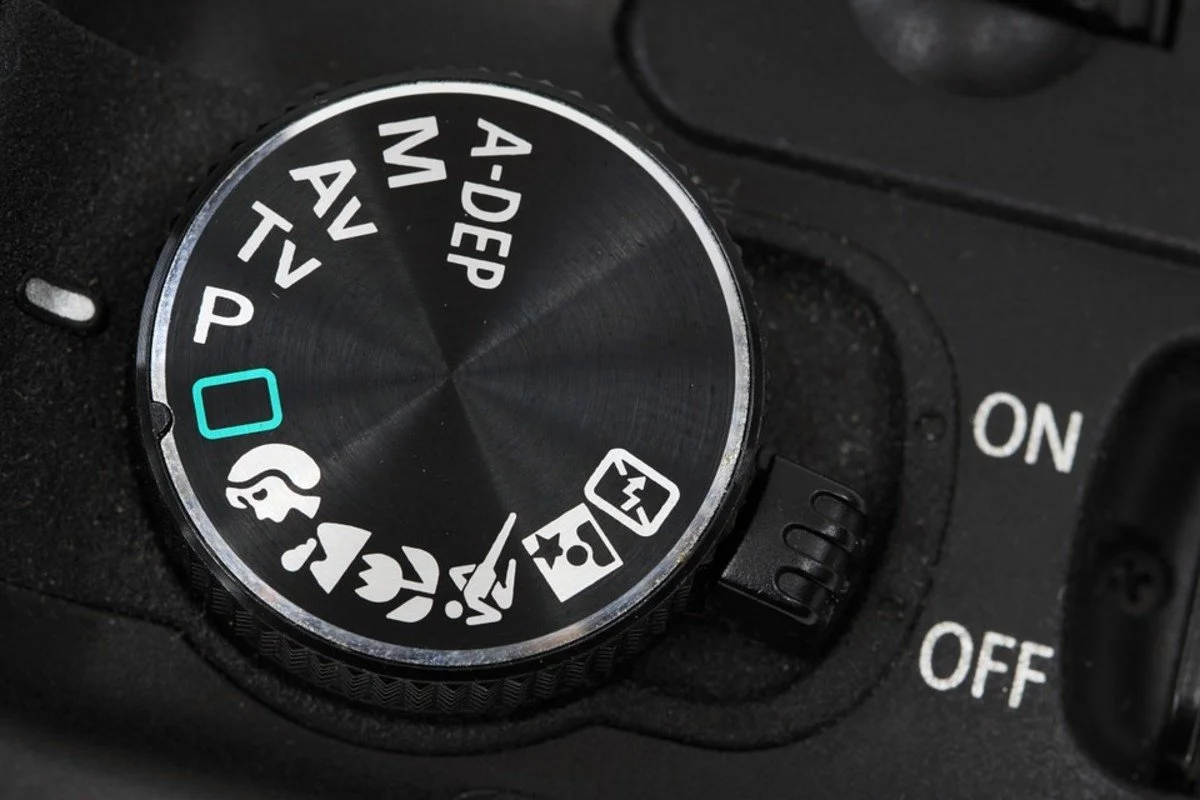
P (Program Mode): Universal on Canon, Nikon, and Sony. On a Fujifilm camera, you enter this mode by turning both your physical shutter speed dial and your lens’s aperture ring to the "A" (Auto) position.
Av / A (Aperture Priority Mode): Canon uses Av (Aperture Value). Nikon and Sony use A. On Fujifilm, you set your shutter speed dial to "A" and manually turn your lens’s aperture ring to a specific f-number.
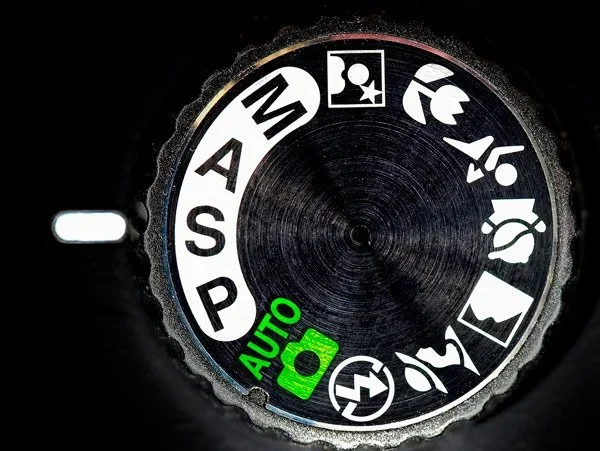
Tv / S (Shutter Priority Mode): Canon uses Tv (Time Value). Nikon and Sony use S. On Fujifilm, you set your lens’s aperture ring to "A" and manually turn your shutter speed dial to a specific fraction of a second.
M (Manual Mode): Universal on Canon, Nikon, and Sony. On Fujifilm, you simply take both your aperture ring and your shutter speed dial off the "A" setting and select your own numbers.
1. Program Mode (P): (And Why We Skip It)
A lot of beginner guides will tell you that Program Mode is a great "stepping stone" away from full Auto mode. In full, bright-green Auto, the camera makes 100% of the decisions, including when to pop up that jarring built-in flash. Program Mode stops the flash from popping up automatically and lets you control things like white balance or ISO, but the camera still completely determines your aperture and shutter speed combination.
For “people” photographers, Program Mode is actually the least desirable option on the dial.
Here is why: the camera's internal computer chip does not know you are photographing a human being. It only looks at the scene as a math problem, trying to make the overall light perfectly neutral. It doesn't know that the little blur of movement in your frame is a toddler laughing, or that you want a beautiful, blurry background behind your subject.
If you use Program Mode during a portrait session, the camera might decide to shoot at a wide f-stop but drop your shutter speed down to 1/30th of a second because it’s a cloudy day. The second your subject smiles, turns their head, or blinks, they will turn into a blurry streak.
Nancy’s Verdict: Skip this one. It leaves the two most important creative elements—motion and depth of field—entirely up to a computer's guesswork.
2. Shutter Priority Mode (Tv or S):
In Shutter Priority Mode, you take the driver's seat for one specific setting: shutter speed (how fast your camera's internal curtain clicks open and shut). You dial in the speed, and your camera automatically adjusts the aperture to ensure the image is properly exposed.
Shutter speed is measured in fractions of a second (like 1/250, 1/500, or 1/1000). For lifestyle and family photographers, this mode is incredibly useful because people move—constantly!
Fast shutter speeds (1/500 and higher): Freeze fast-moving action. It slices through time, stopping a child mid-jump or capturing a genuine, split-second burst of laughter without any motion blur.
Slow shutter speeds (1/60 or lower): Let motion blur into the frame. While great for artsy waterfall photos, it is usually a recipe for disaster when photographing people.
Pro Tip: If you are shooting a family session at a park and the kids are playing tag, flip over to Shutter Priority and lock your speed at 1/500s. This ensures that no matter where they run, your photos will be sharp and crisp, allowing you to focus purely on composition and interaction.
3. Aperture Priority Mode (Av or A):
Aperture Priority is easily the most popular semi-automatic mode for portrait photographers. In this space, you control the aperture (measured in f-stops like f/1.8, f/2.8, or f/8), and your camera automatically calculates the matching shutter speed.
Your aperture dictates your depth of field, which is simply how much of the image from front to back is in sharp focus. This is where you get to make massive artistic decisions:
Wide Apertures (Low numbers like f/1.4 to f/2.8): This creates a very shallow depth of field. It gives you that gorgeous, creamy, blurred background (bokeh) that instantly makes your subject look like they are stepping out of a dream. It draws the viewer's eye straight to your subject's eyes.
Narrow Apertures (High numbers like f/5.6 to f/11): This keeps the foreground, middle ground, and background sharp.
Need help with completely understanding aperture and what that a number means? Check out my blog post, A Beginner’s Guide to Aperture & Depth of Field!
Pro Tip: When using Aperture Priority for portraits, always keep an eye on the shutter speed number inside your viewfinder. If you move into a shaded area, your camera will automatically lower the shutter speed to let more light in. If you see that number drop below 1/250s, your images might start losing sharpness due to subtle camera shake or your subject's micro-movements.
4. Manual Mode (M):
While the semi-automatic modes are fantastic safety nets when you are learning, Manual Mode is where true magic, consistency, and artistic freedom live.
When you use Aperture or Shutter Priority, your camera is still trying to balance the scene to a generic mathematical standard. The camera doesn’t know you want to create a dramatic, moody silhouette of a mother and child against a bright sunset window. It doesn’t know you are aiming for a bright, airy, overexposed morning aesthetic. It just tries to make everything look gray and even.
In Manual Mode, you have full ownership over the exposure triangle: Aperture, Shutter Speed, and ISO.
By balancing these three settings yourself, you unlock three major superpowers:
Absolute Intentionality: You decide exactly how much background blur you want and exactly how sharp your subject's movement should be, without compromising one for the other.
Visual Consistency: In automatic modes, if a child runs from a dark patch of grass to a bright sidewalk, your camera will continuously shift its settings. This means every photo in your gallery will look slightly different, making editing a nightmare. In Manual Mode, your look stays locked exactly where you set it, giving you a cohesive, professional-looking gallery.
Goodbye Camera Fighting: You will never have to fight your camera when it gets confused by a bright background or a dark outfit. You are the boss.
Pro Tip: Don't let Manual Mode scare you! Every camera has a built-in visual cheat sheet called a Light Meter. Look inside your viewfinder or on your LCD screen for a little scale that goes from -3 to +3. As you adjust your shutter speed, aperture, or ISO, a little indicator tick-mark will move across that scale. It acts as a visual map, showing you exactly how bright or dark your image will be before you ever click the button.
🎁 Freebie Download: The Manual Mode Cheat Sheet
Grab my step-by-step pocket guide to balancing your exposure settings so you can confidently switch to manual and capture gorgeous, tack-sharp images in any lighting situation.
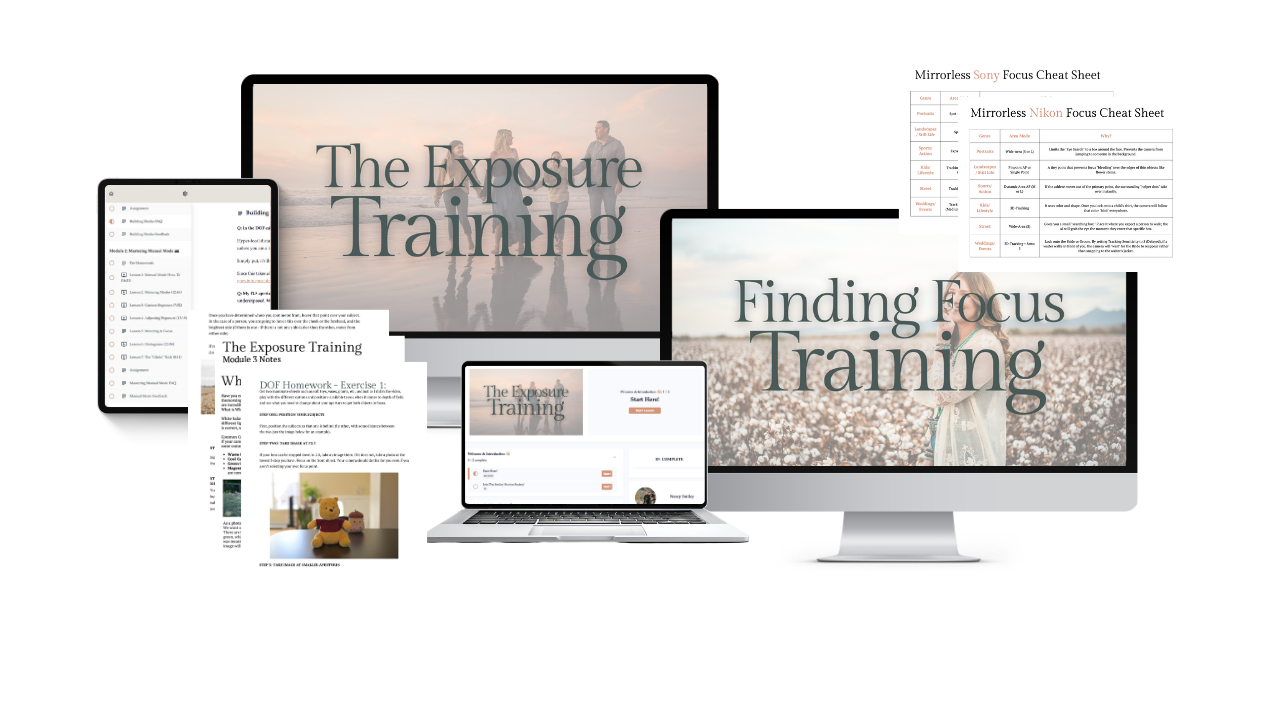
Ready for hands-on, step-by-step help with your specific gear? Check out our latest Camera Series trainings, designed to cut through the technical jargon so you can master your camera once and for all.
Search the blog for more helpful info! 👇
Needing to dive deeper? Check out…
The Camera Series— for mastering your gear.
The Lightroom Series— for editing.
AI-Powered Hail Mary Masks— for lightning fast, unmatched editing tools.
The Camera Series— for comprehensive, affordable trainings designed for beginner or intermediate photographers.
Nancy’s Recommended Gear— and where she buys it used (reputable with warranties!)