How to Use Long Exposure Photography for Spooky, Ghost-Like Photos
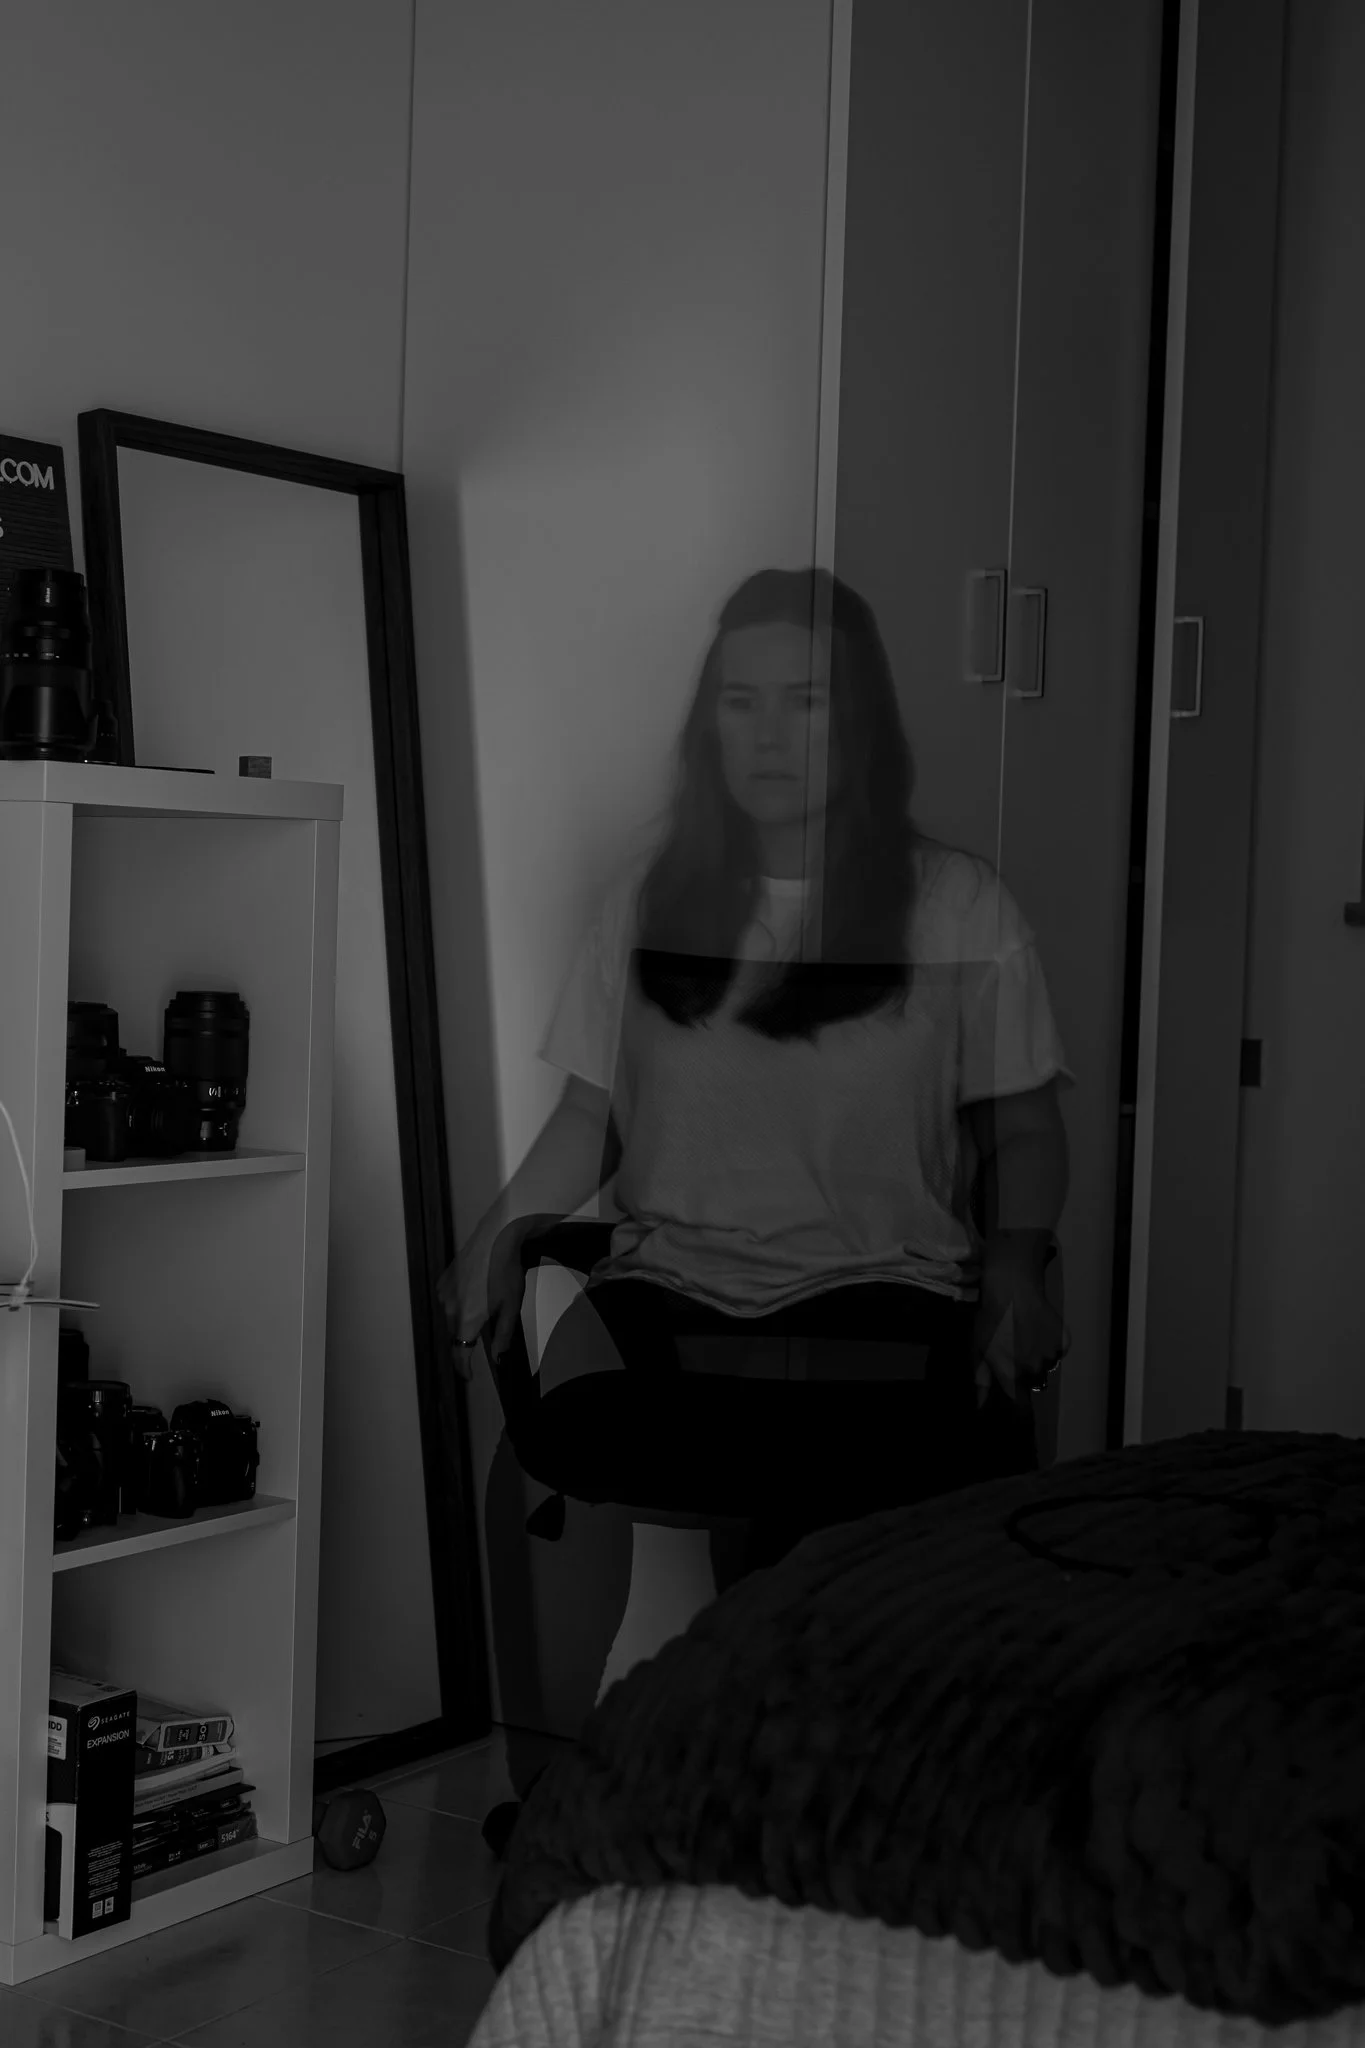
Spooky season is officially here, and there is no better time to experiment with creative camera techniques that will stop people scrolling on social media. If you want to create eerie, translucent, ghost-like figures in your images without relying on Photoshop, long exposure photography is your secret weapon.
Whether you are staging a haunted scene in your living room or heading outdoors into the evening mist, this fun beginner-friendly guide will walk you through everything you need to know to capture your own ghostly spirits.
What Is Long Exposure Photography?
Before we dive into the spooky setup, let’s quickly break down how long exposure works.
Normally, when you press your shutter button, the camera opens its curtain for a fraction of a second—just long enough to freeze a split second in time. But when you switch to a long exposure, you leave that shutter open for several seconds (or even minutes!).
Anything completely still during that time—like walls, furniture, or trees—will remain sharp and clear. However, anything that moves while the shutter is open will leave a blurry, semi-transparent trail across your frame. This motion blur is the exact trick that lets us create transparent, phantom-like apparitions.
If you are just getting comfortable stepping away from automatic settings and want a solid foundation on how your camera handles time and motion, check out this guide on how to choose perfect camera settings in manual mode step-by-step.
Gear You Need for Ghost Photography
You don't need an expensive studio setup to pull this off, but you will need a couple of essentials to keep your final image sharp where it counts:
A Camera That Allows Manual Control: You need a camera where you can manually adjust your shutter speed, aperture, and ISO.
A Sturdy Tripod: Because your shutter will be open for a prolonged period, any tiny shake of your hands will ruin the shot. Locking your camera down on a tripod is non-negotiable.
A Remote Shutter Release or Self-Timer: Pressing the physical button on your camera causes shake. Use a 2-second self-timer or a remote trigger to keep the camera completely steady when the exposure begins.
Need a quick refresher on pre-shot checklists before you start mounting your camera? Take a look at these 5 things to do before you press the shutter.
Camera Settings for Your Ghost Photo
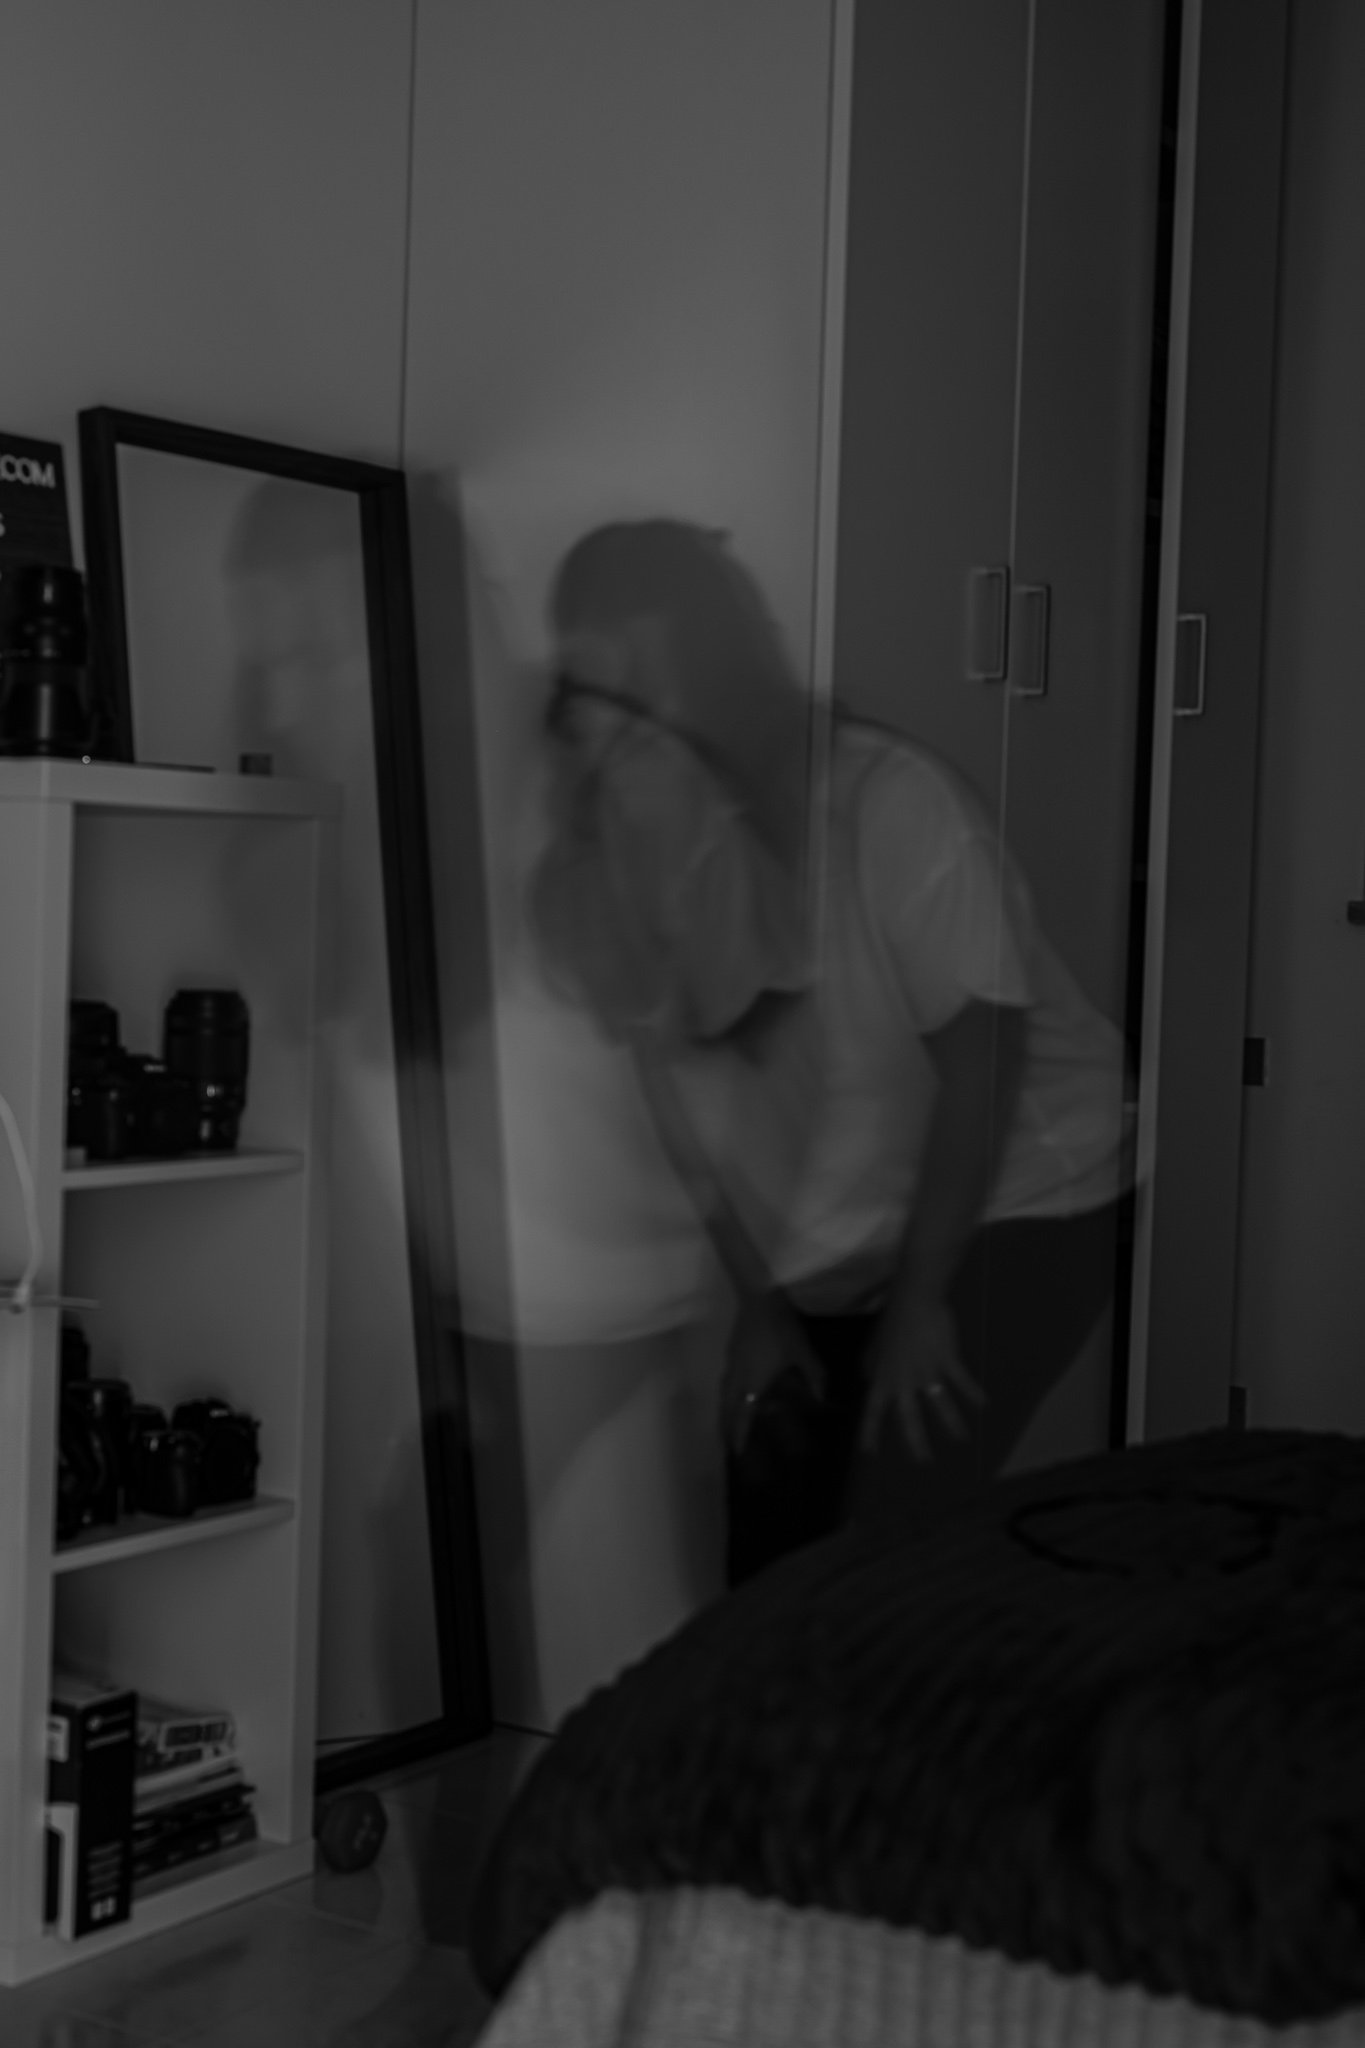
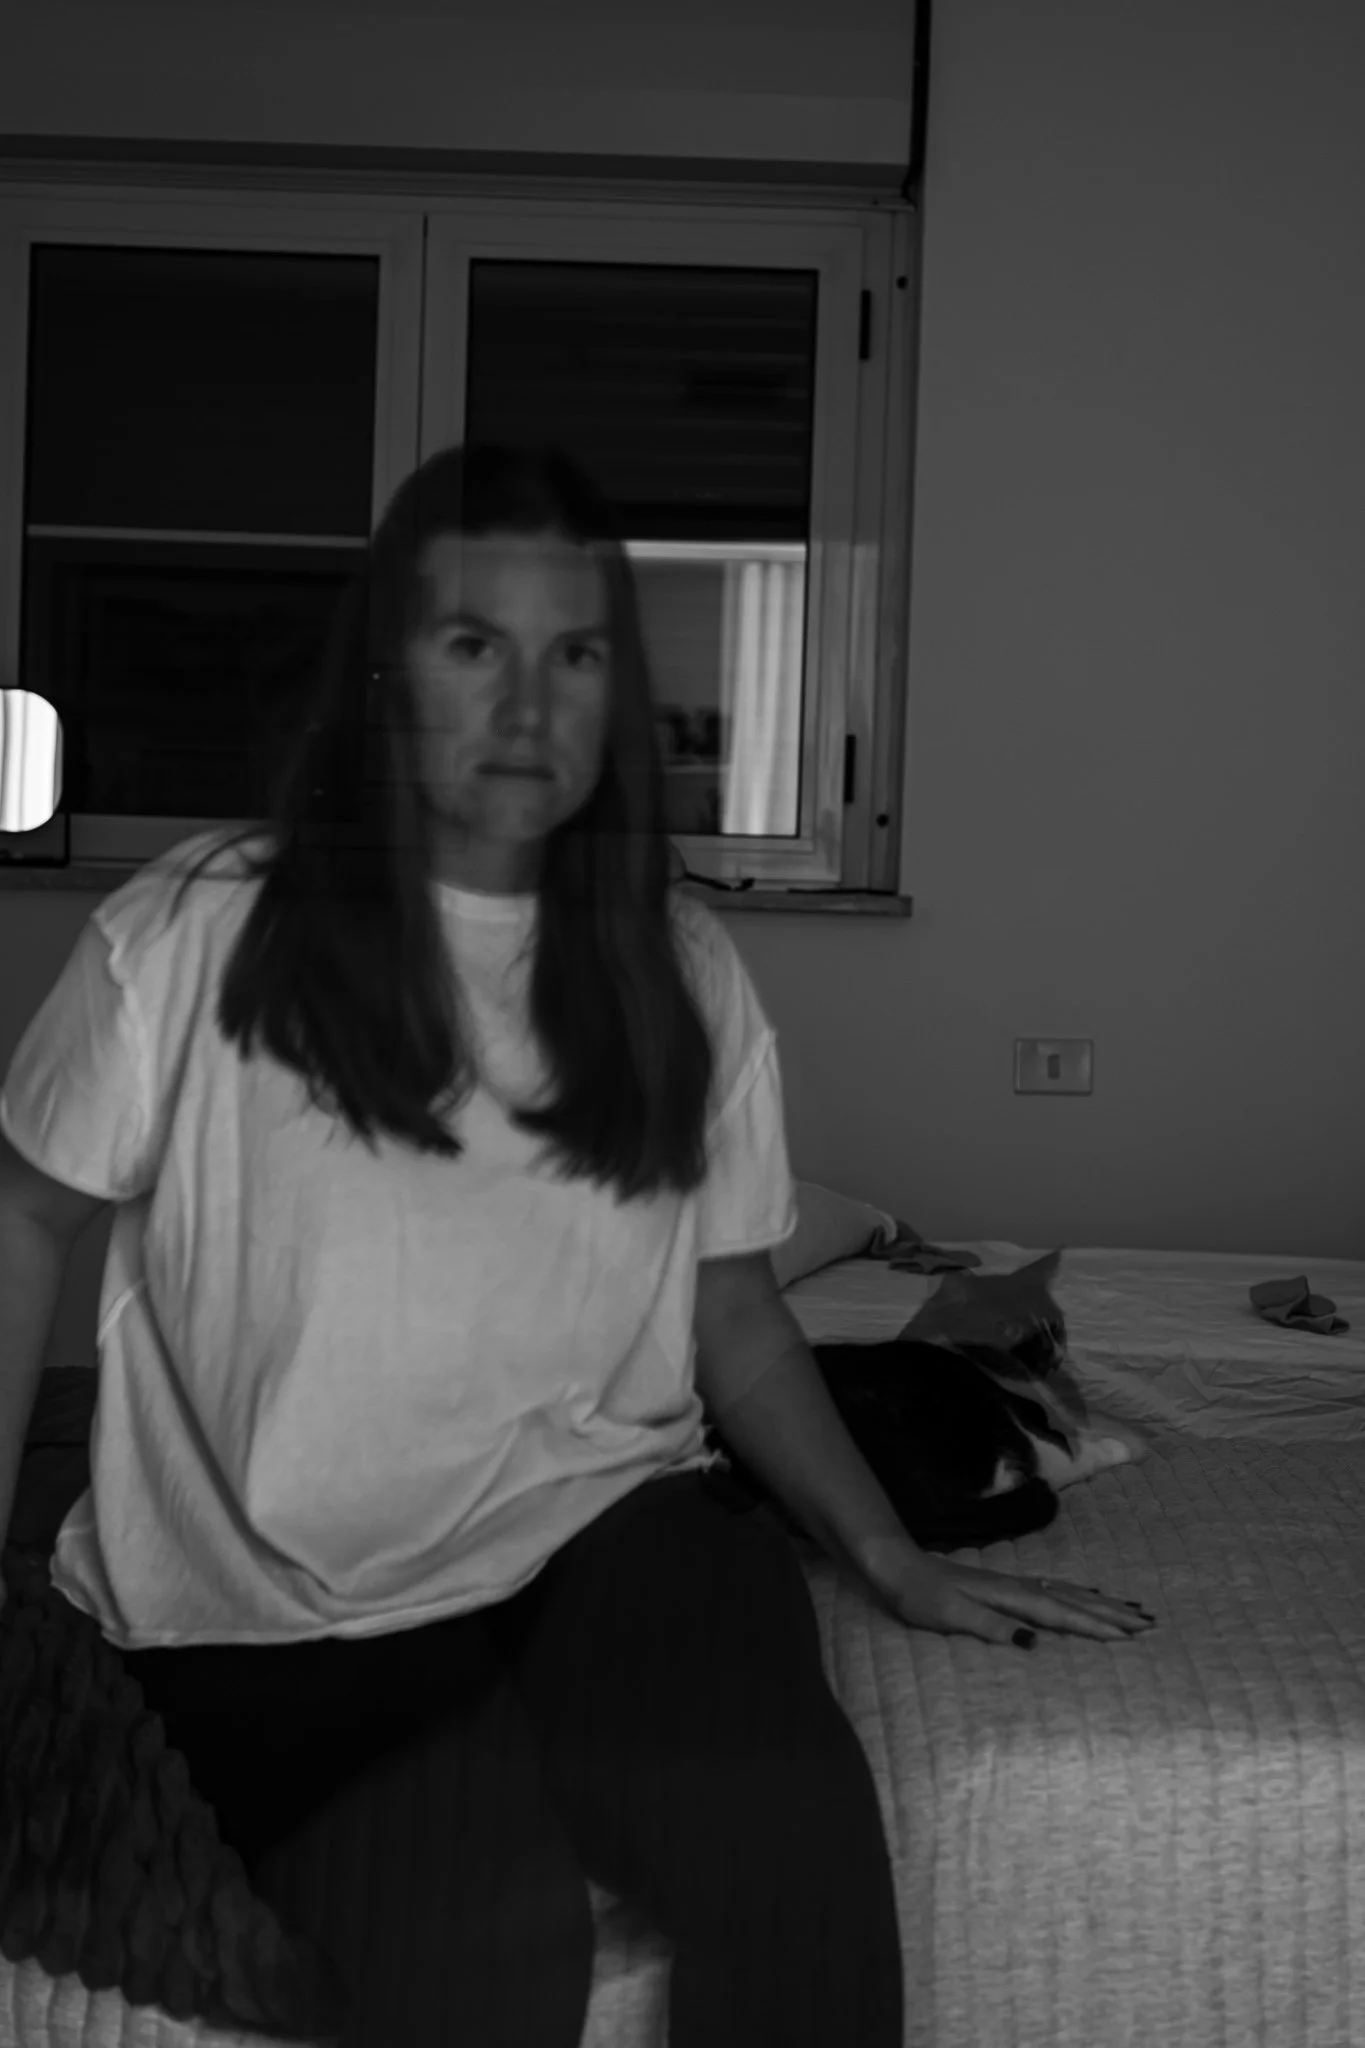
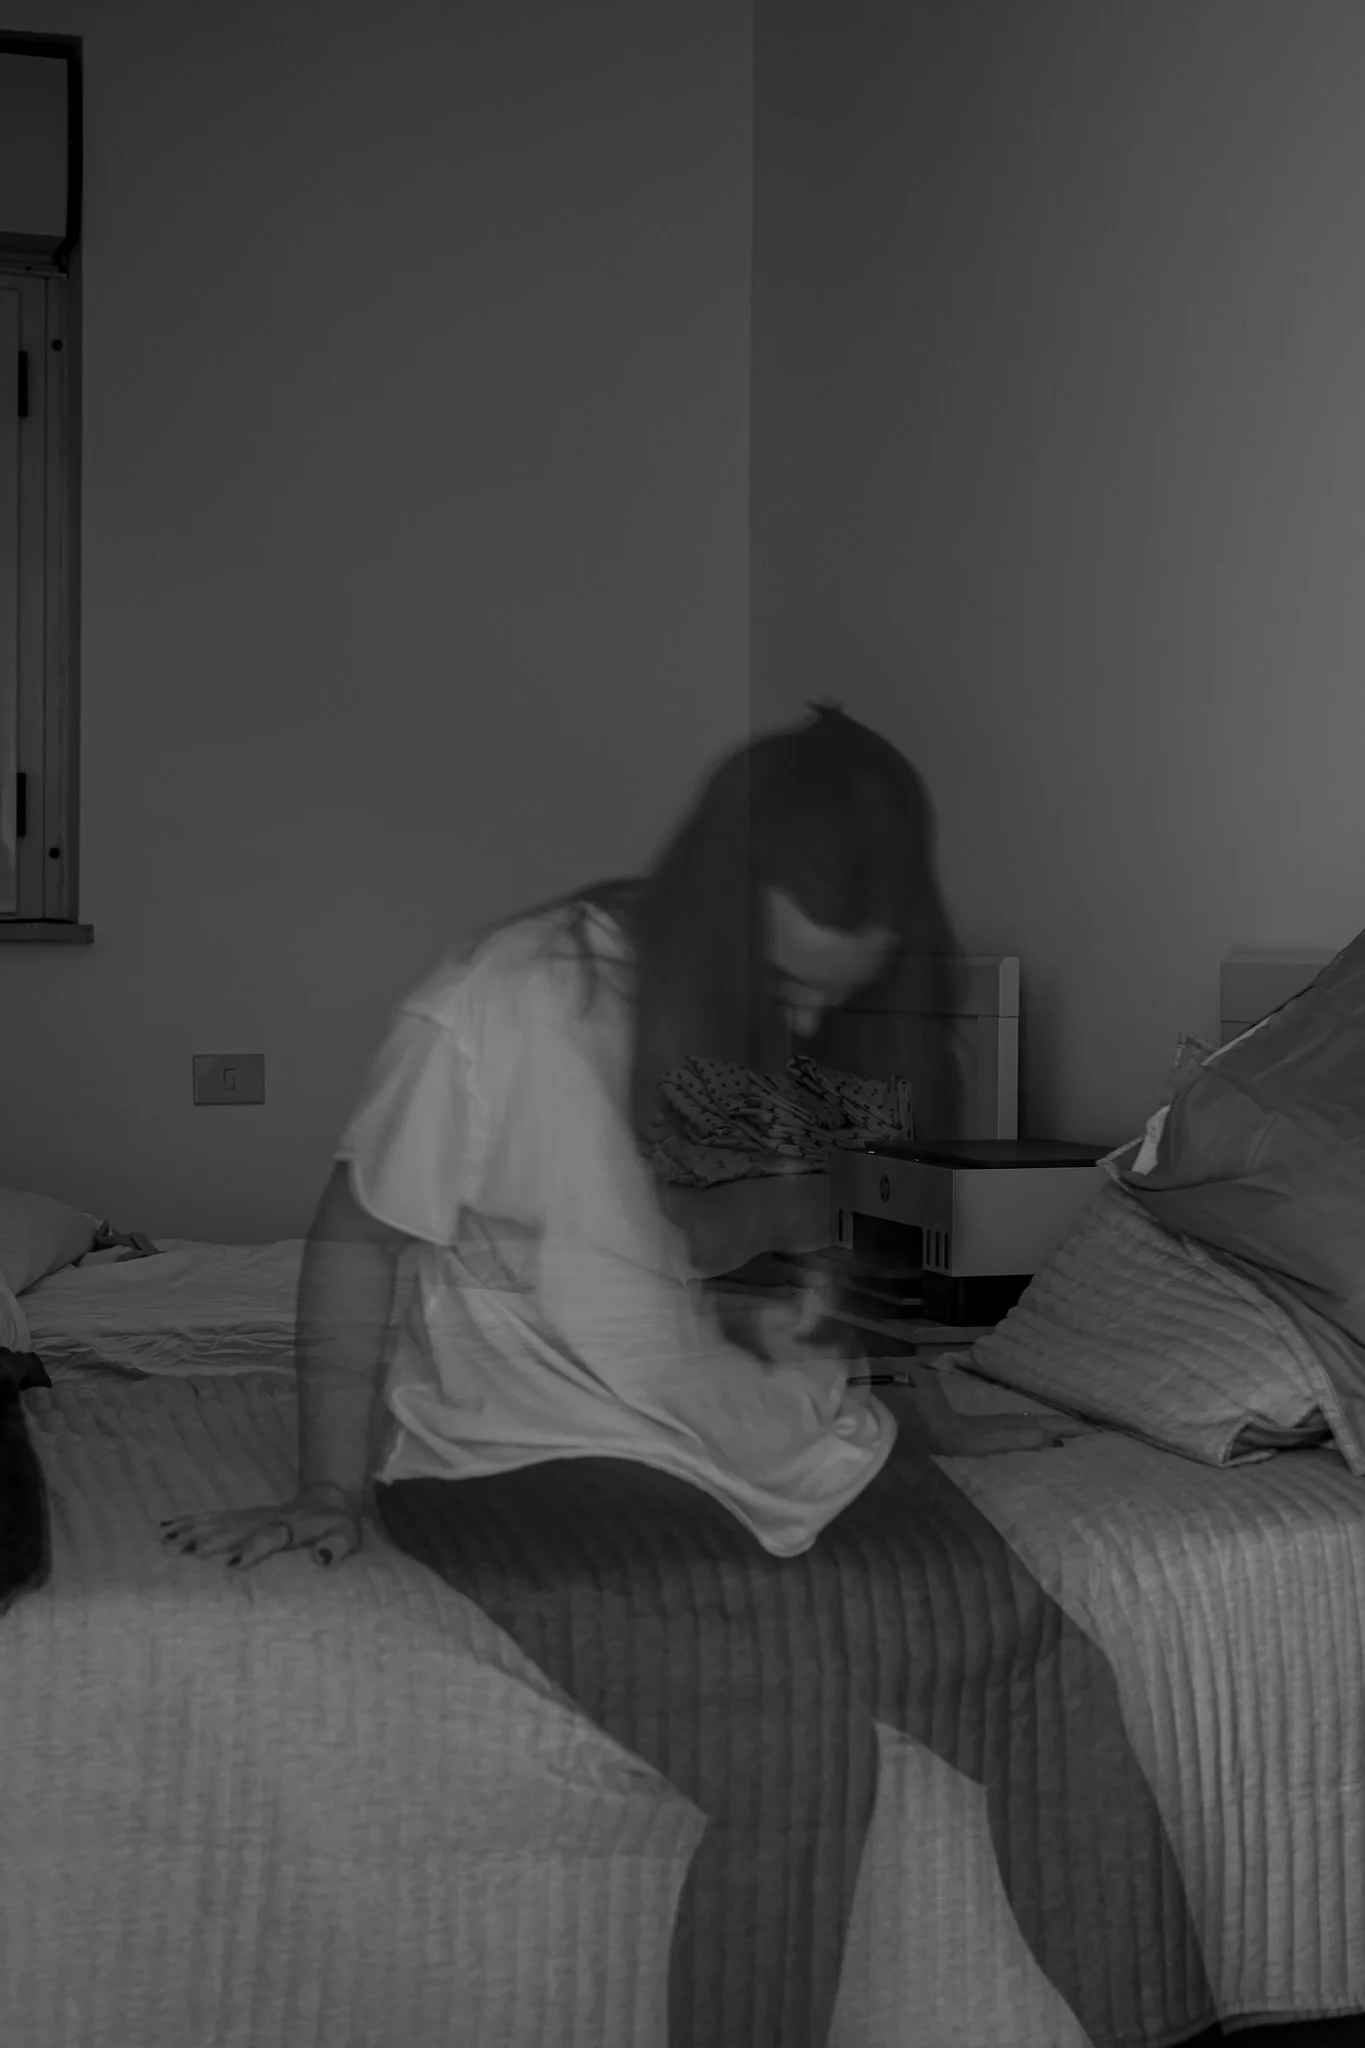
To get that crisp background with a translucent, glowing spirit floating through the frame, your exposure triangle needs to work in harmony. Here are the exact settings that I used in a dark bedroom. Keep in mind, you may need to tweak your settings a little based on the light you’re in!
1. Shutter Speed: 10 Seconds
We want a nice, long window of time for our movement to register. Set your shutter speed to at least 10 seconds. You may need to go up to 20 seconds. This gives you plenty of time to stand still, move around, or exit the frame entirely while the sensor is collecting light.
2. ISO: Low (1.0 or 100)
Keep your ISO low. I prefer shooting at an ISO of Low 1.0 (or your camera's native base ISO like 100 if your specific model doesn't go lower).
3. Aperture: f/4.5
Aperture controls how much light enters your lens. When I first framed my spooky shot, I started at f/9—a narrow aperture that lets in very little light. Because the scene looked completely black, I opened up my aperture, letting in more light until I landed on f/4.5. This gave me the perfect exposure balance for a low-light indoor or evening setting.
If you want to dive deeper into how opening and closing your lens impacts your depth and exposure, read through this breakdown on aperture and depth of field: a beginner guide.
Step-by-Step: How to "Burn" Yourself Into the Image
Now comes the fun part! Creating the ghost effect relies on a concept called burning.
When you stand still in front of the camera during a long exposure, the light bounces off of you and hits the camera sensor continuously. The longer you stay in one spot, the more solid you appear in the final image. If you move quickly, you leave a faint trace.
Follow these simple steps to stage your ghost photo:
Step 1: Lock down your composition. Frame your shot on your tripod. Make sure nothing in the background is going to shift or move (although, curtains blowing in the fan might look cool).
Step 2: Hit the shutter. Trigger your 10 to 20-second exposure using your self-timer or remote.
Step 3: Play your part. Walk into the frame and stay put in your spot for about 5 seconds. Because you are stationary for half of the exposure, you will "burn" a semi-transparent, ghostly version of yourself into the photo.
Step 4: Make your escape. Before the 10 seconds are up, quickly jump or walk completely out of the frame. The remaining 5 seconds of the exposure will capture the empty background behind you, shining right through where you just were!
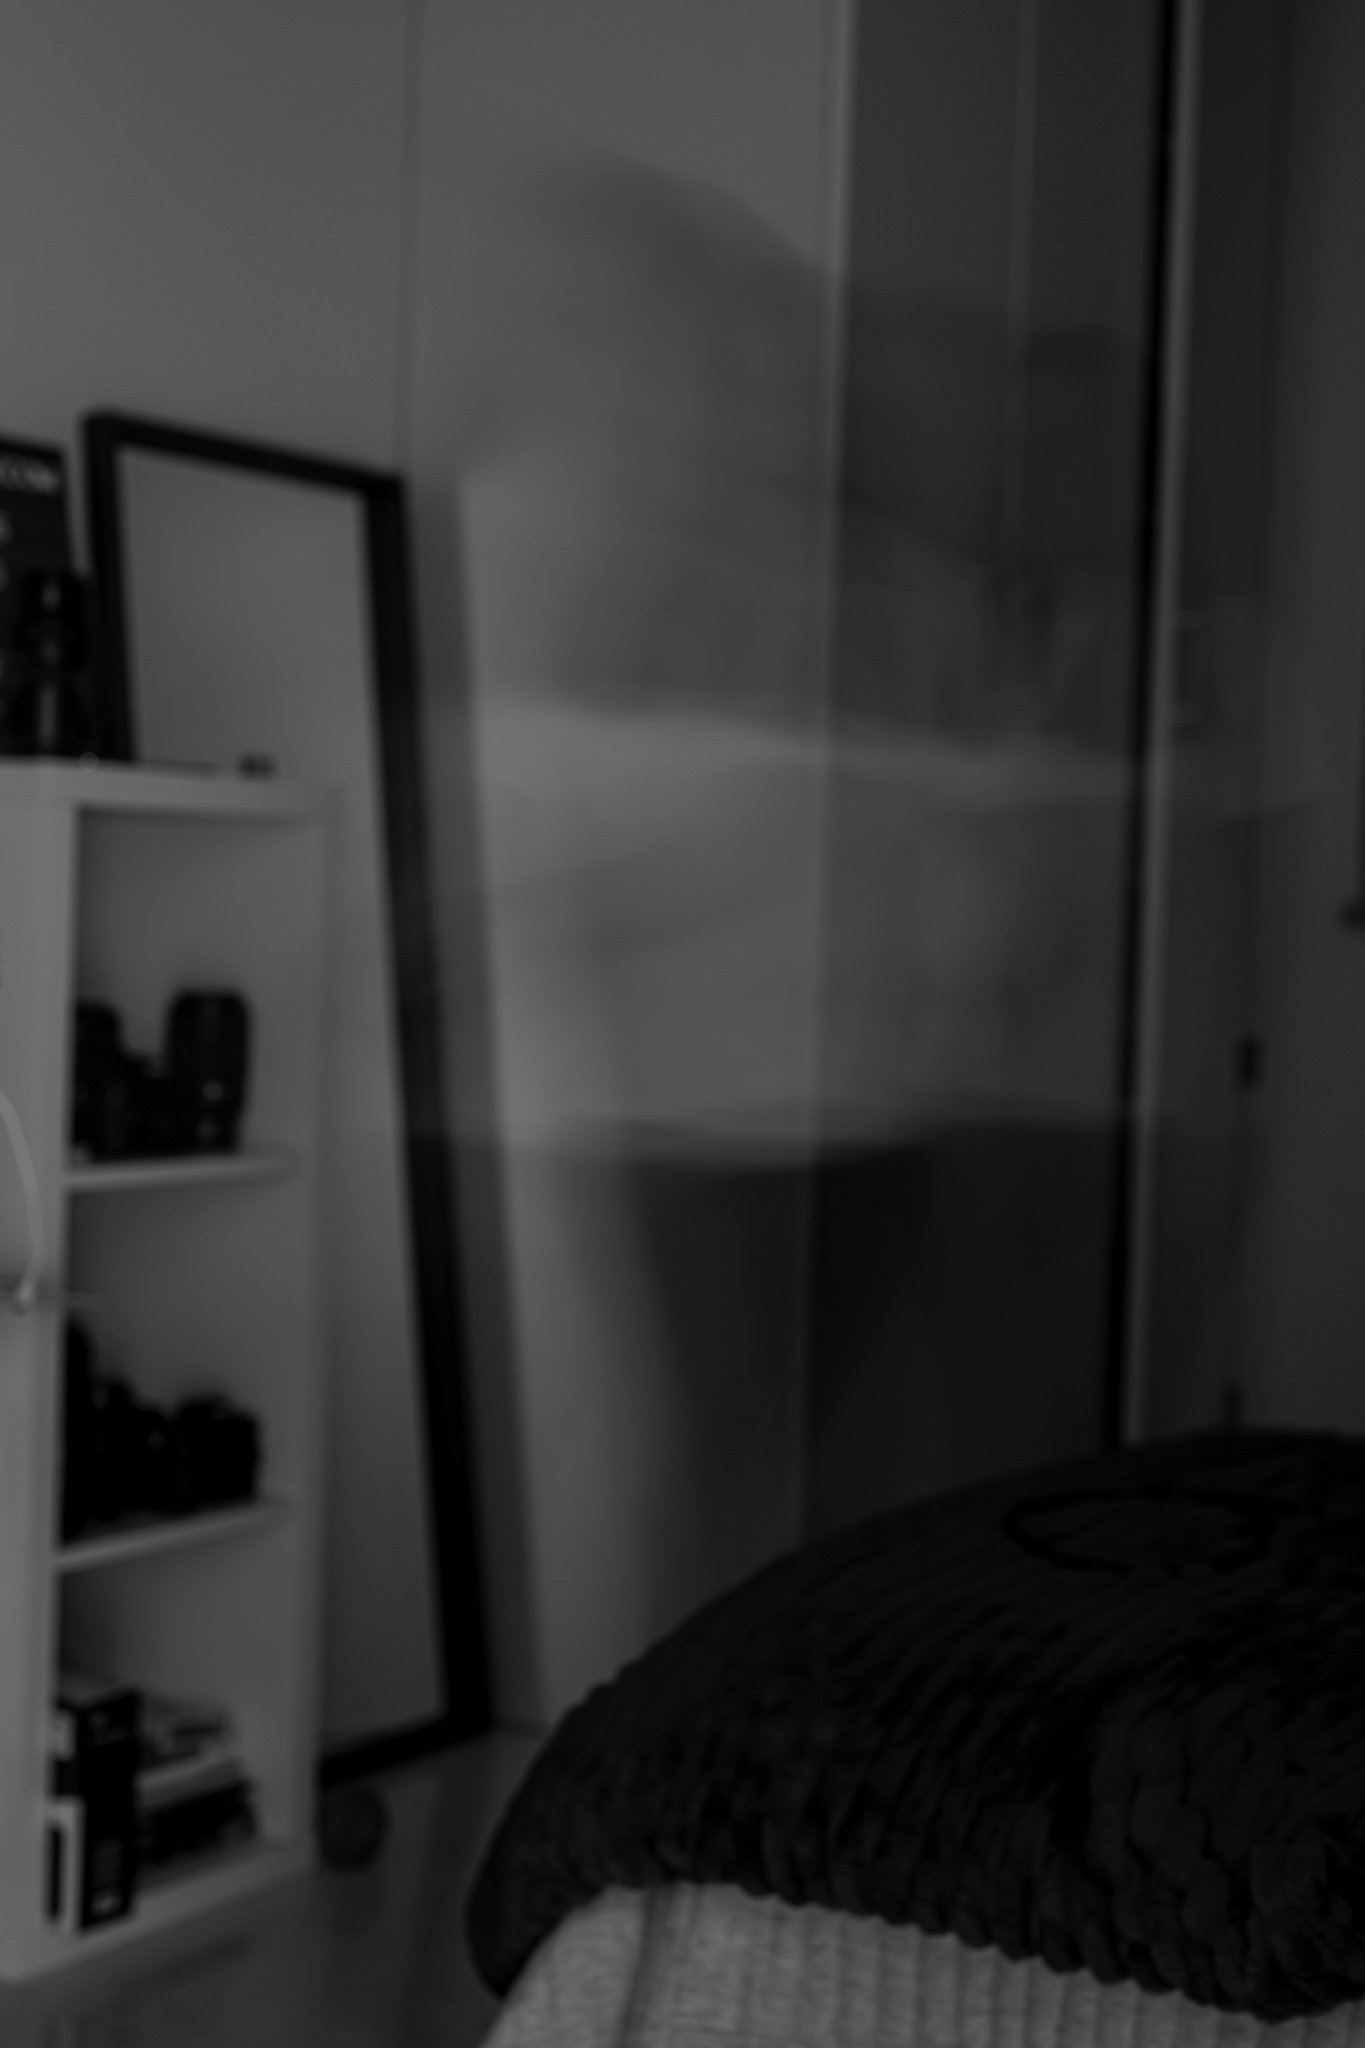
Optional Step 5: Move around slowly. Rather than staying still in the frame, you can slowly walk around or move to create a moving effect, like below!
When you review the final image on your LCD screen, you'll see a spooky, translucent apparition standing right where you paused, with the background visible straight through your body.
If you want a visual walk-through of this exact technique in action, check out my quick TikTok video tutorial here. It’s a great companion to watch while you set up your gear!
Troubleshooting Common Long Exposure Issues
If your first few attempts don't look quite right, don't panic! Troubleshooting is part of the creative process. Here are a few quick fixes for common hiccups:
Is the whole photo blindingly white? Your shutter speed is open too long, or your aperture is too wide (try moving from f/4.5 to a higher number like f/8 or f/11, or shorten your time).
Is the photo pitch black? Not enough light is getting in. Open up your aperture (use a smaller f-number like f/4 or f/2.8) or lengthen your shutter time.
Are your background elements blurry? Your camera moved! Make sure your tripod is on solid ground and consider using a sandbag or weight to stabilize it if you are outdoors. If blur is a recurring issue, read these 5 reasons your photos are blurry (and how to fix them fast!).
Final Thoughts for Spooky Season
Long exposure photography opens up an entirely new world of creative storytelling, and Halloween is the ultimate excuse to play around in manual mode. Grab your camera, set up your tripod, and experiment with different timings to see what kind of spirits you can conjure up this month.
If you're looking for even more inspiration to celebrate the season behind the lens, be sure to check out my complete guide to Halloween photography!
Search the blog for more helpful info! 👇
Needing to dive deeper? Check out…
The Lightroom Series— to learn what all those sliders actually do.
AI-Powered Hail Mary Masks— for lightning fast, unmatched editing tools.
Nancy’s Recommended Gear— and where she buys it used (reputable with warranties!)