We’ve all been there: you’re on a session, the light is gorgeous, your client is laughing, and you press the shutter thinking, "Nailed it!"
Then you get home, load the photos into Lightroom, zoom in, and realize... there is a giant telephone pole sprouting directly out of Dad’s head. Or worse, you accidentally sliced off your subject’s foot right at the ankle. 😅
It is so easy to get caught up in the energy of a shoot and rush through your shots. But taking just three seconds to run through a quick mental checklist before clicking the shutter will save you hours of editing frustration later—and make your images look instantly more polished and intentional.
Here are 5 quick things to check right before taking a photo!

1. Check the Background for Clutter (and Head-Sprouters!)
Before you focus on your subject, scan what’s behind them. Is there a bright orange trash can in the distance? A random stray branch? A light pole, tree trunk, or fence line positioned directly behind someone’s head?
These background distractions draw the eye away from the people you’re photographing. The good news? You usually don't need a whole new location to fix it! Taking one step to the left, crouching down slightly, or shifting your angle just a few inches can completely hide background clutter behind your subject or eliminate those awkward "head-sprouters."

2. Check Your Edges and Composition (No Chopped Joints!)
Before you lock in your shot, glance at the very edges of your frame.
Where are your crop lines landing? A good rule of thumb in portrait photography is to avoid cropping directly across a joint—like wrists, elbows, knees, or ankles. Slicing a body part off right at the joint looks accidental and awkward, whereas cropping mid-thigh, mid-torso, or mid-bicep feels clean and deliberate.
Checking your frame also helps you plan for physical prints later! Understanding aspect ratio and why prints keep getting cropped will help you leave enough breathing room around your subject so your shots print perfectly every time.

3. Lock In Your Focal Point (Target the Eyes)
Nothing ruins a great moment faster than bringing a photo onto your computer screen only to realize your camera focused on your client's shirt button or the background tree instead of their face.
Before you click, make sure your autofocus point is locked right onto the eye closest to your camera. If you’re photographing a group or a couple, make sure your aperture is set high enough so everyone stays tack-sharp—especially if someone is standing a few inches behind the other!
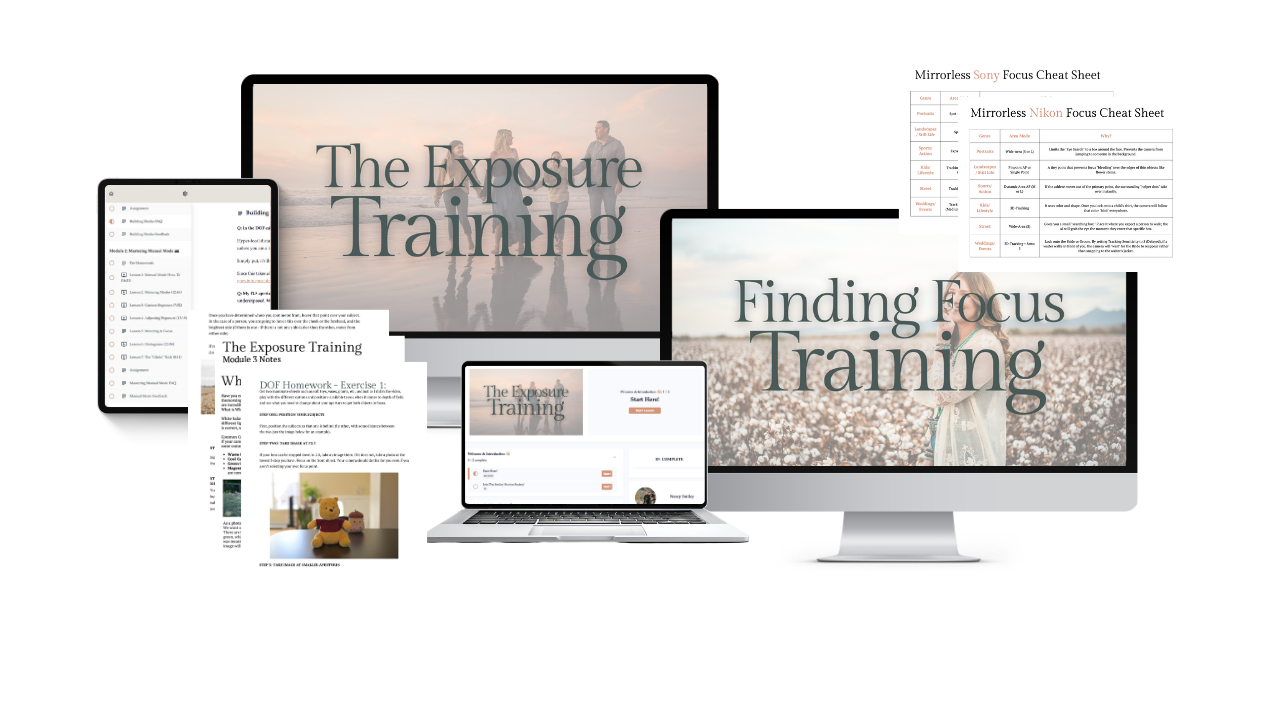
If getting crisp, reliable focus feels like a constant battle, my Finding Focus Training is the ultimate shortcut! It’s super affordable and designed so you can digest the entire system in just a single weekend and have sharper shots in just days.
Inside, you’ll master:
Autofocus Modes Demystified: Learn how to select the exact focus modes and points for portraits, moving kids, and families so your subjects are tack-sharp every single time.
Troubleshooting: Even the pros miss focus sometimes - but they know why. Use my troubleshooting guide to identify why you miss focus, and fix it.
4. Scan for Natural Light and Shadow Lines
Light is the single most important element in photography, but it can play tricks on your camera sensor if you aren't paying attention. Before pressing the button, do a quick light check on your client’s face:
Are there harsh, dappled tree shadows cutting across their nose or forehead?
Is one eye completely in shadow while the other is in bright sunlight?
Do you see a nice, natural catchlight (that little sparkle of light) in their eyes?
If the light looks patchy or uneven, simply turn your clients slightly toward your main light source or step under full shade. For a deeper breakdown on reading light on location, check out my guide on natural light tips for beginners to get smooth, even light across their features.

5. Check Your Camera Settings Baseline
How many times have you taken a photo, looked at the back LCD screen, and realized it was completely blown out or pitch black because you forgot you were shooting in bright sun two minutes ago?
Before you start directing your clients or snapping away, take one quick test shot or glance at your light meter. Double-check that your shutter speed is fast enough to freeze motion, your ISO is set for your current light, and your aperture gives you the depth of field you want.
If you're still getting comfortable reading light in camera, take a look at metering modes 101 to help your light meter give you accurate exposures. And if you ever feel stuck on which mode to choose, my guide on demystifying your camera dial will give you total confidence turning those dials!
🚨 FREEBIE ALERT! If you need an on-the-go pocket guide to help you choose aperture, shutter speed, and ISO in any lighting, go download my manual mode settings cheat sheet and thank me later! It’s been downloaded over 10,000 times and is sure to save you when you’re second guessing! 👇

Search the blog for more helpful info! 👇
Needing to dive deeper? Check out…
The Camera Series— to get the images you’ve been dreaming of.
The Lightroom Series— to learn what all those sliders actually do.
AI-Powered Hail Mary Masks— for lightning fast, unmatched editing tools.
Nancy’s Recommended Gear— and where she buys it used (reputable with warranties!)