Making the Switch to RAW from JPEG
When you're shooting with a DSLR or mirrorless camera, you've got a choice to make: RAW or JPEG. Now, if you're happily snapping away in JPEG and loving your results, that's fantastic! Keep doing your thing! 👍 But if you ever find yourself wishing you had more control over your images, especially when things don't go quite right in-camera, or if you're itching to take your photos to the next level, then I wholeheartedly encourage you to give shooting in RAW a try.

Think of RAW as giving your photos a second chance! Seriously, I don't know where I'd be without it. It gives you so much more flexibility when you're editing. You can rescue underexposed shots without those weird color casts, bring back details in overexposed areas, and easily tweak the white balance. It's like having a superpower for your photos! 💪
I've talked about the benefits of RAW before in my post RAW vs JPEG, so I won't rehash all the pros and cons here. Instead, in this post, I'm going to walk you through exactly WHAT you need to do to make the switch from shooting in JPEG to the wonderful world of RAW! Let's dive in! 🚀
🛠️ Step 1: Gear Up - Your RAW Processing Toolkit
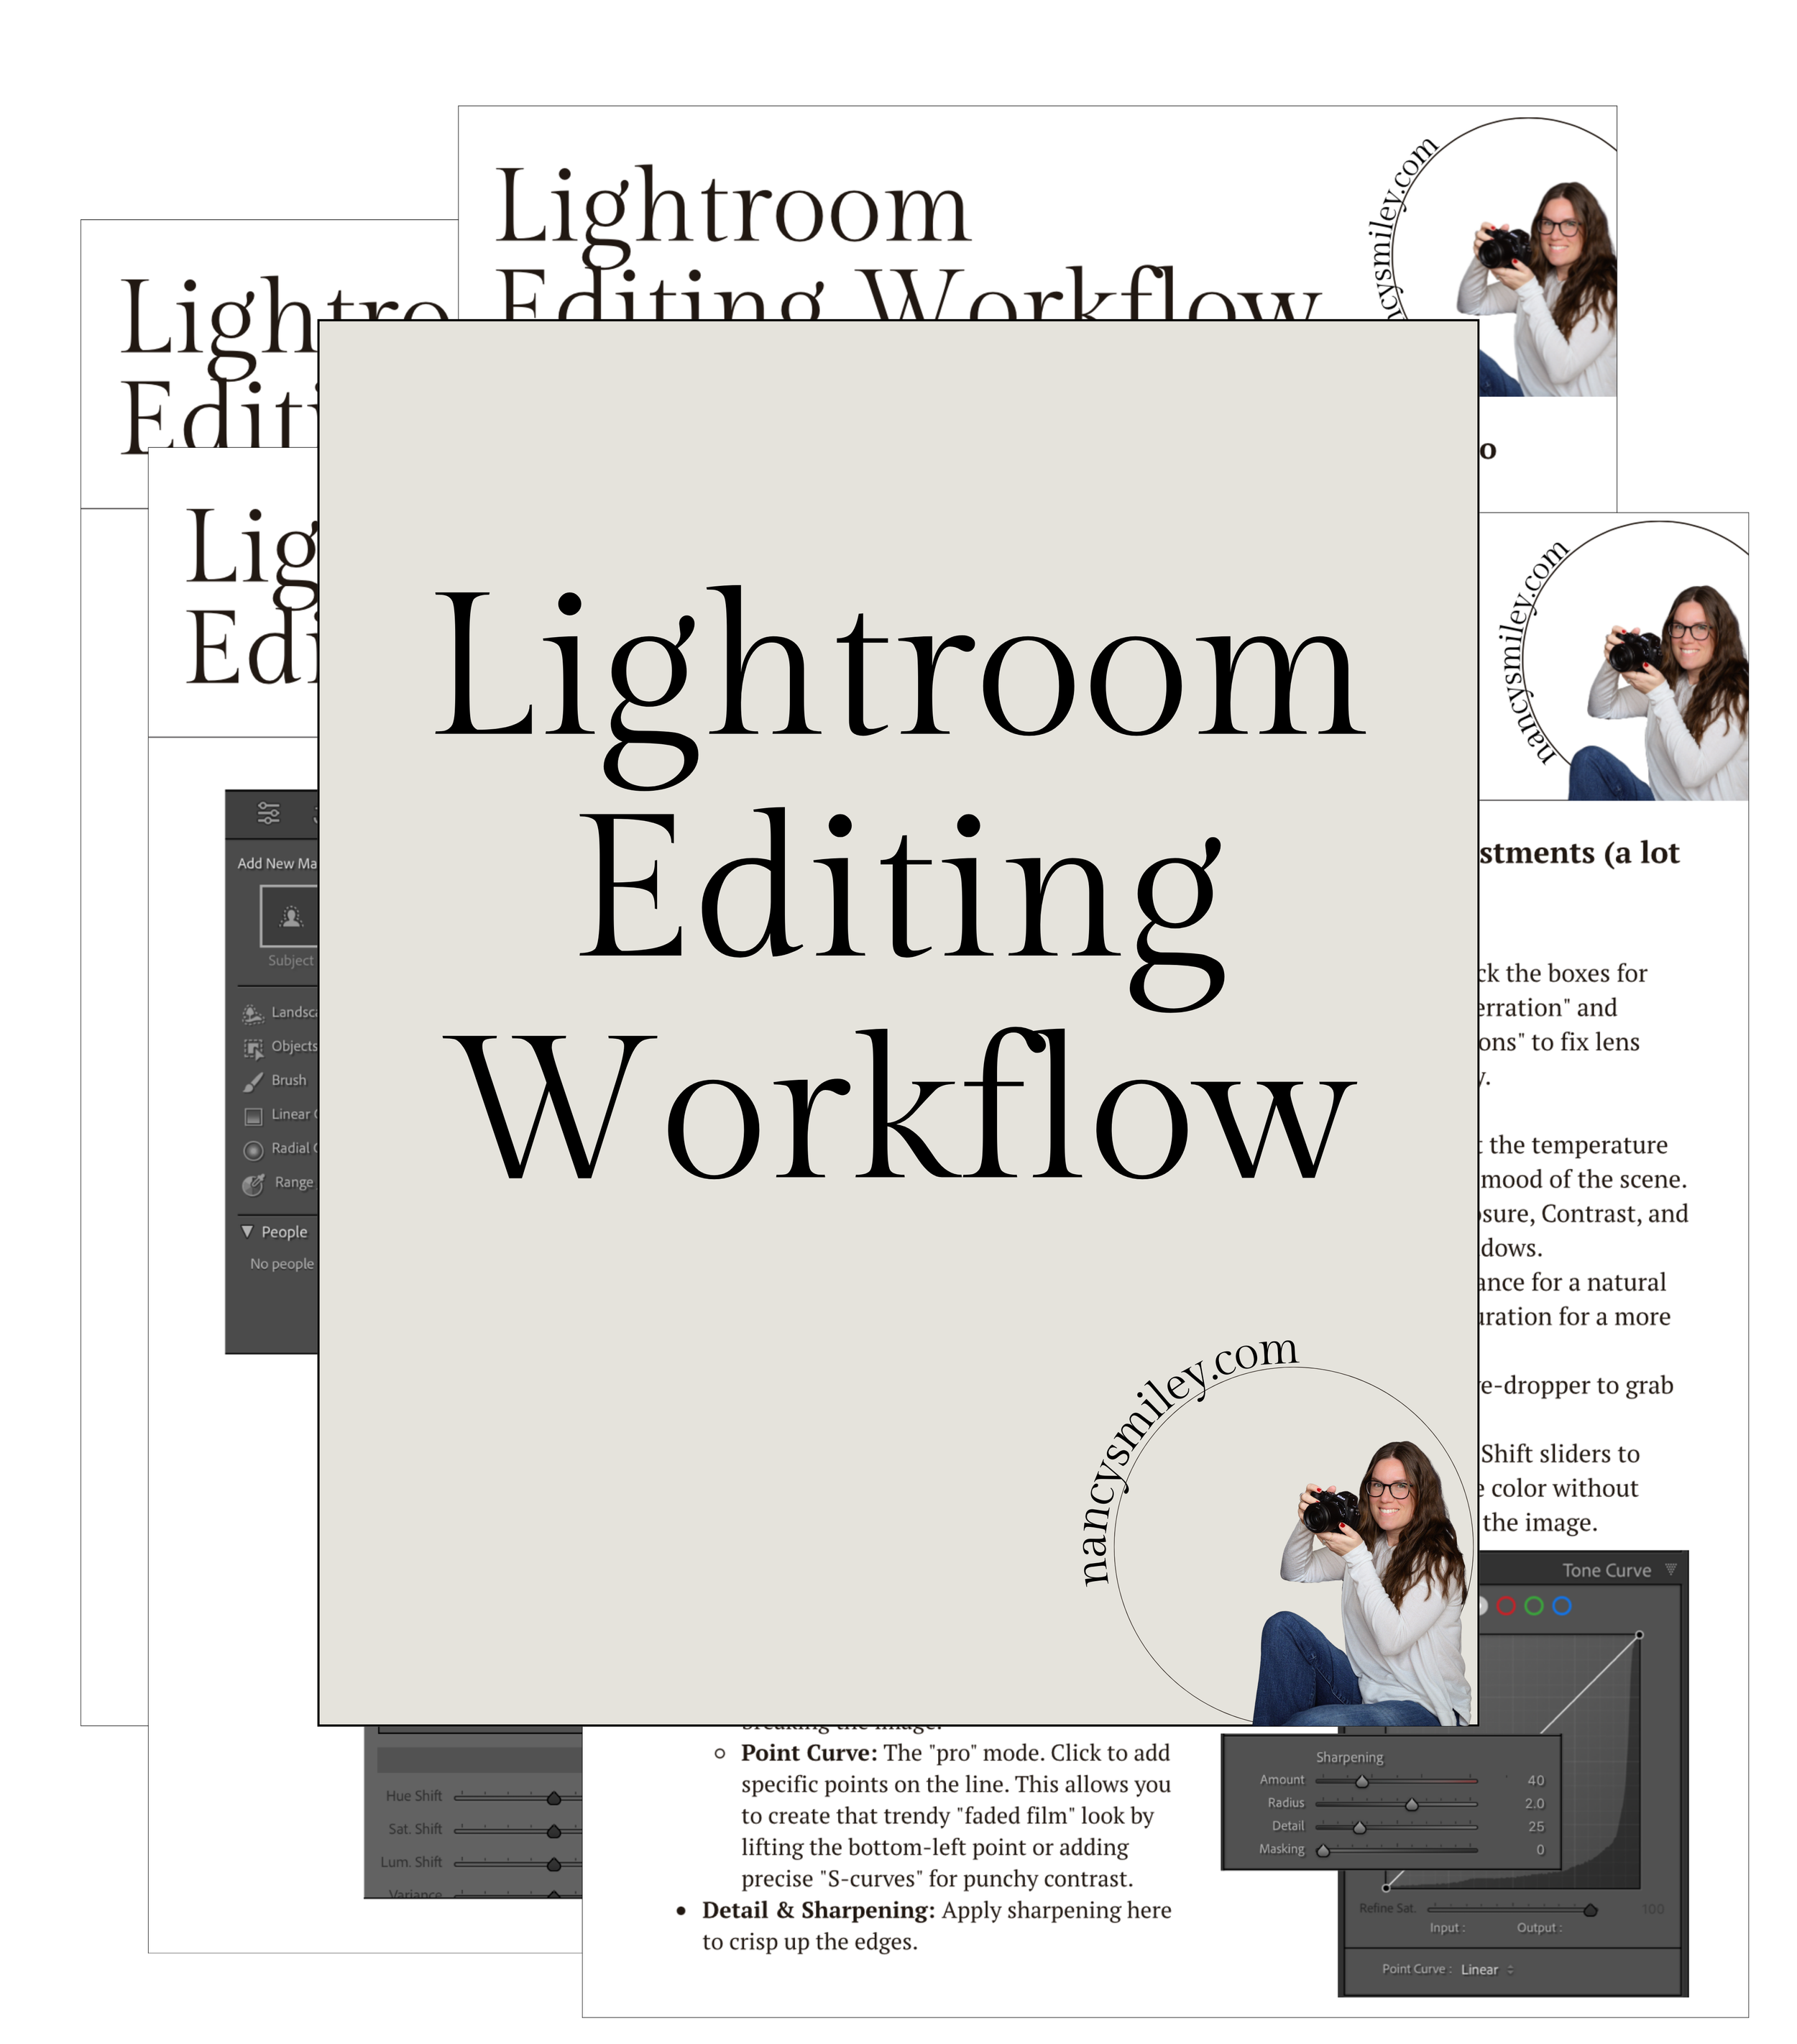
First things first, you'll need some software to process your RAW files. This could be the software that came with your camera, or a more powerful option like Lightroom Classic or Photoshop Elements – both are fantastic photo editors.
Personally, I highly recommend the Adobe Photography Plan and starting with Lightroom Classic (which is included!). It's a winner for both hobbyists and pros because it's not just an editing program; it's a complete image management system, perfect for keeping your growing photo collection organized! 🌟
Whatever software you choose, you’ll want it installed and ready to go on your computer.
⚙️ Step 2: Camera Settings - Selecting RAW
Now, let's get your camera ready! You'll need to switch your shooting format from JPEG to RAW. Unfortunately, every camera is a little different, so I can't give you exact menu instructions. On my Nikon, I go to "IMAGE QUALITY" and find the options for JPEG, JPEG + RAW, or just RAW. You'll likely have similar options. (If you're having trouble finding it, check your camera's manual.) Select RAW. If you're a little nervous about going all-in on RAW, you can choose RAW + JPEG to have both file types, but be aware that this will eat up a lot more space on your memory card and computer!

📸 Step 3: Lights, Camera, Action! - Start Shooting in RAW
That's it! You can now go ahead and take some pictures in RAW mode. The actual shooting process feels exactly the same – the only thing that has changed is the file format your camera is recording.
💾 Step 4: Transfer Time - Uploading Your RAW Files
Once you've filled your memory card with RAW goodness, connect your camera to your computer and upload your files. Then, open your chosen RAW processing software (Lightroom, Photoshop Elements, or your camera's software).
Photoshop or Photoshop Elements: Go to FILE > OPEN and select your RAW file. This will automatically open it in ACR (Adobe Camera Raw), the RAW processor for these programs.
Lightroom: You don't need to do anything special! Lightroom handles JPEGs and RAW files seamlessly. Just import your photos into Lightroom to view them.
✨ Step 5: Unleash Your Inner Editor - Basic RAW Adjustments
Now for the fun part – editing your RAW photo! For now, let's stick to the Basic panel in your editing software. Here, you'll find sliders to control Exposure (brightness), Contrast, Highlights (bright areas), Shadows (dark areas), Saturation (color intensity), and more. This is where you bring your RAW file to life!
Too bright? Pull the Exposure, Highlights, and Whites sliders to the left.
Too dark? Move the Exposure, Blacks, and Shadows sliders to the right.
Want more punch? Play with the Contrast and Vibrance/Saturation sliders.
The key here is to experiment! Play with the sliders until you get an image that you're happy with. You can learn more about adding "pop" to your images in this tutorial: 5 Post-Processing Power Moves.

➡️ Step 6: Sharing Your Masterpiece - Saving as JPEG
Once you're thrilled with your edits, the final step is to convert your RAW file into a JPEG. RAW files are like digital negatives – they need to be "developed" and then saved in a more universally accessible format like JPEG to be shared online or printed.
Photoshop Elements: After editing in ACR, click OPEN to bring the file into the main Elements workspace. Then, go to SAVE AS and choose JPEG as the file format.
Lightroom: After you've finished your edits, go to FILE > EXPORT and choose JPEG as the file format.

And that's it! You've successfully shot and processed your first RAW image. It might take a little longer than just shooting JPEGs, but the extra control and quality are absolutely worth it in my opinion! Remember, you can always switch back to JPEG when you need to shoot a large volume of images and don't have time to edit them all, but you'll likely miss the flexibility of RAW!
Switching to RAW is just one of the fantastic changes I encourage you to make in my e-course Auto to Awesome. And to make sure you can beautifully process your RAW files, there's even a bonus editing section included!
If you do make the switch to RAW, be sure to check out some editing tutorials to learn all the amazing things you can do to make your images look their absolute best! Happy shooting (in RAW!)! 📸