6 Easy and Essential Edits in Lightroom Classic
So, you've made the smart switch to shooting in RAW format? Awesome! You might have noticed that those files look a little... flat straight out of the camera compared to JPEGs. Don't worry, that's totally normal! It's because RAW files hold all the information, without any in-camera processing like contrast and saturation. Think of it as a blank canvas just waiting for your artistic touch! 🎨
Ready to inject some life and "pop" into your RAW images? Let's dive into six super effective adjustments you can make in Lightroom Classic to really make your photos shine! ✨

💥 #1: Pump Up the Contrast for Instant Impact!
One of the quickest ways to add depth and visual interest to your photos is by playing with contrast. Simply put, contrast is the difference between the dark and light areas of your image. Boosting contrast makes the darks darker and the lights lighter, creating a more dynamic feel.
Lightroom Classic offers a couple of easy ways to do this. The most straightforward is the Contrast slider in the Basic panel. But for more nuanced control, dive into the Tone Curve! You'll see a graph, and by creating a subtle S-curve (add two anchor points and gently pull the top one up and the bottom one down), you can add beautiful contrast without losing detail.
Even Easier: In the Tone Curve panel, where it says "Point Curve: Linear," click and choose "Medium Contrast" or "Strong Contrast" from the dropdown menu. You can then fine-tune those anchor points to your liking! 😉

📐 #2: Straighten Up! Fixing Lens Distortion Like a Pro
Shooting with a wide-angle lens? You might notice some lens distortion, where the center of the image appears closer, and straight lines near the edges look a bit curved. You might also see vignetting, where the corners of your image are darker than the center. It's just the nature of capturing such a wide view!
The good news? It's a breeze to fix in Lightroom Classic! Simply head down to the Lens Corrections panel and tick the Enable Profile Corrections box. Lightroom is smart! It will automatically detect the make and model of your lens from the image's EXIF data and apply the necessary corrections, banishing distortion and vignetting in one click. Magic! ✨

🌈 #3: Unleash the Colors with Vibrance & Saturation!
Ready to make your colors sing? Both the Vibrance and Saturation sliders will boost the intensity of the colors in your images, but they work in slightly different ways.
Saturation is like turning up the volume on all the colors equally. It's fantastic for landscapes and macro shots where you want an overall color boost. 🏞️🌸
Vibrance, on the other hand, is a bit more intelligent. It focuses on the less saturated colors, giving them a boost while leaving the already rich colors alone. This makes it a much better choice for photos with people in them, so skin tones don't end up looking unnatural (no bad fake tans here! 😉).
Pro tip: You can even use both! I often start with a touch of Saturation for an overall lift, and then add more Vibrance to bring out the more subtle tones. Experiment and see what works best for your image!

🎨 #4: Apply Split Toning in the Color Grading Tool!
Want to add a unique and artistic flair to your photos? The Color Grading tool in Lightroom Classic is your new best friend! This cool feature allows you to add a specific color tone to the highlights and a different color tone to the shadows of your image.
Simply drag the color selector in the highlights towards cool tones (blue, magenta) and drag the color selector in the shadows to the warm tones (yellow, red). Or vice versa!
You can also apply a color to the midtowns, or “globally” - to the image as a whole. While I have some go-to combinations that I share in my Lightroom Trainings, the best way to start is to simply experiment and see what amazing looks you can create! 🎉

📸 #5: One-Click Transformation with Adobe Profiles!
Want a super quick way to make your RAW files look more like those vibrant JPEGs you're used to? The Adobe Profiles profiles are your secret weapon!
Head down to the Basic tab. You'll see a dropdown menu labeled Profile (it's usually set to "Adobe Standard"). Click on it, and you'll find a list of options like "Adobe Portrait," "Adobe Standard," "Adobe Landscape," and more. Sound familiar? That's because these profiles often mimic the different JPEG settings you'd find in your camera!
Simply pick a profile (or cycle through them to see which you prefer) for an instant boost to your image's colors and tones. While you'll likely still want to make some of the other adjustments we've talked about, this is a fantastic trick, especially if you're short on time or just starting your editing journey. ✨

🌟 #6: Sharpen Your Focus for Crystal-Clear Details!
Once you've made your tonal and color adjustments, the final touch for a professional-looking image is often sharpening. This enhances the edges and details in your photo, making it look crisp and clear.
In Lightroom Classic, you'll find the Detail panel with sharpening controls. Start with the Amount slider to increase the overall sharpness. Be careful not to overdo it, as too much sharpening can create unwanted halos around edges.
In my Lightroom Trainings, we learn how the Radius controls the “thickness” of the sharpening effect and the Detail fine-tunes the amount of detail that gets sharpened, and why the Masking slider is particularly useful. Best to start very gradual to maintain a natural look! 😉

Your Lightroom Editing Adventure Begins Now! 🚀
Haven’t installed Lightroom yet? I really, highly recommend the Photography Plan from Adobe, where you can get access to all versions of Lightroom (including Classic, of course) for just $12 a month. Here is the Adobe webpage that breaks it down!
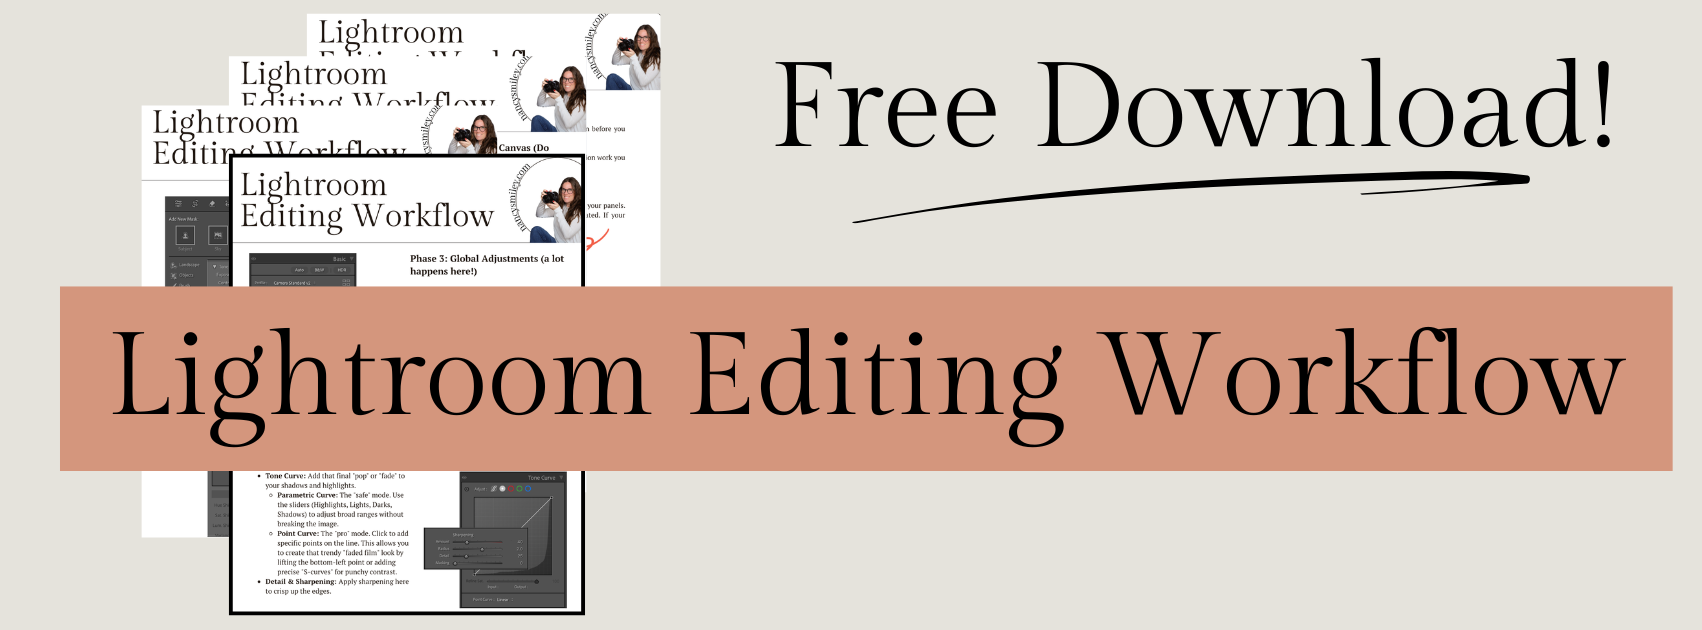
This little guide just scratches the surface of the incredible things you can do in Lightroom Classic! To help you get started on your editing journey, I've put together an awesome FREE Lightroom Editing Workflow!
Needing to dive deeper? Check out…
The Camera Series to understand exposure, metering, how to achieve sharp focus, white balance, and more!