5 Compelling Reasons Why Photo Editing is Your Secret Weapon
If there's one topic that consistently sparks discussion in the photography world, it's editing – those crucial steps you take after you've pressed the shutter button and your images are safely uploaded. It can feel like a whole new universe to explore, and let's be honest, it can be a tad overwhelming for new photographers. 🤯
Because it's another skill to add to your ever-growing "to learn" list, the temptation to skip it, or just slap a quick filter on and call it a day, can be strong. However, I truly believe that editing your images is an essential part of the photography process, and something you should start embracing as soon as possible.
In this post, I'm going to break down exactly WHY you should be editing your images, what key things to consider, which software can be your allies, and even the best order to approach learning this vital skill.
Oof! That sounds like a lot to cover, doesn't it? Well, let's jump right in, starting with the core reasons why we should dedicate time to editing our precious photos. Personally, I find it much easier to get on board with something when I truly understand its value – so if you're like me, keep reading! 😉
⚙️ #1: You're Always Processing – The Choice is Yours!
Here's a fundamental truth: every image you capture needs to be processed. The only question is, who's doing the processing – you or your camera? 🤔
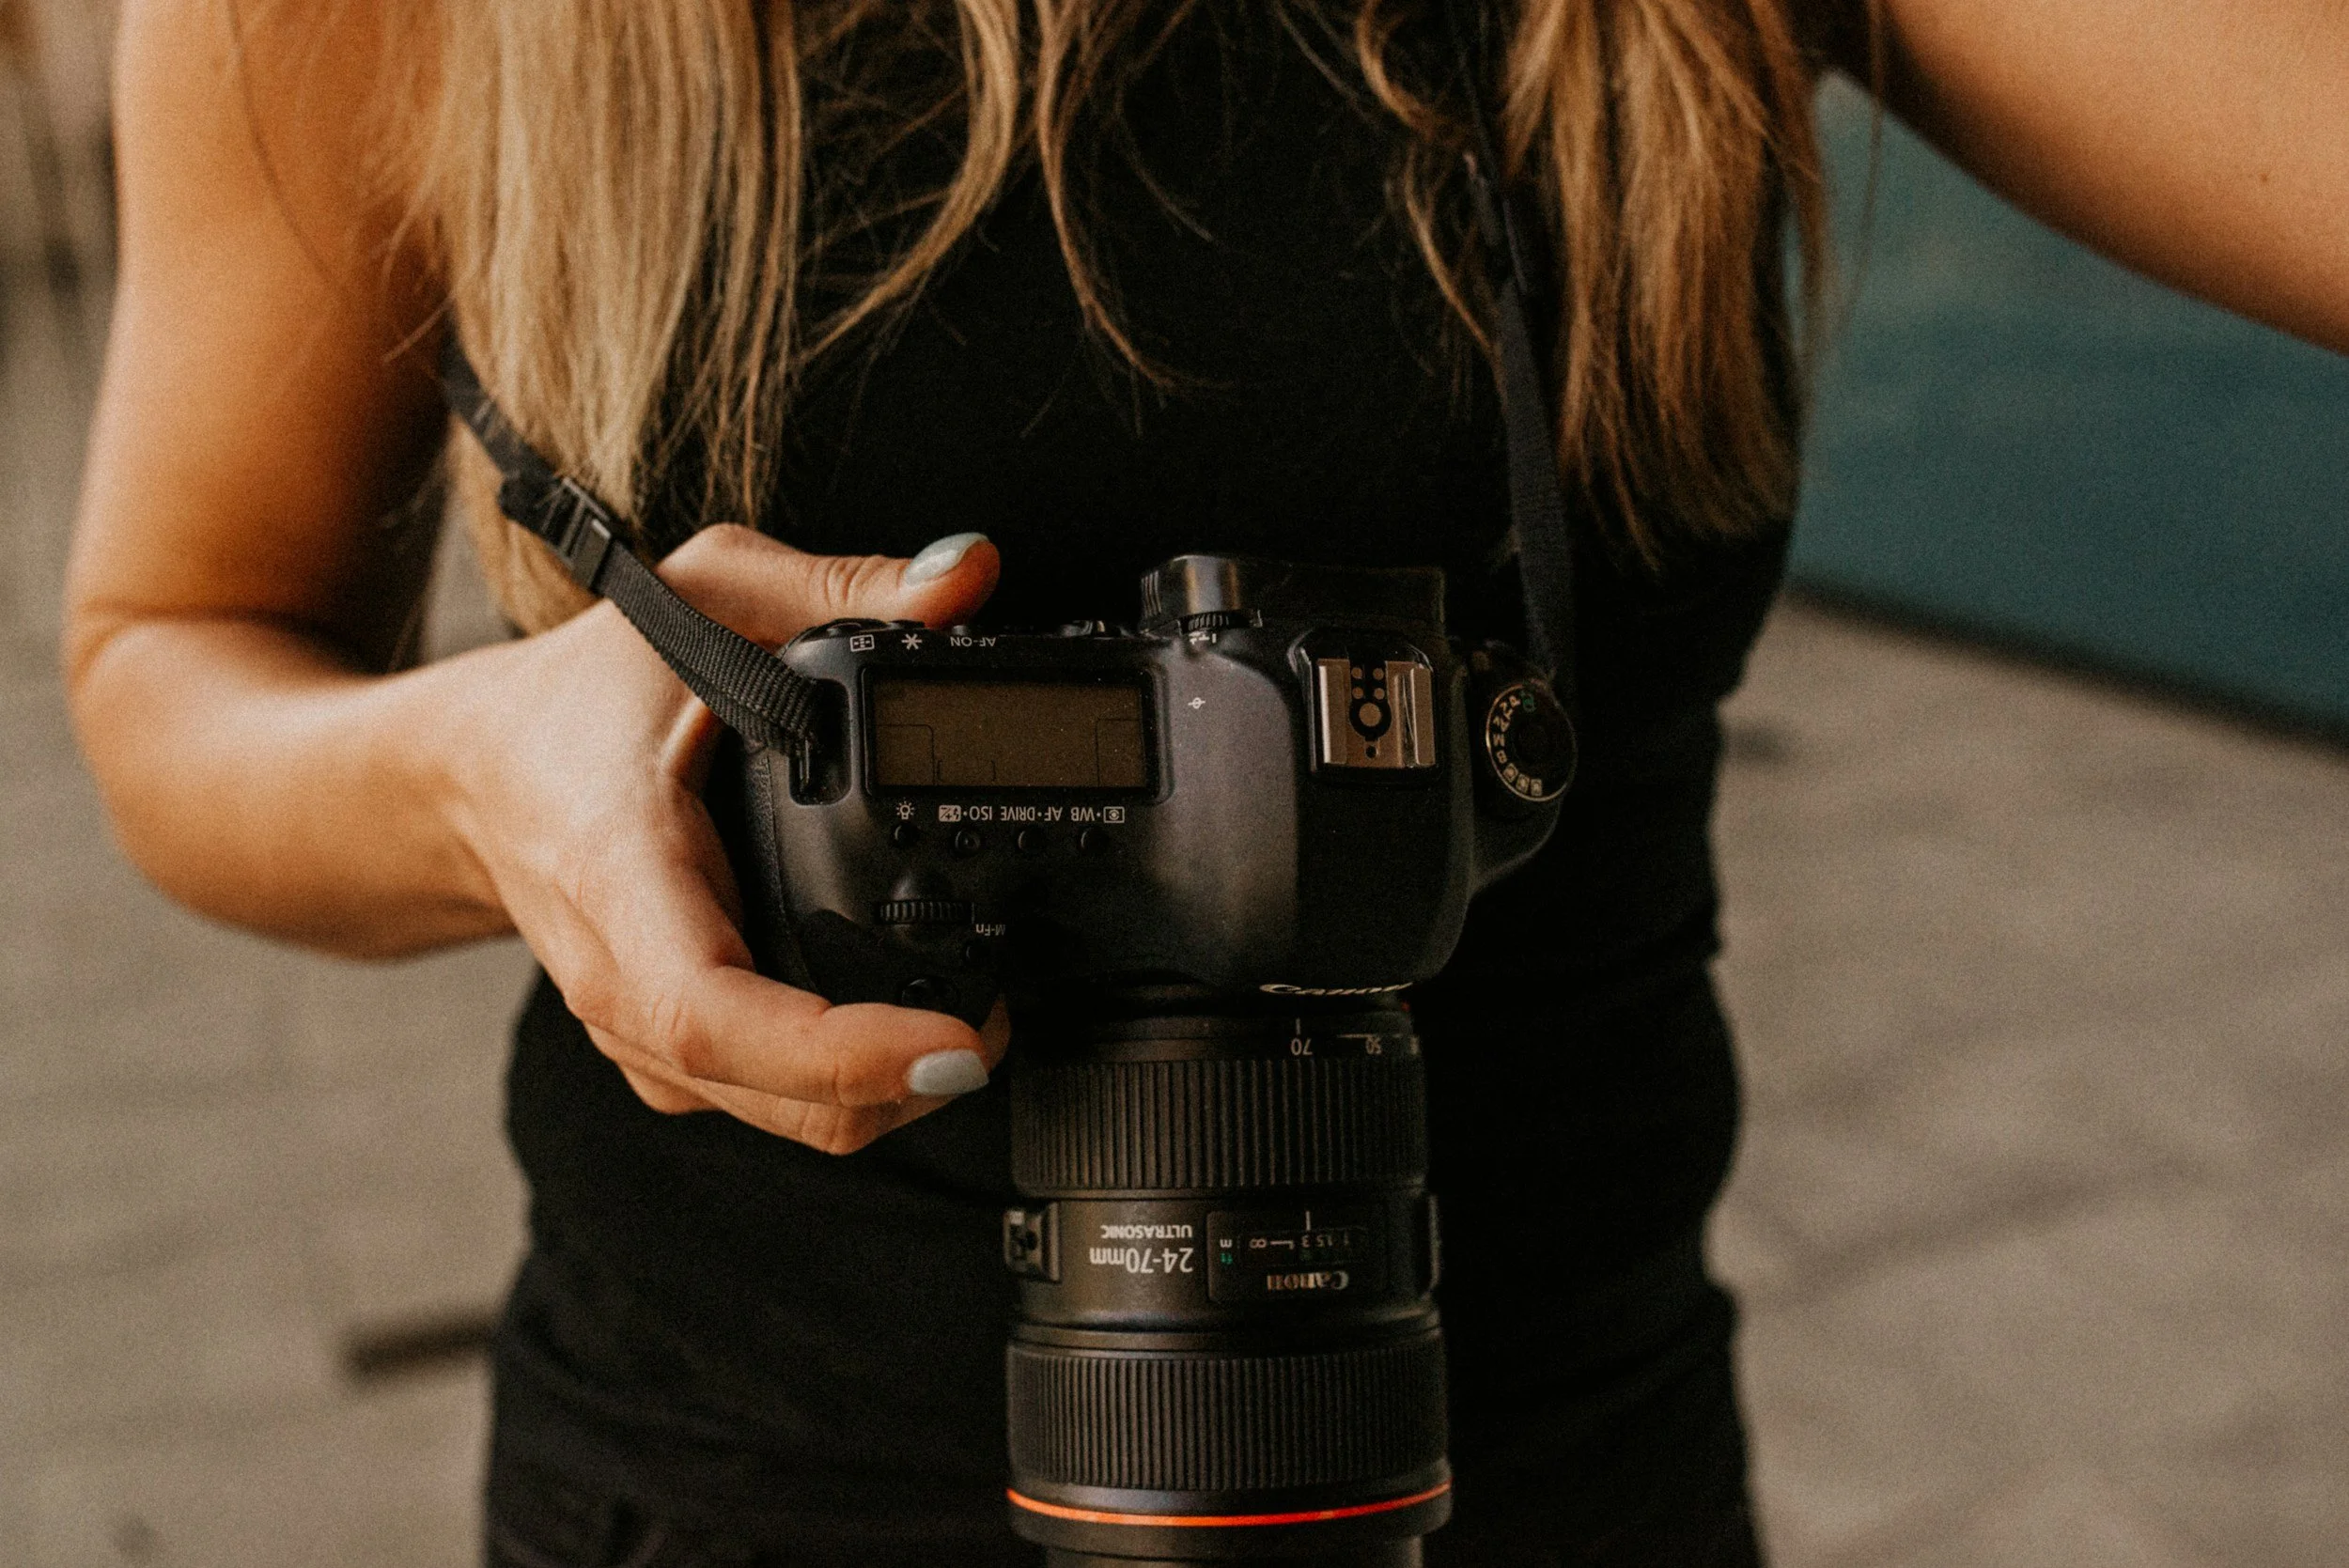
When you take a photo, your camera captures it as a RAW file – and this holds true whether your camera is set to shoot in RAW or JPEG.
If you're shooting in JPEG, your camera takes that raw data, adds a dose of saturation to the colors, applies some contrast and noise reduction, throws in a bit of sharpening, and maybe a few other tweaks. It then compresses and processes this information into the final JPEG file you see.
While that might sound convenient, just like relying solely on AUTO mode, it's often not the best way to achieve images you truly love. Why? Because your camera doesn't have a clue about the specific scene you've just captured or whether it actually needs all that pre-set editing. It doesn't know if less contrast would be more flattering or if its saturation boost is exaggerating a color cast on your subject's face. All it can do is blindly apply a pre-programmed level of editing and hope for the best. (Okay, it doesn't actually shrug, but you get the idea! 😉)
By switching to shooting in RAW, you tell your camera to leave the editing alone. You then have the power to apply the exact amount of contrast, saturation, and sharpening that your photo needs and that aligns with your artistic vision.
That's why I always advocate for shooting in RAW – it puts you in the driver's seat of the editing process. Just like manual mode gives you ultimate control over how your image is captured, shooting in RAW and editing it yourself gives you the same level of mastery in post-production.
✨ #2: Editing is Your Second Chance to Shine!
The second compelling reason to embrace editing is simple: sometimes, things don't go perfectly in-camera. While we should always strive for the best capture, life happens! Maybe the white balance is a little off, the exposure isn't quite right, or you didn't spot that distracting element lurking in the background. Editing can be your second chance to bring the image closer to how you envisioned it.
While you can edit JPEG images, RAW files offer significantly more latitude. They capture a wider tonal range, which is incredibly helpful when dealing with under or overexposed areas. Plus, you can easily adjust the white balance of a RAW file – something you can't do with the same flexibility on a JPEG.
(Thinking, "Heck, I need to switch to RAW!"? Here's a post to guide you: Making the Switch From RAW to JPEG)
However, a little caveat here: don't think this means you can be careless while shooting and rely solely on editing to fix everything. While editing is powerful, some things are simply unfixable – like bringing back sharp focus on a blurry subject or recovering completely blown-out highlights. Aim to get it right in-camera first, but take comfort in knowing that if things aren't 100% perfect, editing can often come to the rescue. 🤫
(In my Lightroom Unlocked course, the very first editing steps I teach you are how to do a "blank canvas edit" – establishing great overall exposure, white balance, contrast, and clarity. This is the essential foundation for ALL good editing, so never skip it!)
🎨 #3: Tell Your Unique Story Through Your Images!
The third powerful reason to edit your photos is that it's another vital way for you to tell your story and convey the feeling you experienced when you captured the moment.
Sometimes, what your camera captures doesn't fully reflect the reality of the scene. This could be due to technical limitations or simply because a camera can't capture the emotional atmosphere you felt. Editing allows you to enhance a mood, emphasize a feeling, or bring out a specific aspect of the image that you want your viewers to connect with.
For example, you might want to enhance the warm, hazy glow of a late afternoon on the beach, emphasize the moodiness of a portrait, or evoke a sense of nostalgia. While some of this can be achieved in-camera, editing allows you to take it a step further and truly shape the narrative of your image.
(We delve deep into this in my Lightroom Unlocked course, teaching you both what to look for in your image and the how-to steps to bring your vision to life.)
🖌️ #4: Develop Your Signature Style and Make Your Mark!
Editing is also a fantastic way to put your own personal stamp on your images. While your shooting style is a big part of this, editing provides another layer of creative expression, allowing your unique way of seeing the world to truly shine through.
When you're starting out, it's perfectly normal to experiment with different editing styles. Matte effects, high contrast looks, black and white conversions with sepia tones – it's all part of the learning process! I wholeheartedly encourage this exploration to help you discover what you love and what resonates with your artistic eye. Don't worry if you haven't "found your style" yet – it often develops naturally as you become more comfortable with editing and notice the common threads in your adjustments. Generally speaking, your style finds you! 😊
Once you've identified your preferred editing style, applying it consistently across your images will create a cohesive "look" that makes your work instantly recognizable.
🌟 #5: Preserve and Enhance Precious Memories for Years to Come!
Here's a reason that often gets overlooked but is incredibly important: editing helps you preserve and enhance your precious memories for the long haul.
Think about it – those digital files, while convenient, can sometimes feel a bit... raw. By taking the time to edit them, you're not just making them look better aesthetically; you're also ensuring that the colors are accurate, the exposure is pleasing, and any distractions are minimized. This thoughtful process transforms snapshots into cherished visual stories that you'll be proud to look back on and share with loved ones for many years to come. Editing is an act of care for your memories, ensuring they truly shine and stand the test of time. ❤️
Not to mention, you can export them as a slideshow, phonebook, and more, right from Lightroom Classic! We go over this in Lightroom Unlocked.
Where Do You Even Begin?
Well first, you’ll need to get Lightroom installed on your computer. I really recommend the Photography Plan from Adobe. You can get Lightroom Classic for $12 per month, or get Lightroom Classic + Photoshop for $20 per month. Here is the Adobe webpage that breaks down the plan options!
The key to learning photo editing is to break it down into manageable steps. Don't try to run before you can walk!
Start by switching to RAW and then focus on learning how to make that RAW image look like a well-processed JPEG. These might seem like simple adjustments, but this initial stage is about you taking control and understanding what each basic adjustment does. (If you're using Lightroom, check out my post "How to Get Started With Lightroom" for some helpful basics.
Next, move on to adjusting the image to match your vision at the time of capture – correcting white balance, achieving proper exposure, minimizing unwanted noise, and removing distracting elements.
(Don't forget about our totally free Lightroom Unlocked Checklist to guide you through these initial steps!)
Once you're comfortable with these foundational edits, you can start exploring basic enhancements – playing with color and contrast, making subtle adjustments to build your desired look. Then, you can venture into more creative enhancements that affect mood, such as color toning or converting to black and white, and learning techniques to guide the viewer's eye through your frame.
Finally, refine your editing process to develop a consistent style and feel across your images, regardless of the specific edits you make.
In a nutshell: master the fundamentals first, then layer on the creativity. So many photographers jump into advanced techniques without a solid foundation, leading to images that either don't look quite right or appear over-edited because they're following tutorials without understanding the why behind the adjustments.


