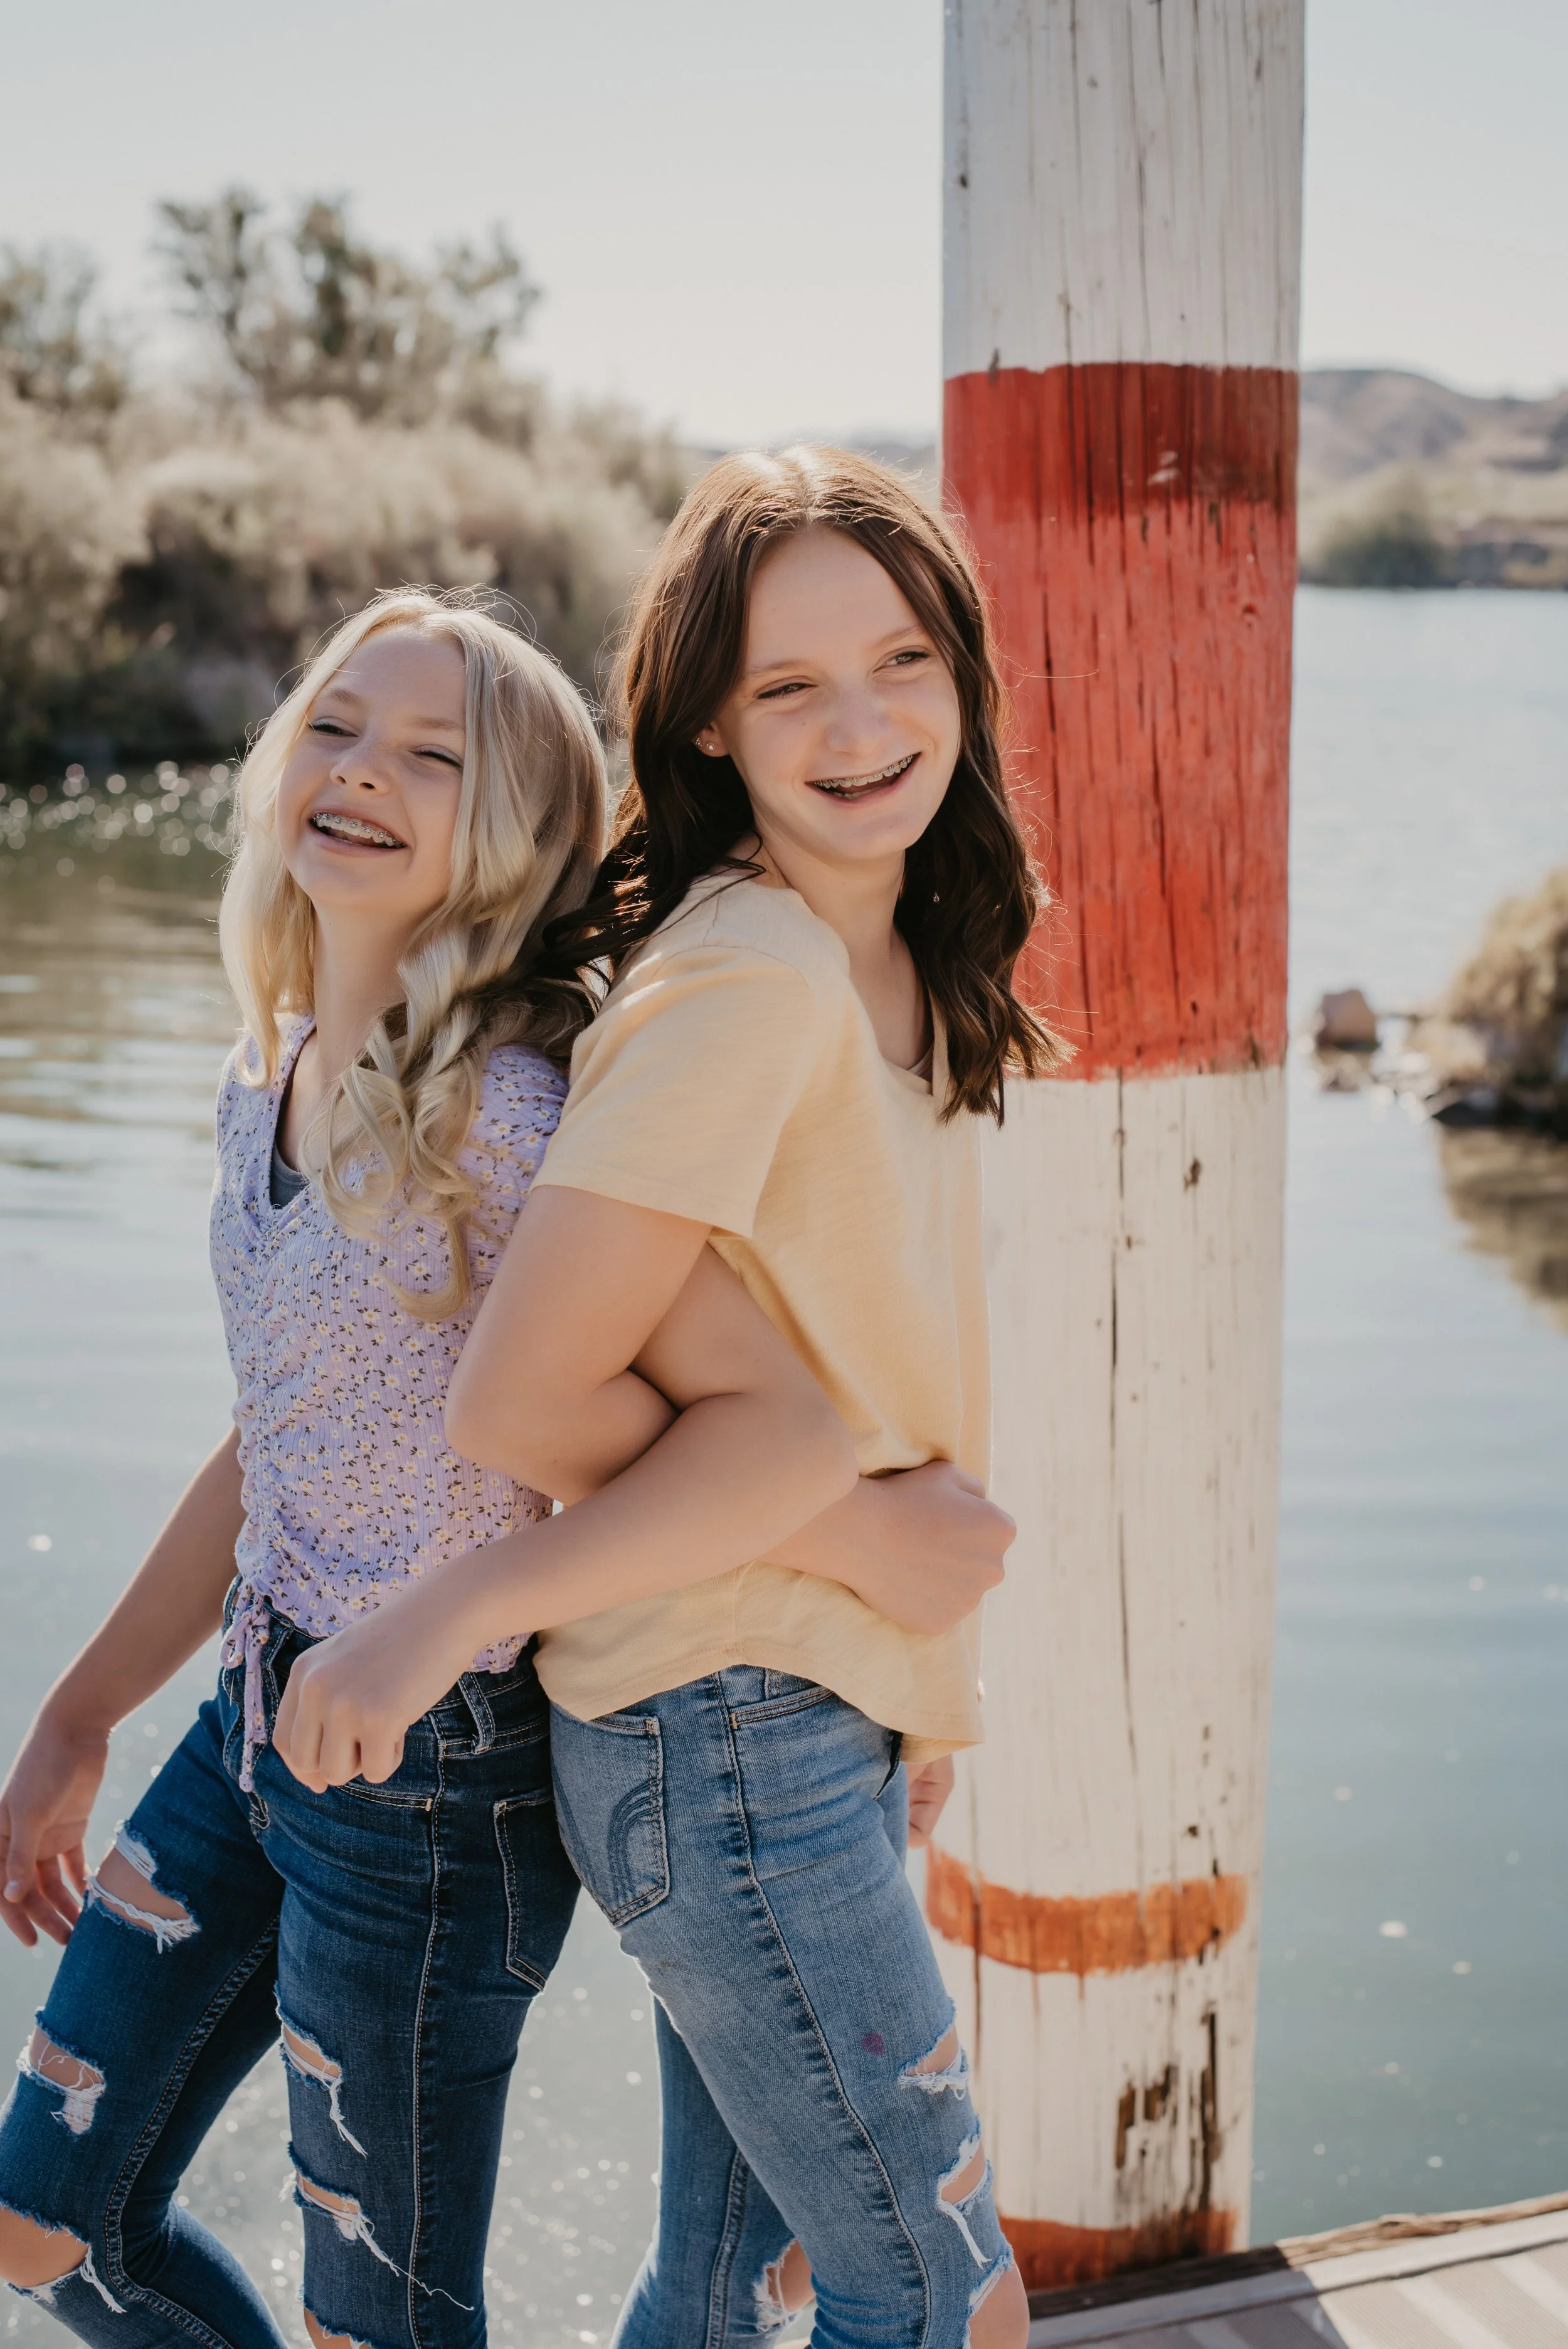
5 Simple Tips for Stunning Photos
Ever feel like your photos are missing that certain something? You snap a bunch of pics, but when you look at them later, they just don't have that professional polish you were hoping for. You're not alone! We've all been there, scratching our heads and wondering what the secret ingredient is. 🤔
Well, the truth is, creating amazing photos is like putting together a puzzle. Lots of little things come together to make a big impact. The more of those little things you get right, the more "wow" your images will have!
So, are you ready to learn five simple things you can do today to instantly boost the professional look of your pictures? Let's dive in! 🚀
💡 Tip #1: Light It Up! Think Light First, Location Second
Here's a little mantra to keep in mind every time you pick up your camera: "light first, location second." Repeat it with me! This simple shift in thinking can make a HUGE difference.
Before you even think about where you're shooting, take a good look at the light. Where is it coming from? How is it hitting your subject? Is it harsh and creating strong shadows, or soft and diffused?
Move around! See how different angles change the way the light looks on your subject. Is there a spot where the light is more flattering? Remember, if it doesn't look good to your eyes, it probably won't look good on camera. 👀
Quick Tip: If you're just starting out, cloudy days are your best friend! The clouds act like a giant softbox, creating beautiful, even light. Also, try to catch the "golden hour" – the hour after sunrise and the hour before sunset – for truly magical light. ✨
Lighting is an entire module in the full photography course, Mastering Manual Mode. There’s just so much to know!
⚙️ Tip #2: Master Your Aperture for Dreamy Backgrounds
The aperture on your camera is like the pupil of your eye, controlling how much light comes in. But it also affects something called "depth of field" – how much of your image is in focus. Using your aperture wisely can instantly add a professional touch!
Two common mistakes to avoid:
Too small an aperture (high f-number): This keeps everything in focus, which can sometimes make your subject blend into the background and give your photos a "snapshot" feel.
Too large an aperture (low f-number): While this can create a beautiful blurry background (bokeh!), it also means a very small area is in focus. If your focus isn't perfect, you might end up with only an ear or a nose in sharp focus! 😬
Pro Tip: For portraits of a single person, try an aperture around f/2.8 or f/3.2. This will blur the background nicely, making your subject pop, while still keeping their important features in focus. Remember to adjust based on what you're shooting – landscapes, for example, usually look best with a larger depth of field. 🏞️
Want a cheat sheet that outlines camera settings for any shooting situation? Check out the manual mode settings cheat sheet!
🧹 Tip #3: Declutter Your Frame for a Cleaner Look
Take a moment before you snap that photo to really look at what's in the frame. Are there any distracting elements that pull your eye away from your subject? A brightly colored object, a messy background, or anything that doesn't add to the story can detract from your image.
Action Time: If you see something distracting, can you move it? Can you change your angle to exclude it? Even a small adjustment can make a big difference! Remember, anything brighter than your subject or a very strong color will naturally draw the viewer's attention. 🔴➡️👤
Even if you miss something while shooting, don't worry! Often, these small distractions can be easily removed during editing. Which brings us to...
✨ Tip #4: The Magic of Editing: Polish Your Photos!
Here's a little secret: almost every professional photographer edits their photos in some way. It doesn't have to be drastic! Simple adjustments can take your images from good to amazing.
Think of editing as the final polish on a beautiful piece of work. Basic edits like adjusting the white balance (making sure colors look accurate), tweaking the exposure (brightness and darkness), reducing noise (graininess), and adding a touch of sharpening, contrast, and saturation can make a world of difference, especially if you shoot in RAW format. 🎨
Get the Right Tools: There are lots of editing software options out there, both free and paid. Adobe Lightroom, Elements, and Photoshop are industry favorites, offering powerful tools to enhance your images. Even free software can provide essential editing capabilities to get you started!
📸 Tip #5: Level Up with the Rule of Thirds!
Imagine drawing two horizontal lines and two vertical lines across your viewfinder, dividing the scene into nine equal rectangles. The "rule of thirds" suggests that placing your subject or points of interest along these lines or at their intersections often creates more balanced and visually appealing compositions.
Why it Works: This rule moves your subject away from the dead center of the frame, which can often feel static and less engaging. Placing key elements off-center creates a sense of visual tension and guides the viewer's eye through the image. Try framing your shots with this in mind and see how it instantly elevates your compositions! 📐
Ready to Take Your Photos to the Next Level?
There you have it – five actionable tips to make your pictures look more professional! Don't forget to check out the full photography course, to unlock all of the knowledge you need to master your camera: Mastering Manual Mode.


