Adobe just rolled out one of the biggest updates across the Lightroom ecosystem we’ve seen in a long time. Instead of tiny, behind-the-scenes tweaks, this release packs in genuine workflow game-changers—the kind of features photographers have been begging for (and paying third-party plugins to get) for years.
While most of these heavy-hitting tools—like the built-in Focus Point Overlay, Highlight Glow, and Vectorscope—live right inside Lightroom Classic, Adobe also dropped its viral AI Eye Fix tool into Lightroom Web, Mobile, and Cloud Desktop first (which syncs seamlessly back to your Classic catalog!).
Grab your coffee, open up Creative Cloud to hit update, and let’s walk through every single major feature in this release—where to find it, and how to put it to work in your editing workflow today!

1. Fix Closed Eyes & Blinking (Right Inside Lightroom!)
Let’s start with the headline feature everyone is talking about: Generative Eye Fix.
Previously, if someone blinked during a group shot, your only option was exporting the photo (plus another photo where their eyes were open) into Photoshop, masking layers, and hoping the skin tones and lighting matched. Now, Adobe’s new AI Eye Fix handles the heavy lifting.
Where to find it: Right now, this tool is live inside the cloud-based Lightroom Desktop, Mobile, and Lightroom Web apps (it hasn't landed natively inside Lightroom Classic’s Develop module yet).
How it works: Head into the Remove / Retouch panel and select the new Eye Fix tool. Lightroom automatically detects closed eyes in your frame and uses AI (or a secondary reference photo from the same burst!) to naturally open them while matching the exact lighting, catchlights, and skin texture of your subject.
Best for: Large family portraits, toddler sessions, and wedding formals where getting everyone’s eyes open in a single frame feels like winning the lottery.
💡 Quick Tip (Lightroom Web & Cloud): If you edit on the go using Lightroom Web or the cloud-based desktop app, this AI retouching syncs seamlessly across your cloud catalog. You can fix a blink in your browser and see the non-destructive edit waiting for you back in Classic!
🎁 FREE DOWNLOAD: Lightroom Classic Photo Management Mini-Guide
Before we go any further, take a second to download my free guide so that your images are organized in Lightroom Classic (and never give you the dreaded lost question mark again!) before you edit them.

2. Built-In Focus Point Overlay (See Exactly Where Your Camera Focused!)
As a photography educator, I love this one! Have you ever zoomed into a portrait at 100% and wondered, "Did my camera actually lock onto their eye, or did it grab their shirt collar?"
How it works: In the Library or Develop Loupe view, you can toggle on the Focus Point Overlay to display the exact active autofocus box (and eye-detection box!) your camera used the moment you pressed the shutter.
Why it’s a lifesaver: Not only does it speed up culling by showing you instantly whether a shot is tack-sharp on the eyes, it is also an incredible self-coaching tool to diagnose why a shot missed focus during a fast-moving session.
3. Add a Dreamy "Glow" Effect Without Leaving Classic
If you love that soft, luminous, film-inspired highlight bloom—or usually reach for a Black Pro-Mist filter on your lens—you can now dial that exact look in during post-processing without degrading your image quality.
How it works: Inside the Develop module (under the Effects / Lens Blur controls), you’ll find the new Glow slider. Unlike cranking up negative Clarity or negative Dehaze—which can make your entire image look flat or washed out—the Glow tool specifically blooms the bright highlights while keeping your shadows crisp and contrasty.
Best for: Golden hour backlighting, bridal portraits, and softening harsh midday sun on skin.
4. Color Tints on Masks & Depth Ranges
Lightroom’s AI masking and Lens Blur Depth Maps just got a massive creative upgrade: you can now apply Color Tints directly inside individual masks and depth ranges!
How it works: Whether you’ve selected the background, a subject, or isolated a specific foreground/background plane using a Depth Range Mask, you can now tint just that slice of your image with subtle warmth, coolness, or creative color grading.
Why it’s awesome: Want to warm up the background trees behind your clients without turning their skin tones orange? Or add a cool, moody atmospheric tint to the foreground while keeping your subject's face clean and true-to-life? Now you can do it in two clicks without stacking complex tone curves.
💡 Quick Tip (Lightroom Web & Cloud): Adaptive AI masks and Depth Range adjustments sync across Lightroom Web too! If you copy and paste a tinted AI mask across a batch of images in the browser version, Lightroom automatically recalculates the mask for each new subject's position.

⚡️ FREE DOWNLOAD: Lightroom Editing Workflow
Want a step-by-step breakdown so you're not fumbling around and guessing with your edits? Download my free workflow guide to streamline every photo you edit from start to finish!
👉 Click here to download the Lightroom Editing Workflow!
5. A Built-In Vectorscope for Precision Color & Skin Tones
Sounds super science-y, and it kinda is. For photographers who nerd out over clean skin tones and consistent color grading across an entire gallery, seeing a Vectorscope right inside Lightroom Classic is huge.
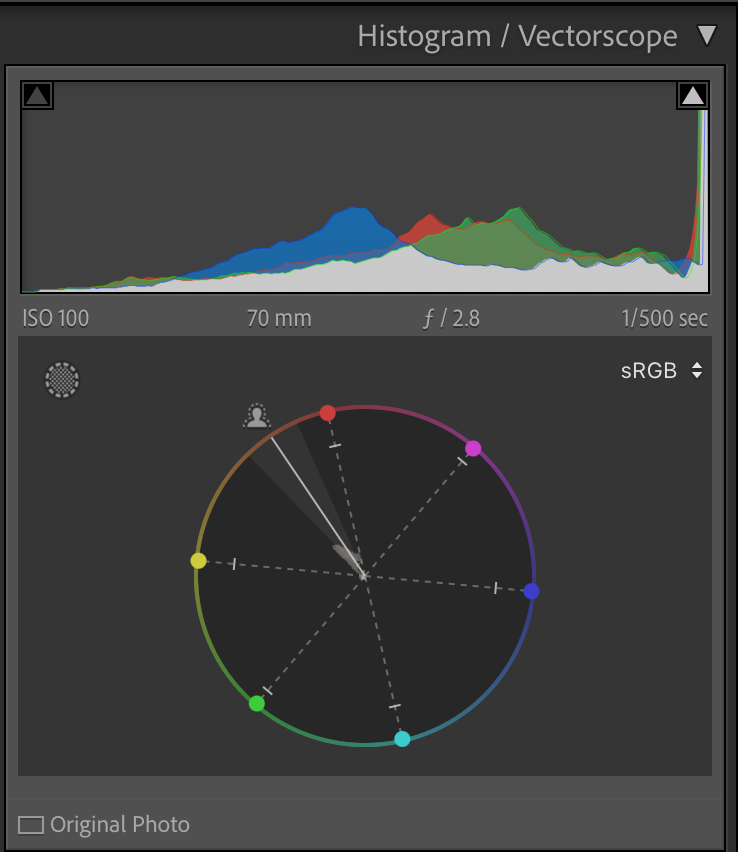
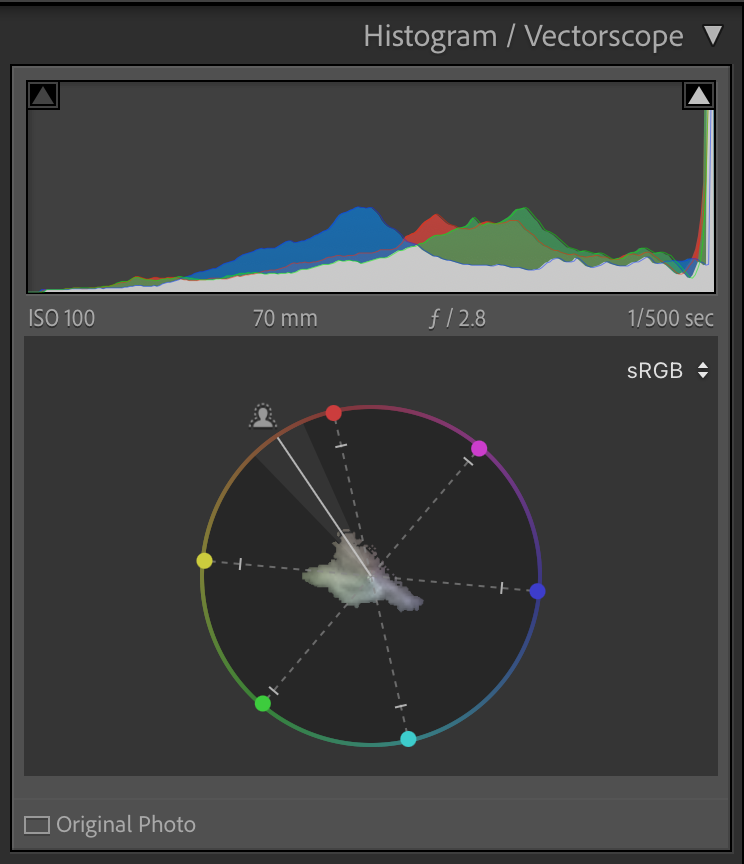
What is a Vectorscope? It is simply a display tool to analyze color of an image. A histogram measures exposure, brightness, and luminance, but a Vectorscope displays only hue (color type) and saturation (color intensity).
How it works: Right alongside your traditional RGB Histogram in the top-right corner of the Develop module, you can now switch to or view the Vectorscope. It maps out the exact hue and saturation levels of your image in a circular chart—including the skin tone line.
Why it matters: Even if your monitor calibration is slightly off or you’ve been editing late at night with tired eyes, the Vectorscope gives you an objective visual check so your skin tones stay natural and consistent from the first photo in a gallery to the very last.
6. Smarter, Faster Assisted Culling
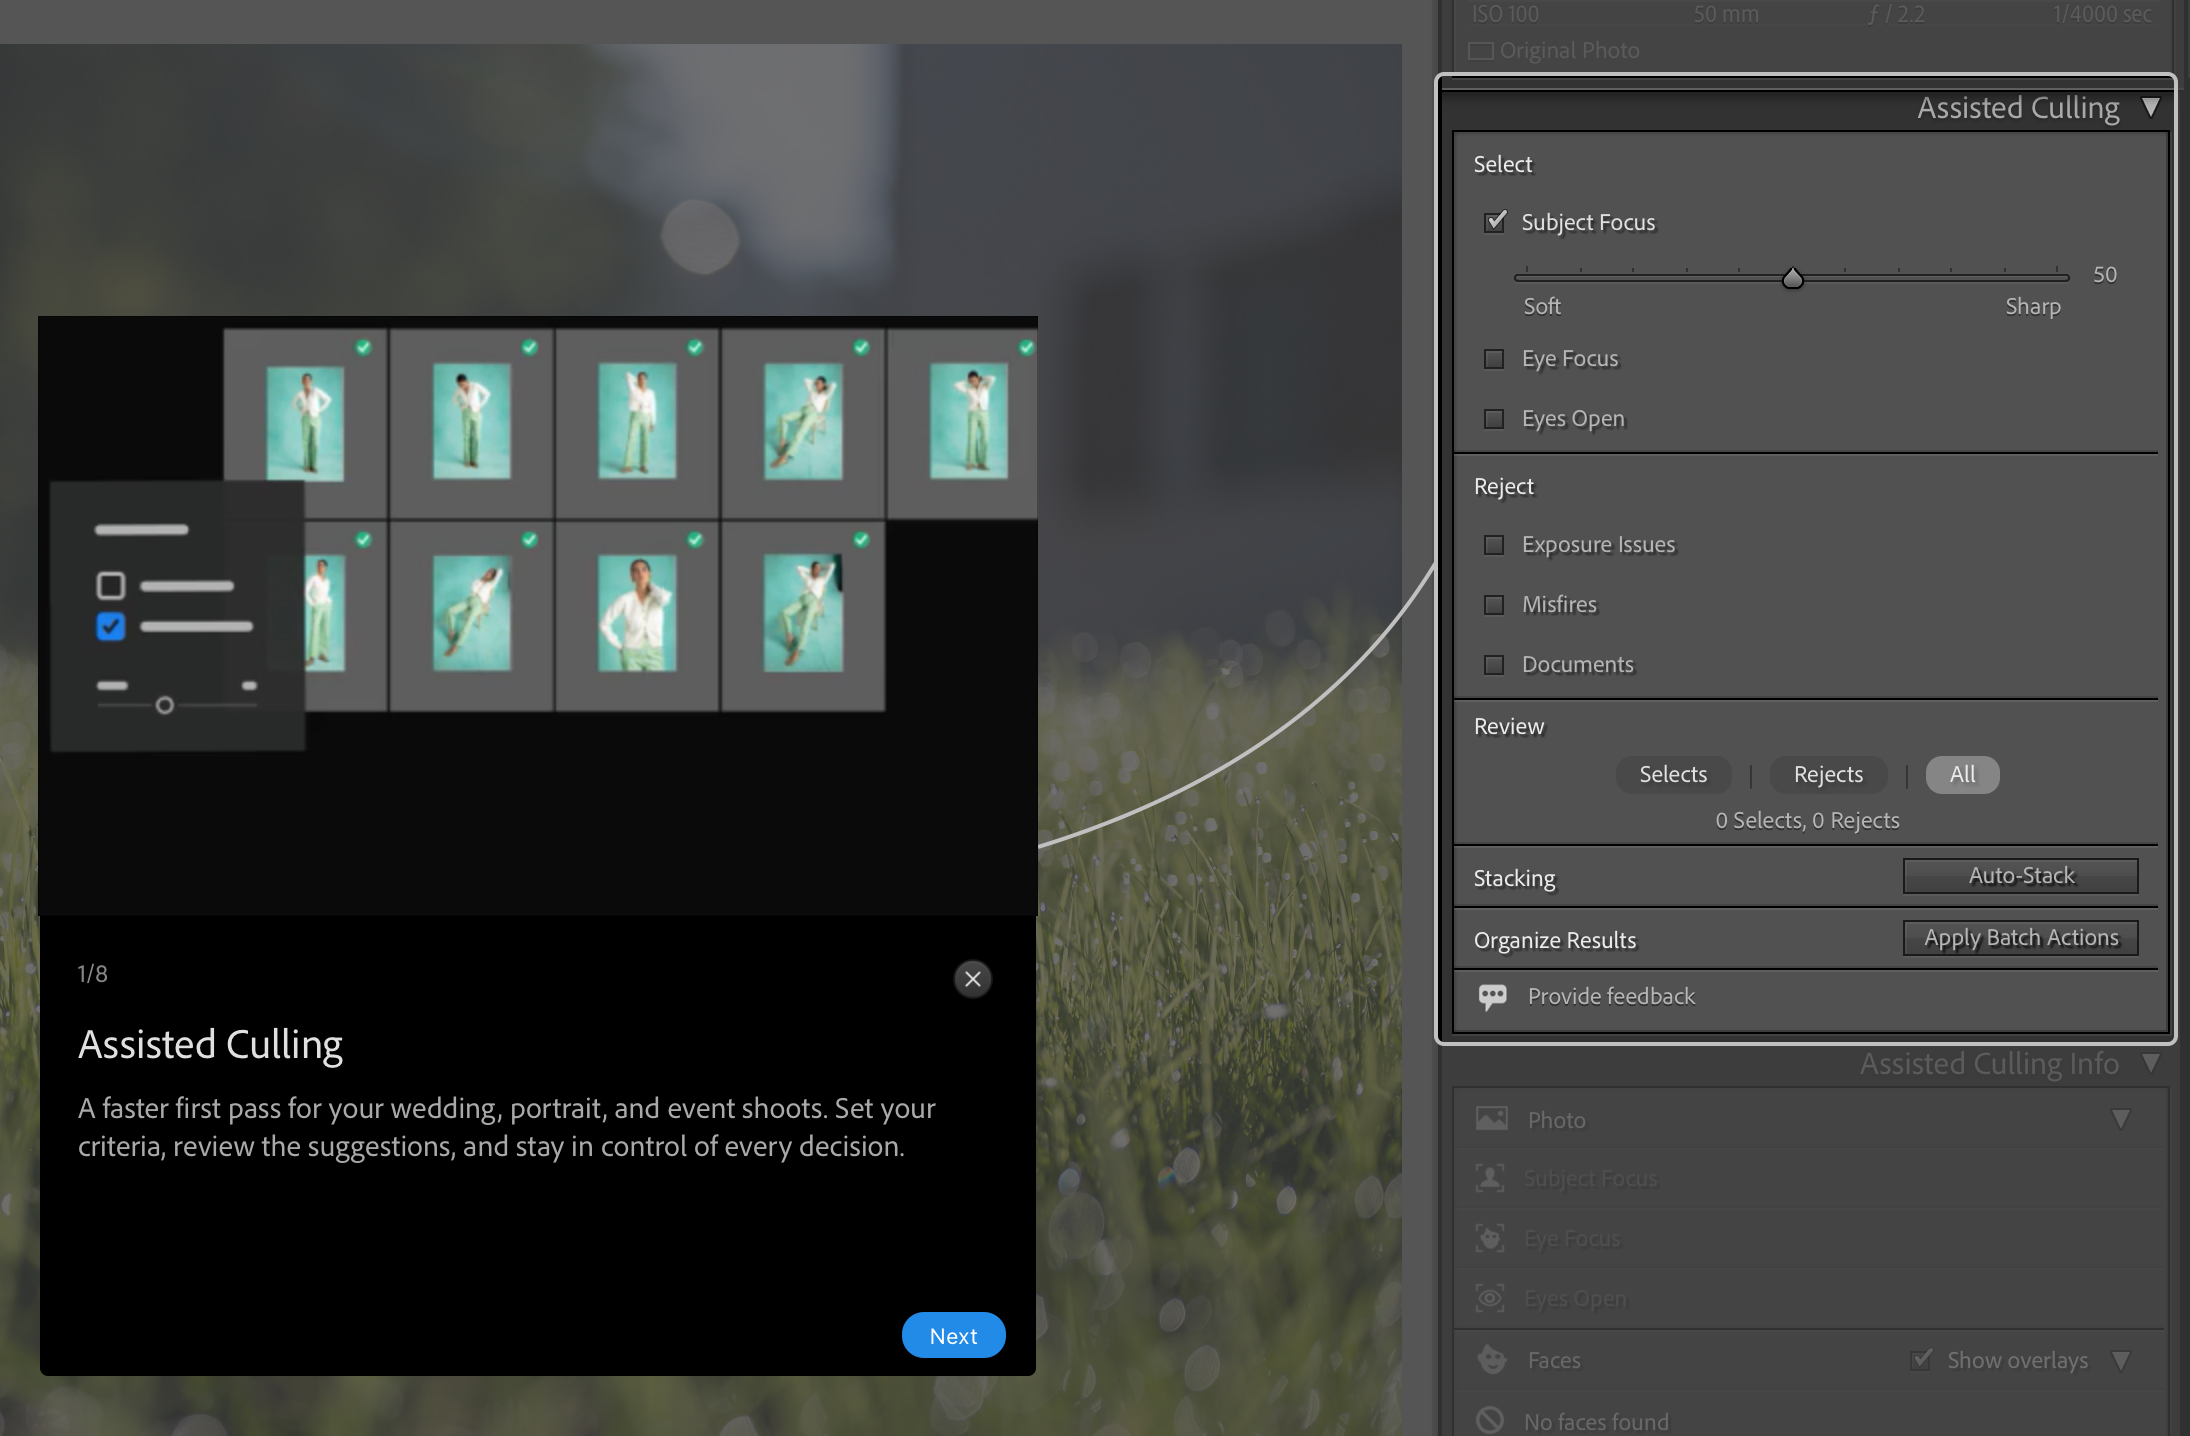
If culling through 800 RAW files after a busy weekend is your least favorite part of running a photography business, Adobe’s upgraded Assisted Culling tools are about to become your new best friend.
How it works: Inside the Library module, you can filter, sort, and auto-flag based on Subject Sharpness, Eye Detection, and Closed-Eye Warnings. Lightroom even groups similar consecutive burst shots together and highlights the sharpest frame at the top of the stack so you can make confident "keep or toss" decisions in half the time.
7. Reflection Removal & Upgraded Generative Remove
Ever taken a gorgeous portrait through a window or photographed a subject wearing glasses, only to see your own camera silhouette or bright sky glare staring back at you in the glass?
How it works: Alongside smarter Generative Remove (which now blends complex textures like brick, grass, and patterned clothing way more naturally), Adobe added dedicated Reflection Removal controls. With a single slider, you can dial down glare and distracting window or eyeglass reflections while keeping your subject’s eyes crystal clear.
8. Finer People & Background AI Masking
Lightroom’s AI masking has been a staple for a while, but this update refines edge detection even further—especially when dealing with tricky textures like flyaway hair, eyeglasses, and busy backgrounds.
How it works: When using Select People, Lightroom offers finer sub-selections (including Eyeglasses, Teeth, and refined Hair edge detection) that won’t leave weird glowing halos when you adjust exposure or warmth. Plus, Select Background does a much better job recognizing foreground framing—like overhanging tree branches or venue arches—so you can darken a background without accidentally darkening your subjects.
Ready to Master Your Editing Workflow (Without Guessing With Sliders)?
New software updates are so much fun to play with—and tools like fixing closed eyes, checking focus points, and fine-tuning skin tones with a Vectorscope are total lifesavers when real life happens during a shoot.
Still, even the smartest AI features work best when you have a clean, organized catalog and you have the knowledge to use them effectively!
If you’re tired of feeling overwhelmed by missing files, spending hours tweaking sliders hoping for the best, or wondering why your edits don't look consistent from start to finish, come join me inside The Lightroom Series!
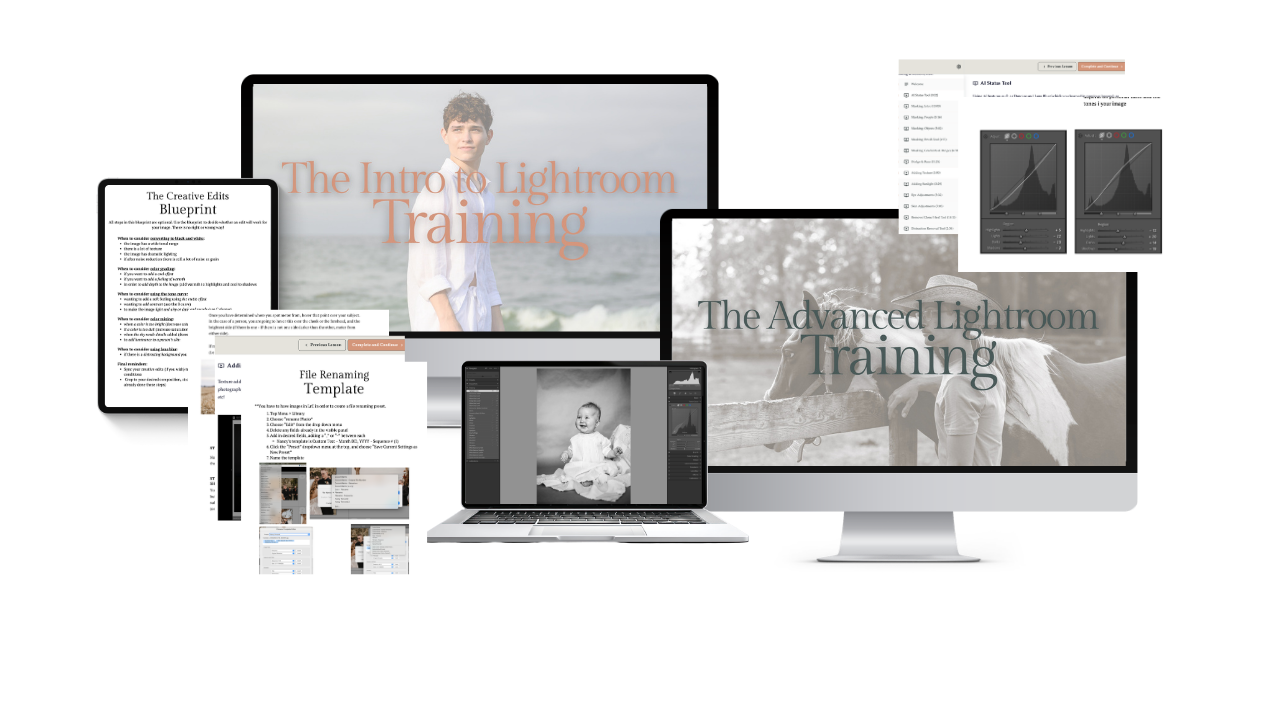
Designed to remove the guesswork from post-processing, The Lightroom Series walks you step-by-step through building a streamlined, professional editing workflow:
The Workflow (Intro): Set up a "bulletproof" folder and catalog system—and master my Missing File Rescue Protocol so you never panic over dreaded "?" or "!" icons again.
The Precision (Advanced): Move beyond basic sliders and learn how to use Tone Curves, Color Grading, AI Masking, and batch-editing power to create a cohesive, polished aesthetic in a fraction of the time.
Every training is accessible, self-paced, and under $99 so you can spend less time stuck behind your computer screen and more time behind the lens. Over 600 students have transformed their photography through my trainings, and now it’s your turn.
👉 Explore The Lightroom Series & Streamline Your Editing Today
(Want to nail your lighting and focus in-camera first so you have even less editing to do? Check out The Camera Series for beginner-friendly, jargon-free camera training!)
Search the blog for more helpful info! 👇
Needing to dive deeper? Check out…
The Camera Series— for mastering your gear.
The Lightroom Series— for editing.
AI-Powered Hail Mary Masks— for lightning fast, unmatched editing tools.
The Camera Series— for comprehensive, affordable trainings designed for beginner or intermediate photographers.
Nancy’s Recommended Gear— and where she buys it used (reputable with warranties!)